You know those crafts where the kids get quiet? Not the suspicious kind of quiet — the good kind, where everyone's head is bent over their project and the only sound is scissors snipping and someone humming? That's what happened at our table the afternoon we made these.
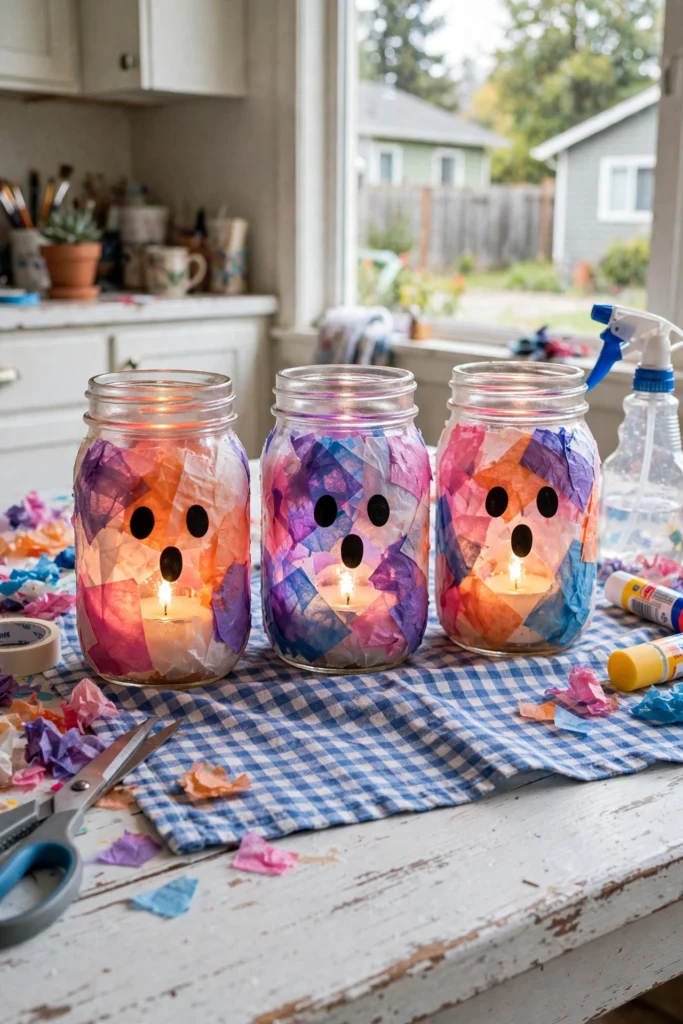
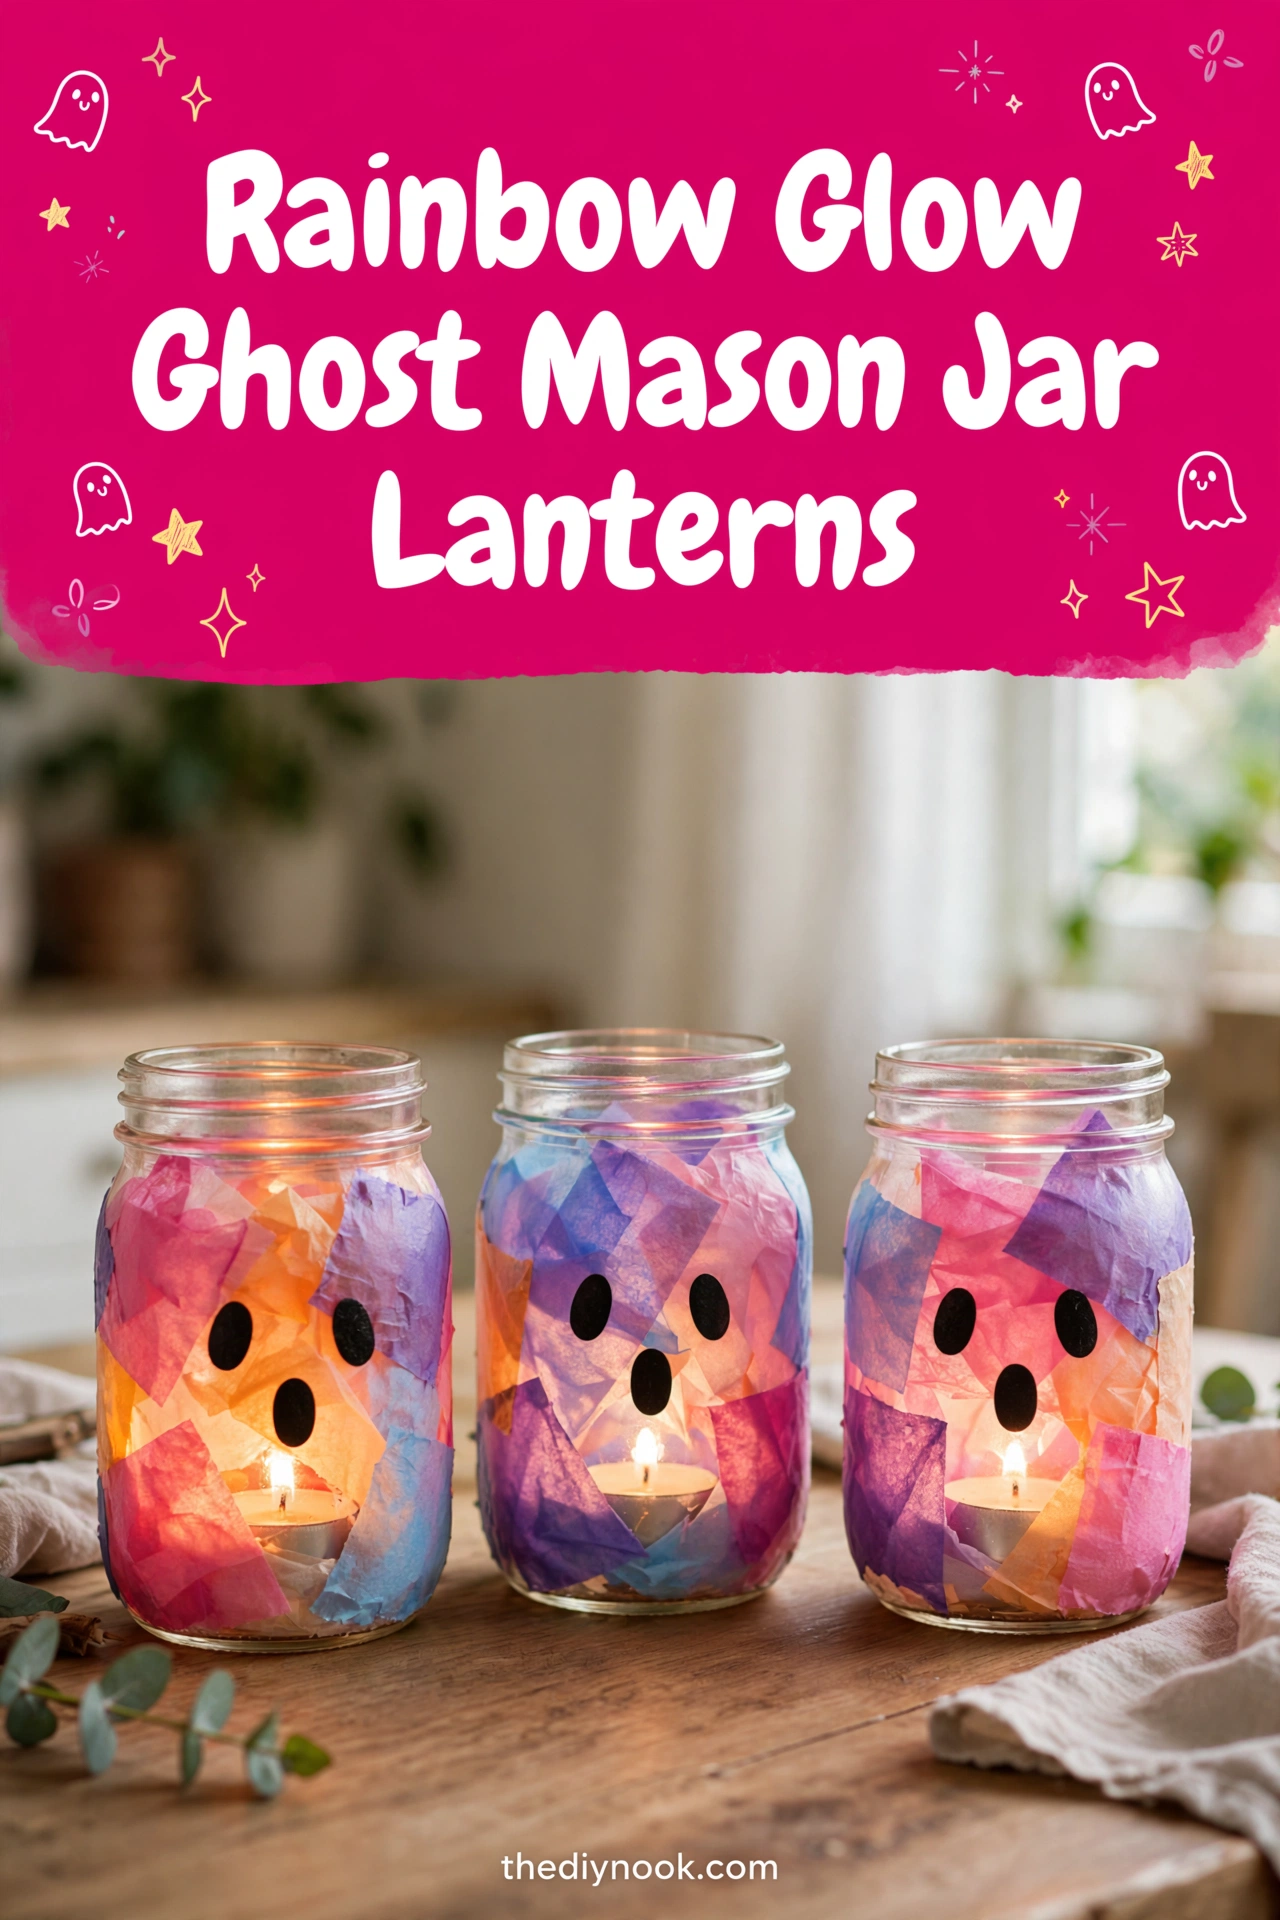
The concept is almost embarrassingly simple: cover a mason jar in rainbow tissue paper, draw a little ghost face on it, drop in a tealight. But when the lights go down and those jars start glowing? My kids gasped. Actual gasps. My oldest whispered "they're so cute I'm going to cry," which is dramatic, but honestly I got it.
Why You'll Love Making These
First: they are spooky without being scary. These ghosts are the friendly, round-cheeked kind — perfect for little ones who want to do Halloween crafts but are still slightly suspicious of actual spooky things. My youngest, who finds the inflatable yard skeletons "rude," adores these.
Second: tissue paper and Mod Podge is one of the most forgiving craft combos on earth. Torn piece? Stick it down anyway, it looks like texture. Wrinkle? That's called "character." Colors bleeding into each other? Beautiful. This craft literally cannot be messed up, which makes it ideal for the perfectionist kid in your house (we all have one, or are one).
Materials You'll Need
- Clear glass mason jars: any size — we did a mix of big and small
- Tissue paper in rainbow colors: red, orange, yellow, green, blue, purple — cut into small squares
- Mod Podge or white craft glue: for sticking everything down
- Paintbrush: for spreading the glue
- Scissors: for snipping the tissue paper
- LED tealight candles: the safe glow inside — battery only
- Black marker or black paint: for drawing the ghost faces
- Newspaper or a table covering: Mod Podge is forgiving, but your table doesn't have to be
<img src="https://thediynook.com/wp-content/uploads/2026/09/pin-v1-8.webp" alt="Rainbow Glow Ghost Mason Jar Lanterns" />
Step-by-Step Directions
- Clear a flat surface and cover it. Lay out all your materials so little hands can reach everything.
- Cut the tissue paper into small squares or fun shapes — roughly 1 to 2 inches works great.
- Brush a thin layer of Mod Podge onto the outside of the mason jar, one section at a time.
- Press tissue paper squares onto the glued area, overlapping them slightly so no glass peeks through. Let the kids go wild with color patterns.
- Once the whole jar is covered, brush another thin layer of Mod Podge over the top to seal everything in place.
- Let the jars dry completely — about 20 to 30 minutes. Snack break. You've earned it.
- Draw simple ghost faces on the jars with a black marker: two oval eyes and a little "o" mouth. That's it. Instant ghost.
- Drop an LED tealight inside each jar, turn off the lights, and watch your kids lose their minds.
The Learning Behind This Craft
Tearing and cutting tissue paper is wonderful fine-motor practice — those little squares take real finger control. Overlapping colors is a gentle introduction to color blending (my daughter discovered that blue over yellow makes green and acted like she'd invented science). And drawing the ghost faces is a great low-pressure drawing exercise: two ovals and a circle, done, and it always looks right.
Tips If Things Go Sideways
Tissue paper tearing? Totally fine — smaller pieces are actually easier to stick down smoothly. Torn edges disappear under the Mod Podge.
Jar looking lumpy? That's the tissue texture, and it looks gorgeous when lit. The wrinkles catch the light and make the glow look dappled.
Ghost face looks derpy? Good. Derpy ghosts are the best ghosts. But if you truly hate it, a damp cloth wipes marker off before it sets.
Mod Podge too thick? Thin it with a tiny splash of water. It should brush on like heavy cream, not peanut butter.
Fun Variations to Try
- Skip the faces for plain rainbow glow jars — beautiful as nightlights.
- Use only orange and purple tissue for a more traditional Halloween palette.
- Draw different faces on each jar: sleepy ghost, surprised ghost, happy ghost. A whole ghost family.
- Tie a ribbon bow around the jar neck for gifting — these make the sweetest handmade presents.
FAQs
Are these safe for little kids?
Very. Tissue paper, glue, and battery tealights — no sharp tools, no heat, no mess that matters. The cutting is the only part younger kids need help with.
Can we use real candles?
Nope, not in these. The tissue paper is flammable, so LED tealights are the only option here. They glow just as nicely, promise.
The tissue paper is bleeding color — is that normal?
Totally normal and actually pretty. The colors will look slightly watercolor-y when dry, which is part of the charm.
How long do these last?
With the Mod Podge seal, ours have lasted multiple seasons. Store them somewhere dry and they'll glow again next October.
Can we make these for other holidays?
Yes! Pastel tissue with bunny faces for Easter, red and green with reindeer faces for Christmas. The ghost jars are just the gateway craft.