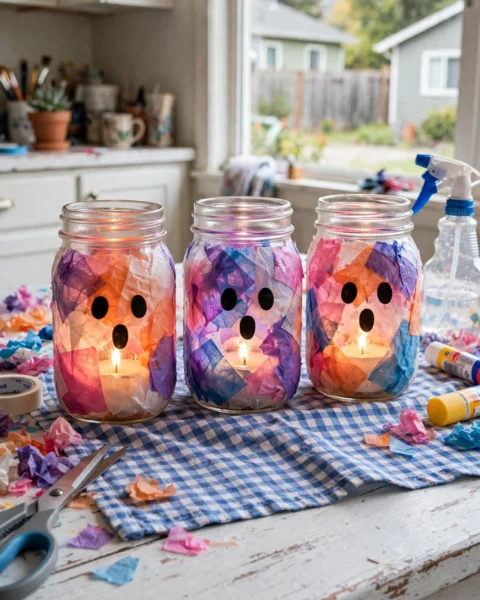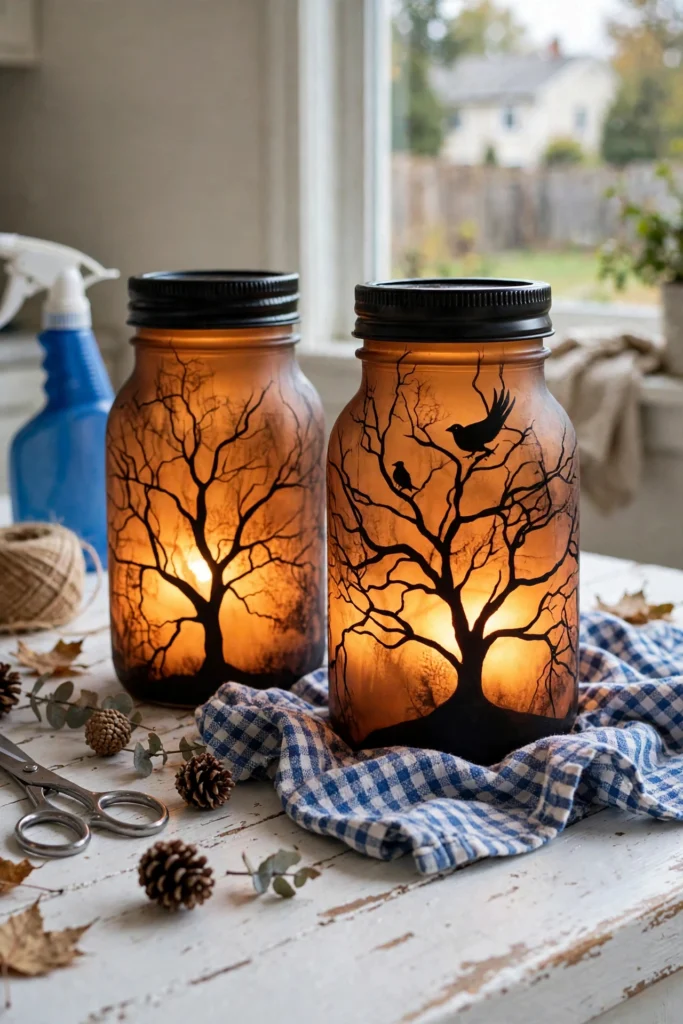
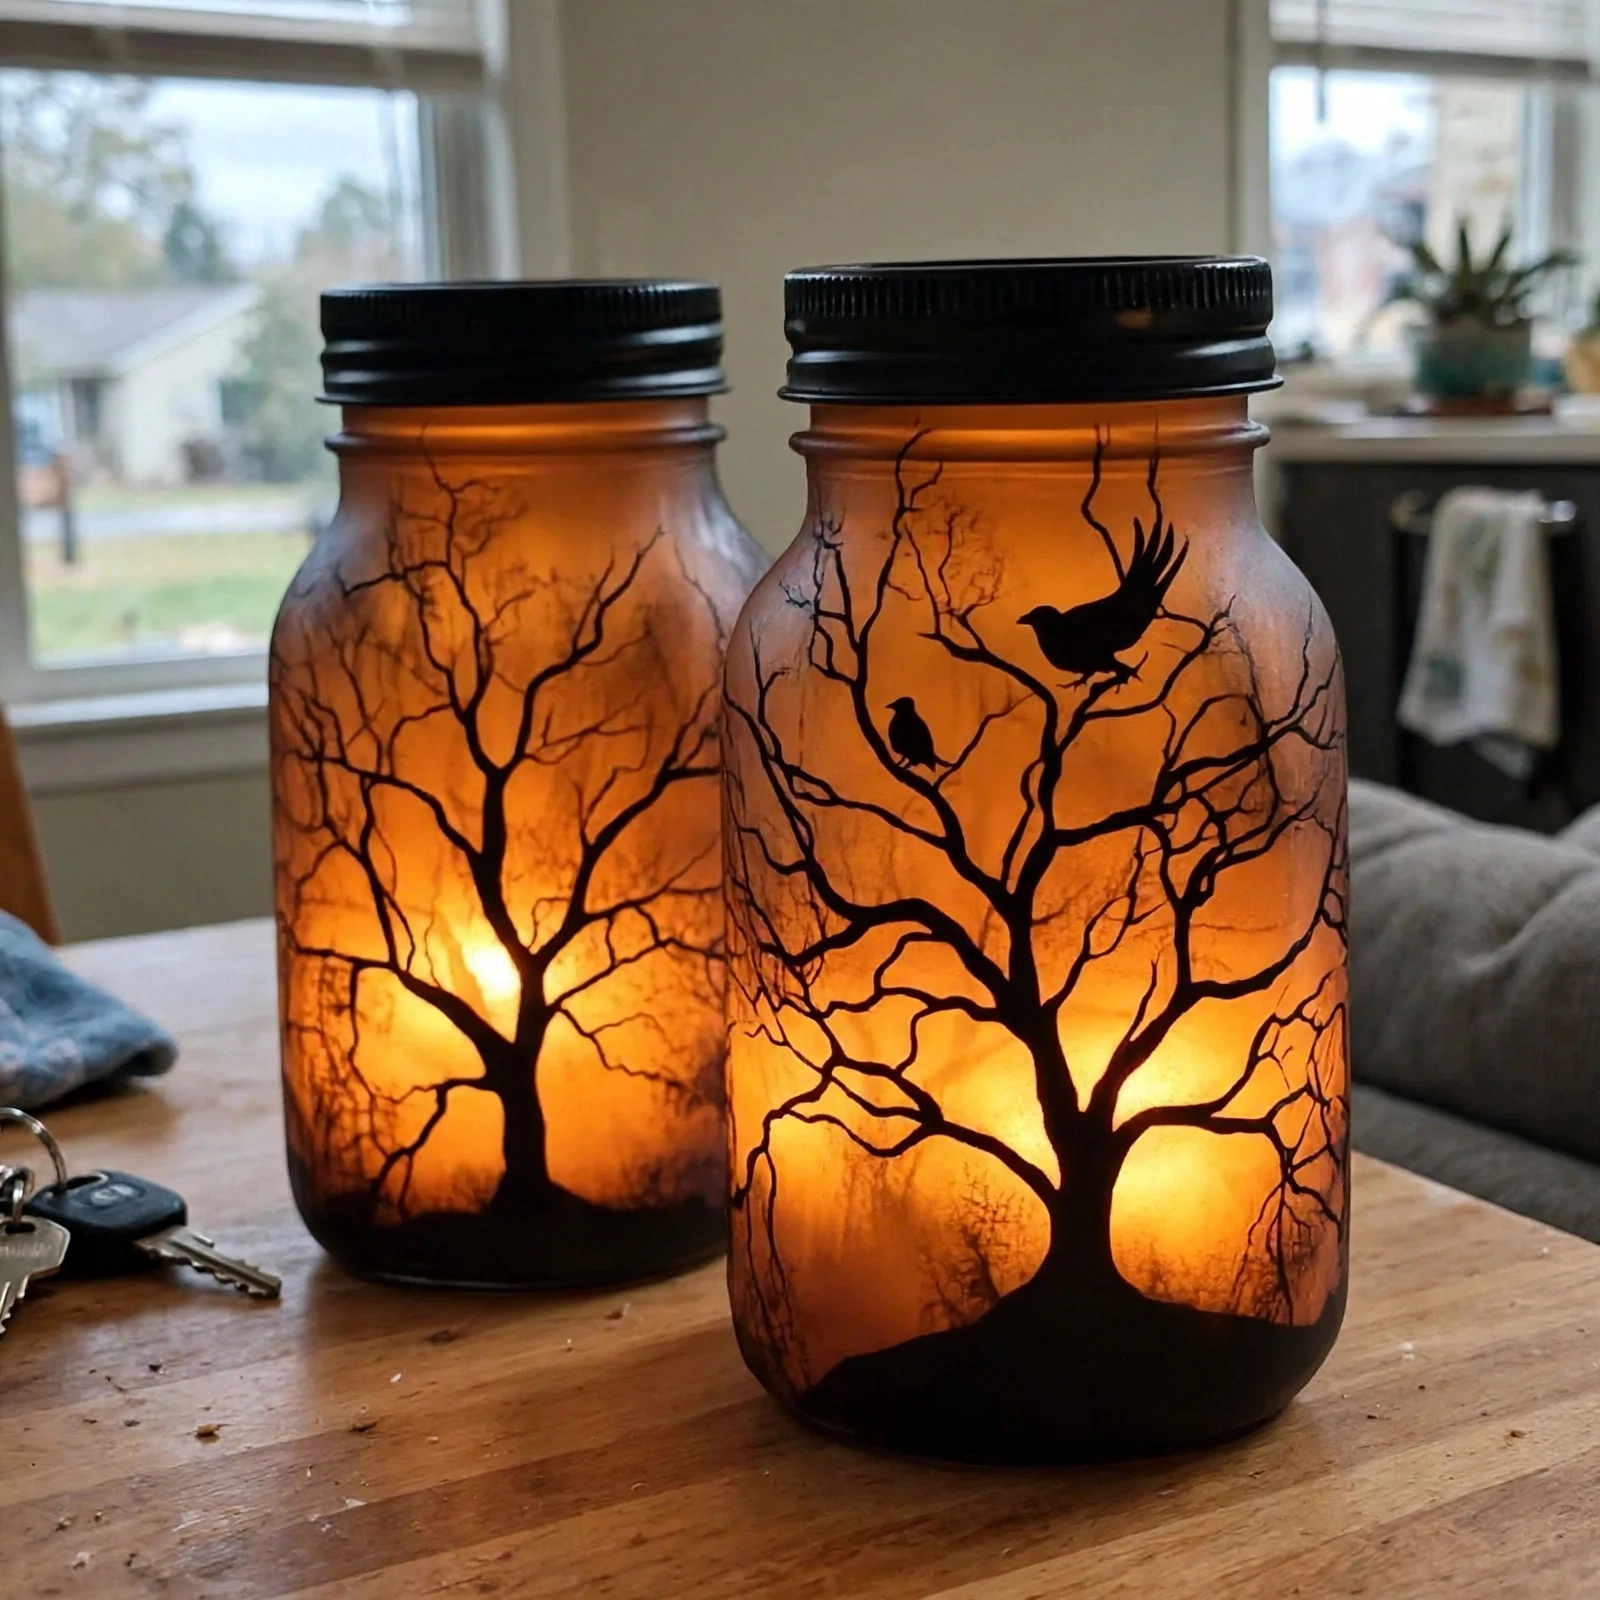
I'll be honest: I am not a "spooky decor" person. Our Halloween decorations usually max out at a pumpkin on the porch and a skeleton that my kids reposition into increasingly dramatic poses around the house. But these little glowing mason jars? They converted me. They look like something out of a cozy haunted movie — all warm amber glow with creepy tree silhouettes — and they take about fifteen minutes to make.
My youngest calls them "the spooky night-light jars" and insists on having one on her dresser every October. My oldest has started making them as gifts for her friends, which means I now buy black construction paper in bulk. Worth it.
Why You'll Love Making These
This is the easiest Halloween craft with the biggest payoff, and I will die on that hill. The materials list is tiny, there's no special skill required, and the finished jars look genuinely stunning when the lights are off — like you bought them at some fancy home store instead of making them at your kitchen table in pajamas.
They're also endlessly customizable. Googly eyes for the little kids, creepy tree silhouettes for the older ones, twine and ribbon for the farmhouse-decor crowd (me). Everyone makes something different, and every single one looks good glowing in the dark.
Materials You'll Need
- Mason jars: any size, any clear glass jar really — old candle holders and sauce jars work too
- Battery-operated tea lights: one per jar — these are the glow
- Black paint or black construction paper: for the spooky silhouettes
- Paintbrush or sponge: for applying paint, if you go that route
- Scissors: for cutting out shapes
- Googly eyes: because everything is funnier with googly eyes
- Ribbon or twine: for wrapping around the jar necks
- Spooky stickers or stencils (optional): for intricate designs like witches or haunted houses
- Glue stick: for sticking on paper shapes and decorations
<img src="https://thediynook.com/wp-content/uploads/2026/09/pin-v1-5.webp" alt="DIY Spooky Mason Jar Lights" />
Step-by-Step Directions
- Clean and dry your mason jars thoroughly. Greasy jars and paint are not friends.
- Cut spooky shapes from the black construction paper — bats, ghosts, pumpkins, bare trees, whatever feels creepy to you.
- If using black paint instead, sponge or brush it onto the outside of the jars for a classic silhouetted look. Let it dry.
- Stick your paper shapes onto the jars with glue. This is where the kids take over — let them design their own scenes.
- Wrap ribbon or twine around the neck of each jar and tie a little bow. Instant charm.
- Attach googly eyes or other decorations to make fun little characters. My youngest's jar has a ghost with googly eyes and I love him.
- Drop a battery-operated tea light into each jar and switch it on.
- Turn off the lights and arrange your jars around the house — windowsills, the porch, the dinner table. Stand back and admire.
The Learning Behind This Craft
Cutting out shapes builds scissor skills and hand strength, especially with the trickier bits like tree branches. Designing a silhouette scene is also sneaky-good for spatial thinking — kids have to plan how the shapes fit together on a curved surface. And there's a lovely little light-and-shadow lesson hiding in there: watch what happens to the silhouettes when the tealight flickers, and you've got a science conversation without even trying.
Tips If Things Go Sideways
Paint looking streaky? A sponge gives a more even coat than a brush on glass. Or skip paint entirely and go with paper shapes — honestly easier.
Shapes curling off the glass? Press them flat with a bit more glue and hold for a few seconds. Tape on the edges works as backup and is invisible in the dark.
Tea light too dim? Fairy lights (the tiny battery kind on a wire) give a brighter, more even glow and look extra magical.
Fun Variations to Try
- Paint the jars orange or purple instead of leaving them clear for a bolder look.
- Layer two different silhouettes — a tree behind a flying witch, for example.
- Make Christmas versions with white silhouettes of trees and snowflakes on frosted-look jars.
- Add a little fake moss or fall leaves around the base for a woodland scene.
FAQs
Can I use real candles instead of tea lights?
I'd really rather you didn't — battery tealights give the same glow with zero fire risk. Glass jars plus real flames plus kids is a no from me.
What if I don't have mason jars?
Any clear glass container works: old candle holders, jam jars, pasta sauce jars. If it's glass and holds a tealight, it's a lantern.
How long do battery tea lights last?
Most last 50 to 100 hours depending on use. Ours have survived three Halloweens on the same sets — I just turn them off during the day.
Can the kids do this alone?
Cutting and gluing, yes. If you're using paint, I'd supervise the younger ones. The tea lights are safe for all ages.
Can we make these for other holidays?
Absolutely. Swap the silhouettes and colors — snowflakes for winter, hearts for Valentine's, eggs for Easter. The jar doesn't care.