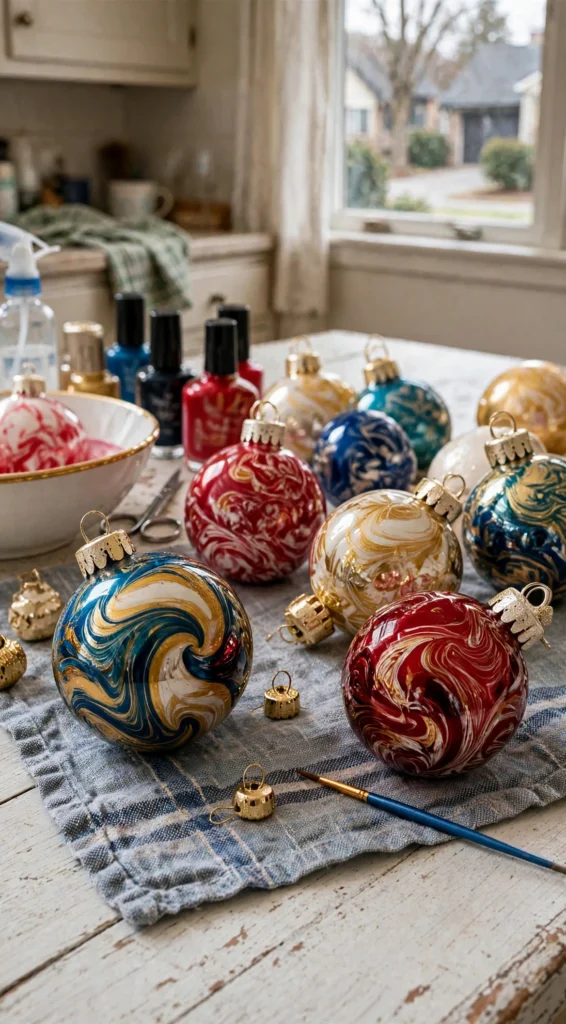
After the nail polish marbling episode (which left my kitchen smelling like a salon for two days), I went looking for a calmer version of the same magic. Turns out there's a whole world of water marbling with paint, and it is just as mesmerizing with approximately zero chemical fumes.
My youngest called this one "painting on water," which is honestly the best description I've heard. You float drops of paint on the surface, swirl them into patterns, and then dip a white ornament through it so the design wraps right around. It feels a little like a science experiment and a little like sorcery, and my kids were completely locked in for the entire process. No one asked for a screen. I repeat: no one asked for a screen.
Why You'll Love Making These
This is the mindful cousin of the nail polish version. The pace is slower, the materials are gentler, and the whole thing has this meditative rhythm — drip, swirl, dip, admire — that genuinely calmed our whole house down on a hectic December afternoon. It's the rare craft where the process is just as satisfying as the finished ornament.
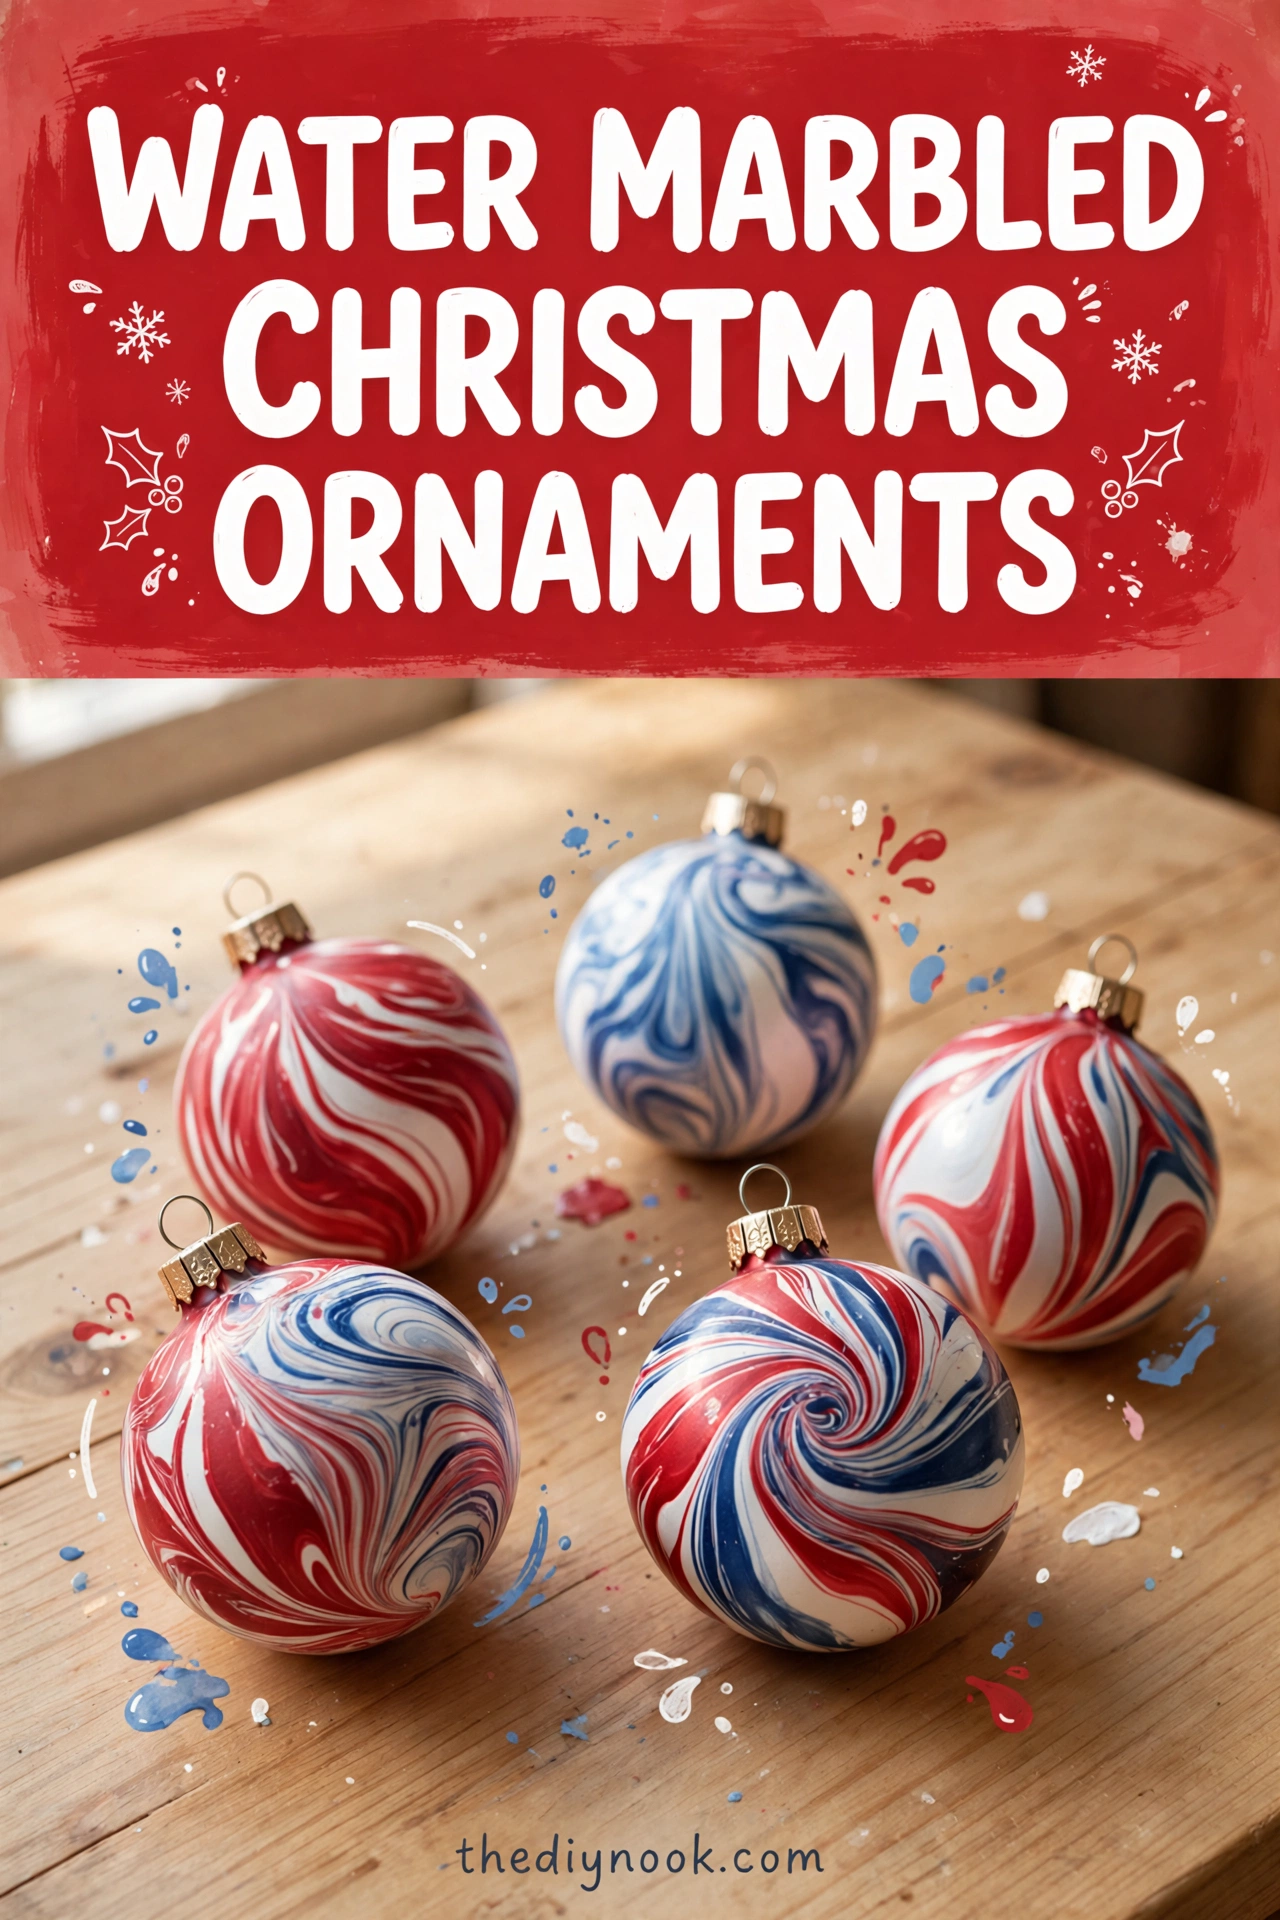
And because you start with plain white ornaments, the colors pop like crazy. Every dip reveals a one-of-a-kind pattern, and the big reveal moment never gets old.
Materials You'll Need
- White non-porous ornaments (glass or plastic)
- Marbling paint, or acrylic paint thinned with a little water
- A shallow tray or dish large enough to fit an ornament
- Toothpicks or wooden skewers for swirling
- A cup of clean, room-temperature water
- Paper towels for cleanup
- Disposable gloves (optional but smart)
- A drying rack or a line with clips
- Sealant spray (optional, for extra shine and protection)
Step-by-Step Directions
- Fill your shallow tray with room-temperature water — enough to fully submerge an ornament without overflowing.
- Shake your paint well, then let a few drops float onto the water's surface. Watch how they spread into delicate shapes all on their own.
- Take a toothpick and softly swirl the paint into patterns. Slow, gentle drags work best here.
- When you love the design, pick up a white ornament and slowly dip it straight down through the paint, letting the color cling to the surface.
- Lift it out and set it on your drying rack. Give it a moment — this is the big reveal, enjoy it.
- Let the ornament dry completely, which takes about an hour.
- If you want, mist it with sealant spray for extra durability and shine, then let it dry again before hanging.
The Learning Behind This Craft
Surface tension is the quiet star of this project — the paint floats because water's surface holds it up like an invisible skin. My kids tested which colors spread fastest and which stayed put, and my daughter correctly predicted that the thinner paint would spread more. (She announced this very loudly. Science confidence is a beautiful thing.)
There's also a lovely lesson in letting go of control. You can't fully dictate where the paint goes, and that's the point.
Tips If Things Go Sideways
Paint sinking instead of floating? Your paint is too thick — thin it with a few drops of water and try again.
Colors all bleeding together into mud? You're swirling too aggressively or your drops are too close together. Fewer drops, gentler swirls.
Ornament has bare patches? Dip a little slower and give the paint a second to grab the surface. A second dip in a fresh pattern can also fix it — layered marbling looks amazing.
Fun Variations to Try
- Try two dips in different color schemes for a layered, complex design.
- Use only metallic paints for ornaments that look genuinely expensive.
- Marble the ornaments, then add a monogram or date with a paint pen once dry.
- Make a full matching set in your tree's color scheme — they look incredibly intentional.
FAQs
Do I need special marbling paint?
It helps, but thinned acrylic craft paint works just fine. Add water a few drops at a time until it flows like cream.
Why does the water need to be room temperature?
Cold water makes paint seize up and hot water can set it before you swirl. Room temp gives you the longest working window.
How long do these take to dry?
About an hour for the paint, plus another hour if you add sealant. Plan a snack break or two.
Can little kids do this?
The dipping is great for ages 5 and up with an adult handling the tray. Toddlers can pick colors and do the "ooh" and "ahh" part, which is honestly a critical role.
Will the design wash off?
Once dry it's fairly sturdy, and a coat of sealant spray makes it even tougher. These are indoor ornaments — keep them off the porch in the rain.