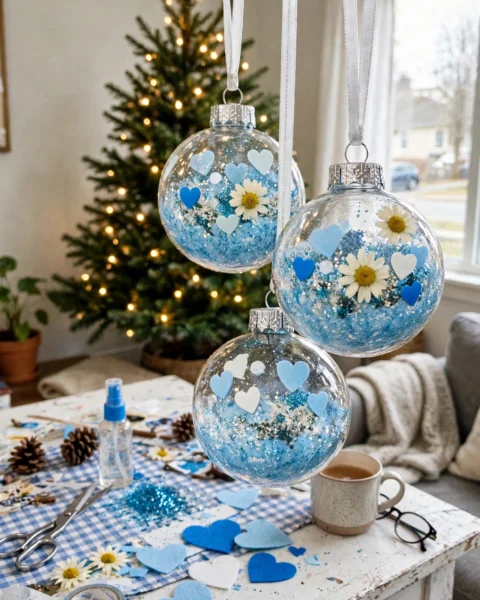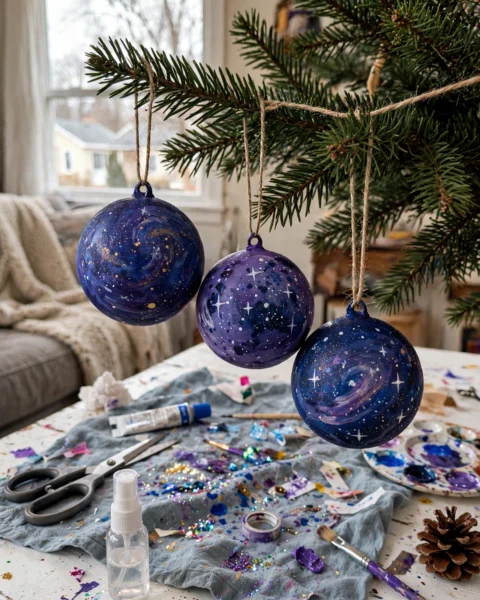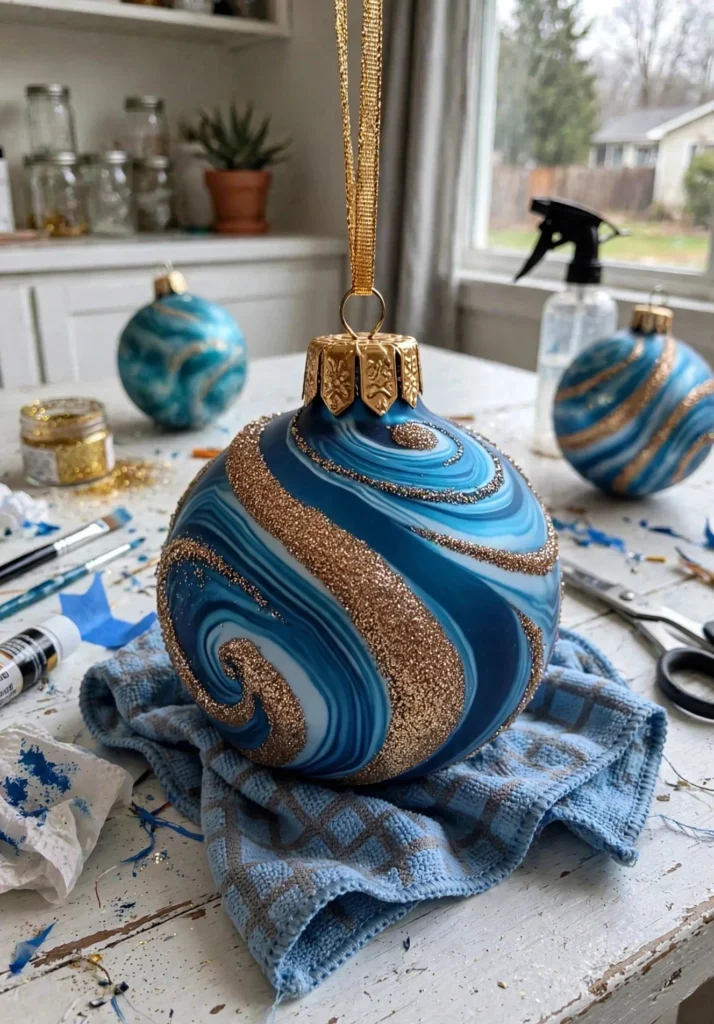
I'll be honest: when I first heard you could marble Christmas ornaments with nail polish, I thought it was one of those internet things that looks magical in the video and ends in tears at my kitchen table. But my two were bored on a rainy Saturday, I had a basket of old nail polish bottles nobody was allowed to wear to school, and well — we tried it anyway.
And oh my goodness. The moment you dip that first ornament into the water and the color wraps around it like liquid marble? My kids gasped. I gasped. Even my husband wandered in from the other room to see what the fuss was about. Every single ornament comes out different, which is why I call this the "mystery" version — you genuinely never know what you're going to pull out of that water.
Why You'll Love Making These
No two ornaments turn out the same, and that is honestly the whole point. My daughter made a set in pink and gold for her room, my son went full superhero blue and silver, and both of them looked like something from a fancy boutique. The actual dipping takes about thirty seconds per ornament, so kids who usually lose interest fast stay hooked because the payoff is instant.
It's also gloriously cheap. A pack of clear ornaments from the dollar store and nail polish you already own — that's the whole shopping list.
Materials You'll Need
- Clear glass or plastic ornaments (any size you like)
- Nail polish in assorted colors (old bottles are perfect)
- A shallow container of room-temperature water
- Toothpicks or wooden skewers
- Disposable gloves
- Paper towels
- Resealable plastic bags (optional, for mess-free cleanup)
A note on the nail polish: fresh-ish bottles work best. The one that's been sitting in your drawer since 2019 and has the consistency of tar? Leave that one out.
Step-by-Step Directions
- Cover your workspace with paper towels or a plastic bag. This is a nail polish project — trust me on the prep.
- Put on the disposable gloves. You will thank yourself later.
- Fill a shallow container with room-temperature water, deep enough to dunk an ornament.
- Open your nail polish bottles and drip several colors onto the surface of the water. Watch them float and spread — this is the fun part.
- Drag a toothpick gently through the colors to swirl them into a marbled pattern. Don't overmix — you want distinct swirls, not brown soup.
- Hold an ornament by its cap and slowly dip it into the water, twisting slightly as you go so the polish wraps around.
- Lift it out, let the excess drip back into the container, and set it on paper towels to dry.
- Repeat with as many color combos as you can dream up. Let them dry completely before hanging.
The Learning Behind This Craft
There's real science hiding in this one. The nail polish floats because it's less dense than water, and kids get a front-row seat to surface tension in action. My son noticed that some colors spread fast and others stayed in tight little pools, which turned into an accidental lesson about viscosity — his word now, he's very proud of it.
Tips If Things Go Sideways
Colors not swirling? Work faster — nail polish starts to set the second it hits the water, so drip and dip with confidence. Also check that your polish isn't ancient.
Everything turned muddy brown? You swirled too much. Next time, one or two gentle drags with the toothpick is plenty.
Polish won't come off your hands? Gloves, friends. Gloves. (Ask me how I learned this. Actually, don't.)
Fun Variations to Try
- Use metallic or glitter nail polish for ornaments that look straight-up expensive.
- Dip twice in different color combos for layered, complex designs.
- Try wooden or ceramic ornaments instead of glass for a totally different texture.
- Add a drop of essential oil to your polish for ornaments that smell as good as they look.
FAQs
Does the water have to be room temperature?
Yes, really. Cold water makes the polish clump up and hot water makes it set too fast. Room temp is the sweet spot.
Can I use paint instead of nail polish?
You can, but you won't get that gorgeous swirling effect. Nail polish is the magic ingredient here — it's formulated to spread thin and dry fast.
How do I clean up nail polish spills?
Acetone or nail polish remover, carefully. This is why we cover the table, wear gloves, and keep the craft far, far away from the good tablecloth.
Will these fade or chip?
Once fully dry, the polish bonds nicely to the ornament. Handle them gently when hanging and they'll last for years of Christmases.
What ages is this good for?
Big kids and teens will love it most because of the fumes and the delicate handling — I'd say 8 and up with an adult nearby. Little ones can pick the colors, which they'll consider a very important job.