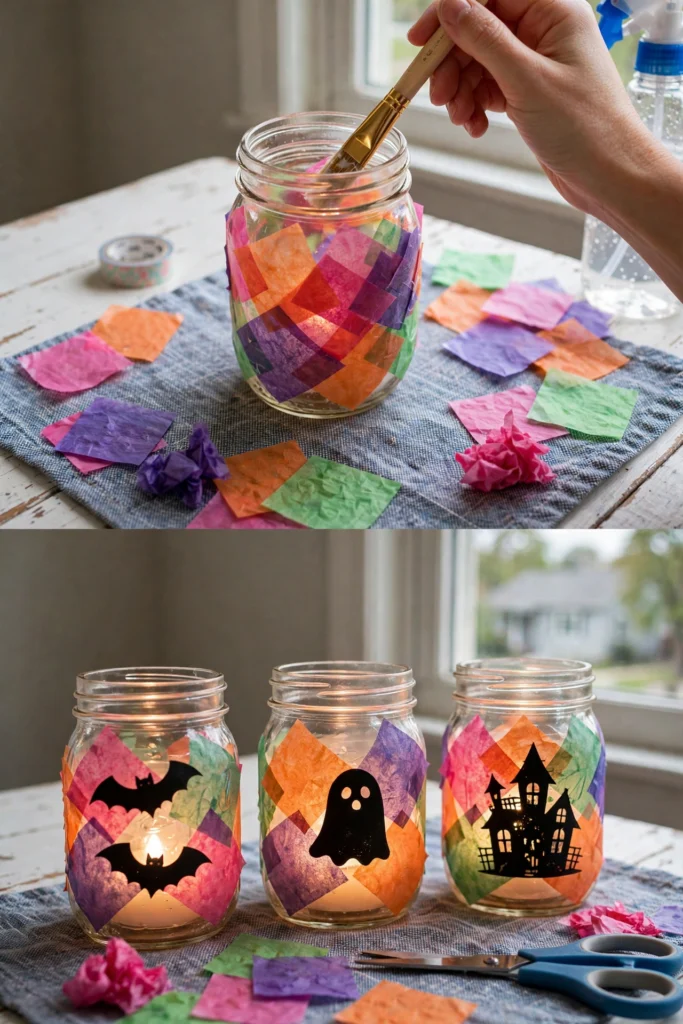
Last Tuesday my two came home from school and declared, within about ninety seconds of walking through the door, that the house "didn't look Halloween-y enough." Which, fair — I had not done a single decoration yet. So I did what any reasonable mom does in that situation: I opened the craft cabinet and said, "Let's make the windows glow."
Twenty minutes later we had rainbow-painted mason jars drying on the counter, black paper bats everywhere, and both kids arguing about whose ghost had the cutest face. Mine did not win. My ghost looked like it had seen something terrible.
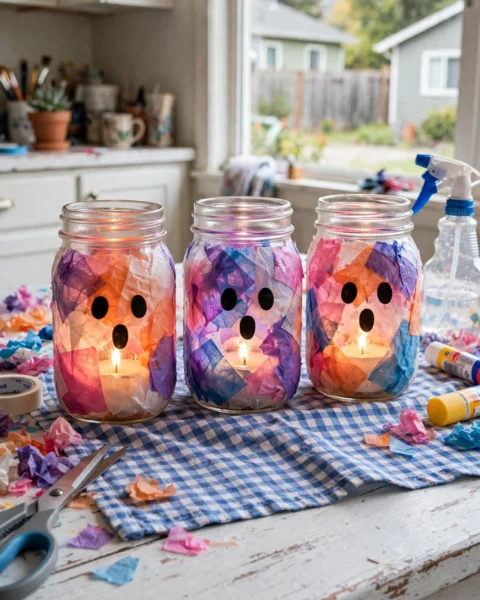
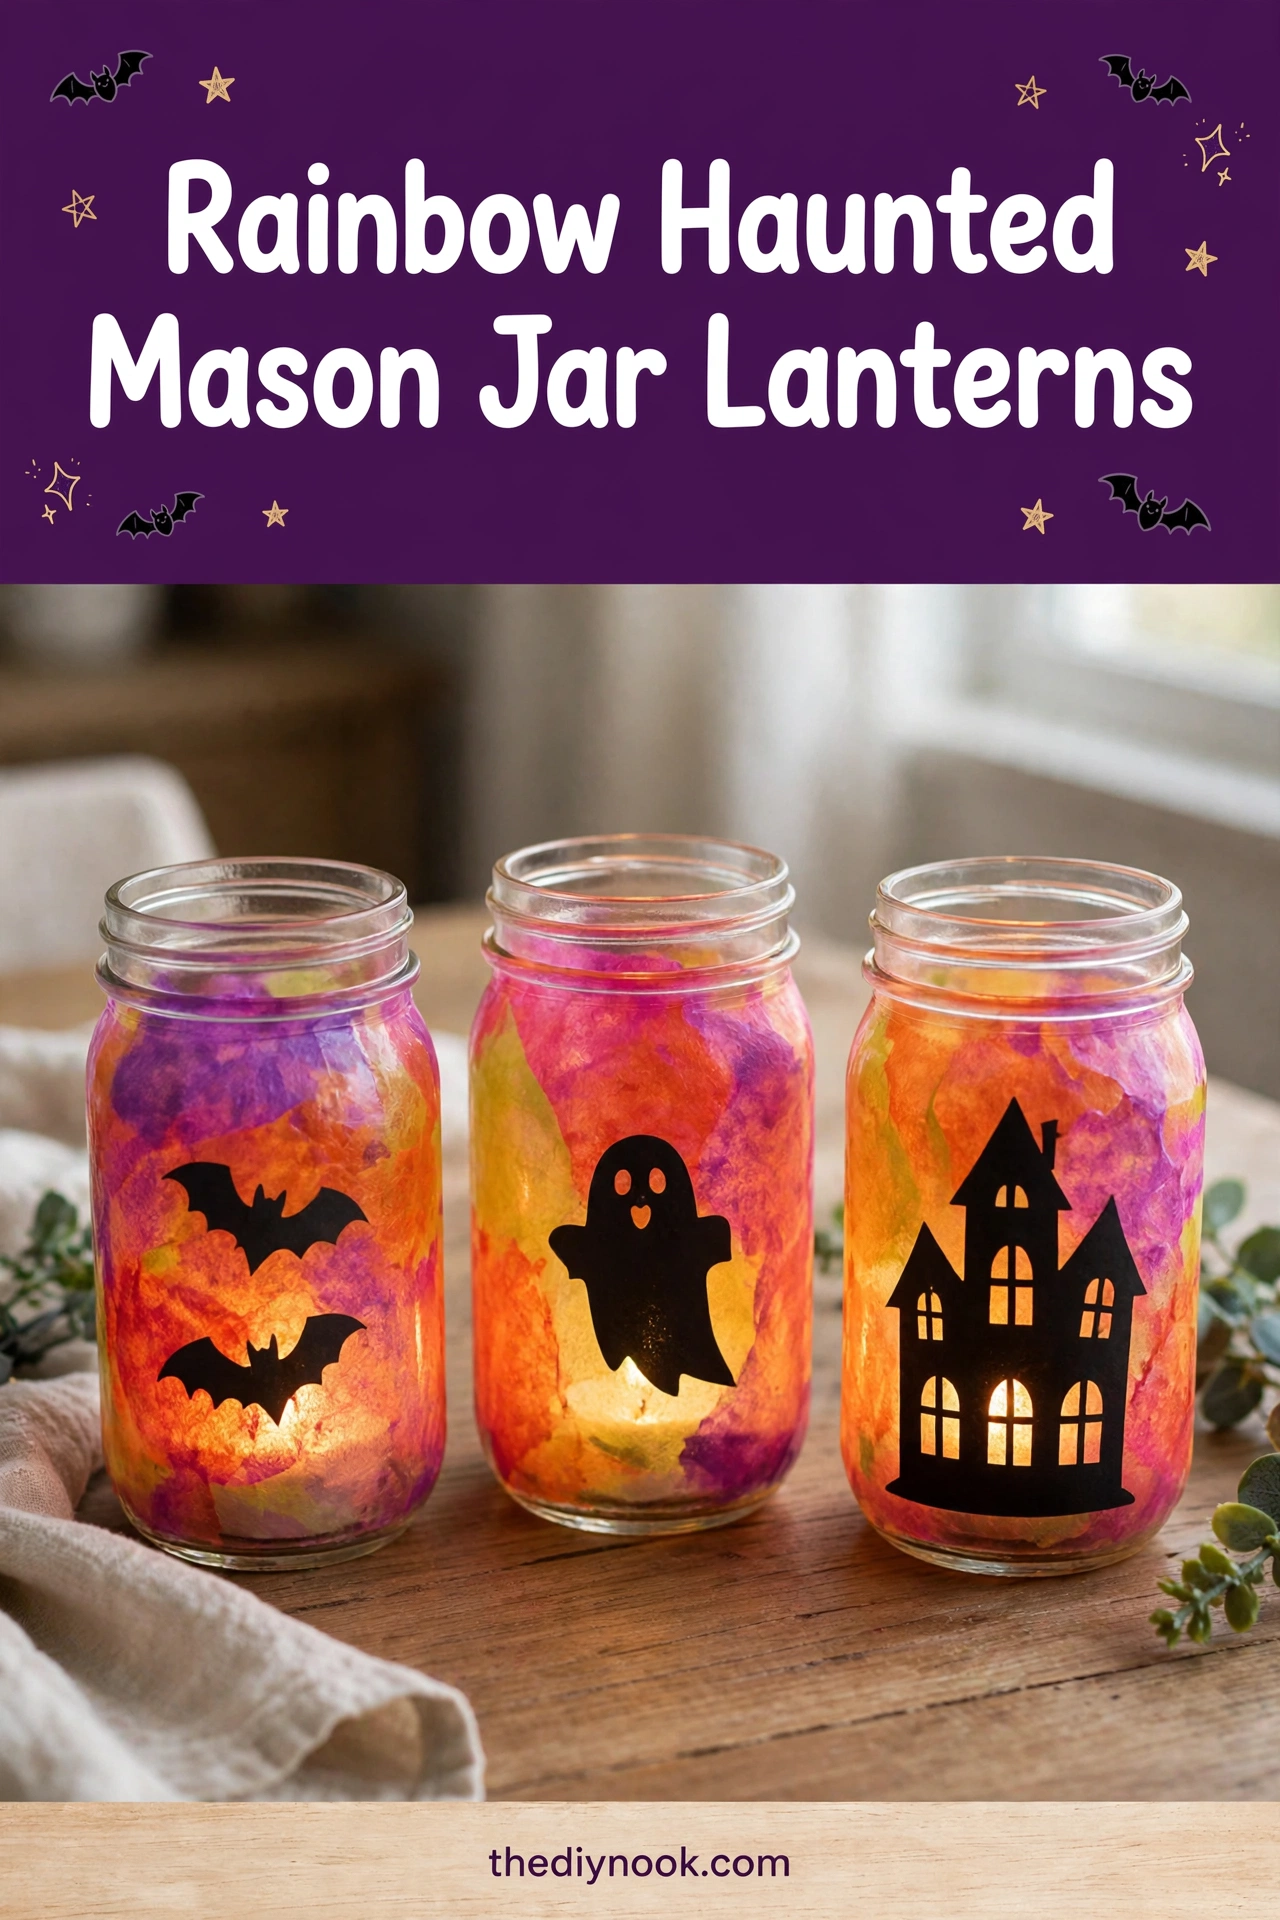
These Rainbow Haunted Mason Jar Lanterns are the perfect mix of spooky and cheerful — bright rainbow glass with black silhouettes that look amazing when the LED tealights flicker inside. They look like something from a boutique, but the whole project is paint, paper, and jars you probably already own.
Why You'll Love Making These
This is one of those rare crafts that works for a huge age range without anyone getting bored. Younger kids get to swirl paint inside the jars (the best part, honestly), and older kids get very into designing their own silhouettes. My oldest cut out an entire haunted house scene and I am still impressed.
It's also genuinely low-mess for a painting project — all the paint goes inside the jar, not on your table. Revolutionary concept, I know. And once they're done, these lanterns live on your windowsill or porch for the whole season, glowing every evening like little reminders that you are, in fact, the fun house on the street.
Materials You'll Need
- Mason jars: clean, any size (we used pint jars)
- Acrylic paints in rainbow colors: red, orange, yellow, green, blue, purple
- Foam brush or paintbrush: foam brushes work beautifully for streaks
- Water: just a splash, for thinning the paint
- Black construction paper: for the spooky silhouettes
- Scissors: for cutting out bats, ghosts, and haunted houses
- LED tealights or battery fairy lights: the glow inside — battery only, never real candles
- Mod Podge (optional): for sealing the silhouettes onto the glass
- A plate or palette: for squeezing out paint colors
- Newspaper or an old tablecloth: for protecting your table, because I'm not a monster
<img src="https://thediynook.com/wp-content/uploads/2026/09/pin-v1-3.webp" alt="Rainbow Haunted Mason Jar Lanterns" />
Step-by-Step Directions
- Cover your table. I say this at the start of every craft and I have never once regretted it.
- Squeeze a small amount of each paint color onto a plate so the kids can reach everything easily.
- Paint streaks of color on the INSIDE of the mason jar, starting with lighter shades. Swirls, zigzags, totally random — all correct.
- Layer the colors, letting each one dry just slightly before adding the next so they don't turn into one muddy blob. (Learned that one the fun way.)
- While the paint dries, cut spooky shapes from the black construction paper — bats, ghosts, haunted houses, whatever feels spooky to your kids.
- Stick the silhouettes onto the OUTSIDE of the jar with a dab of Mod Podge or even just tape on the edges. Mod Podge gives a cleaner look.
- Drop an LED tealight or a small string of fairy lights inside the jar.
- Turn off the lights, put the lantern somewhere visible, and accept your applause.
The Learning Behind This Craft
While they're painting, kids are building fine motor skills with every brushstroke, and painting inside a curved jar is genuinely good hand-control practice. There's color mixing to discover — my daughter was thrilled when orange and blue made a swirly brown she named "monster mud" — plus a lovely cause-and-effect moment when the tealight goes in and suddenly their jar glows. Light plus color equals magic, and they figured it out themselves.
Tips If Things Go Sideways
Paint looks muddy? The colors got blended too much — next time, let each layer dry a bit more before adding the next. No stress; even the muddy ones look great glowing at night.
Silhouettes won't stick? Use a bit more Mod Podge and hold them for ten seconds. Tape works in a pinch and nobody will ever know.
Paint dripping down the outside? Wipe it immediately with a damp cloth. Acrylic comes off glass easily when it's wet, and a lot less easily when it's dry — ask me how I know.
Fun Variations to Try
- Christmas version: white, red, and silver paint with snowflake silhouettes.
- Birthday version: bright neon colors with star and balloon cutouts.
- Add glitter to the paint for extra sparkle (I said a LITTLE, kids).
- Use tall pasta sauce jars for a bigger, porch-worthy lantern.
FAQs
Is this going to be a big mess?
Honestly, not really. All the painting happens inside the jar, so your table stays safe. The table covering is mostly insurance.
What ages is this good for?
Ages 3 and up with supervision. Little ones can do the painting; kids 6 and up can handle the cutting and the whole project.
I don't have acrylic paint — will anything else work?
Tempera paint works but chips more easily. Acrylic sticks to glass best. A cheap multi-pack lasts forever for crafts like this.
Can we use real candles?
Please don't. LED tealights give the same glow with zero fire risk, and kids' crafts plus open flame is a combination I will not be endorsing.
How long will these last?
Seasons. Ours from last year still look great — just wipe off the dust and pop in fresh batteries.