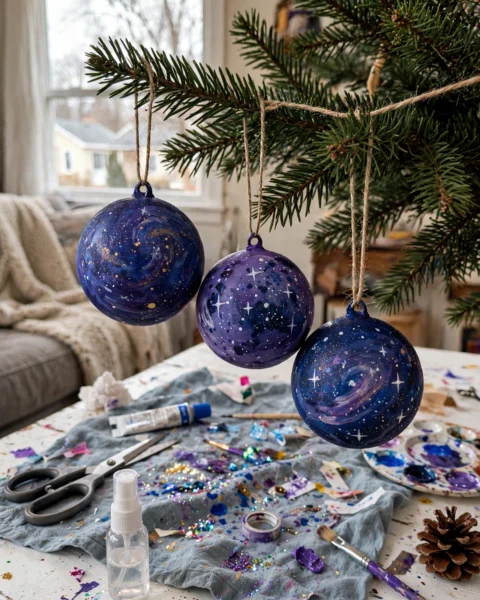
Last December my oldest came home from a friend's house absolutely obsessed with these ornaments that glowed in the dark — she talked about them for three days straight, and honestly, I got a little jealous of the friend's mom. So we decided to make our own, and friends, this project delivered. We turned off the kitchen lights that night and our whole tree had this soft, magical glow. The kids gasped. I may have gasped too.
These glow-in-the-dark ornaments are one of those rare crafts that genuinely look store-bought but cost almost nothing and take about twenty minutes of actual work. If you can pour paint into a cup, you can do this — and your Christmas tree will look like it has its own little night-light situation going on.
Why You'll Love Making These
There's something so satisfying about a craft that keeps giving after you put it away. These ornaments "charge up" in the light all day and then glow softly at night — my kids run to the tree every evening to check if they're "awake yet." It never gets old.
They're also the perfect low-stress holiday project. No precise measuring, no tricky techniques, and every single one turns out different. My youngest went wild with glitter (shocker), my oldest did elegant single-color ones, and they both looked great hanging side by side. Plus, homemade ornaments make the sweetest little gifts for grandparents — just saying.
Materials You'll Need
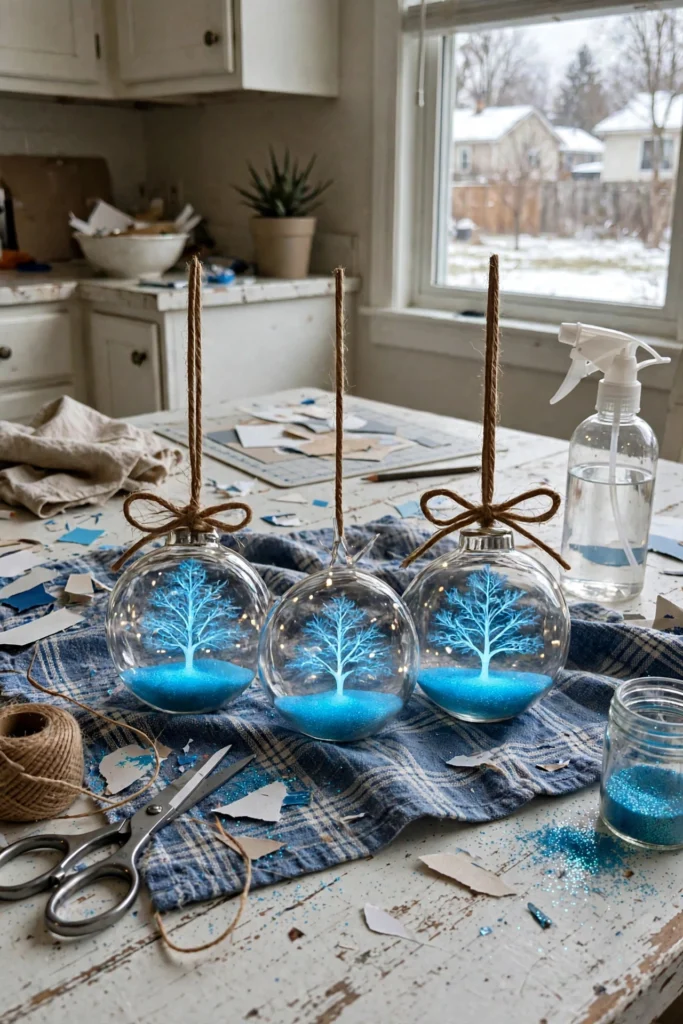
- Clear plastic ornaments (ball or flat shapes — the fillable kind with the removable top)
- Glow-in-the-dark paint or glow powder
- Paintbrushes or sponge applicators
- Glitter (optional, but come on — it's the holidays)
- Ribbon or string for hanging
- Water, if you're using glow powder
- Disposable cups for mixing
- Paper towels for cleanup
- Newspaper or a plastic tablecloth to protect your table
That's the whole list. Clear ornaments are the one thing you might need to grab — check the craft aisle or order a pack online.
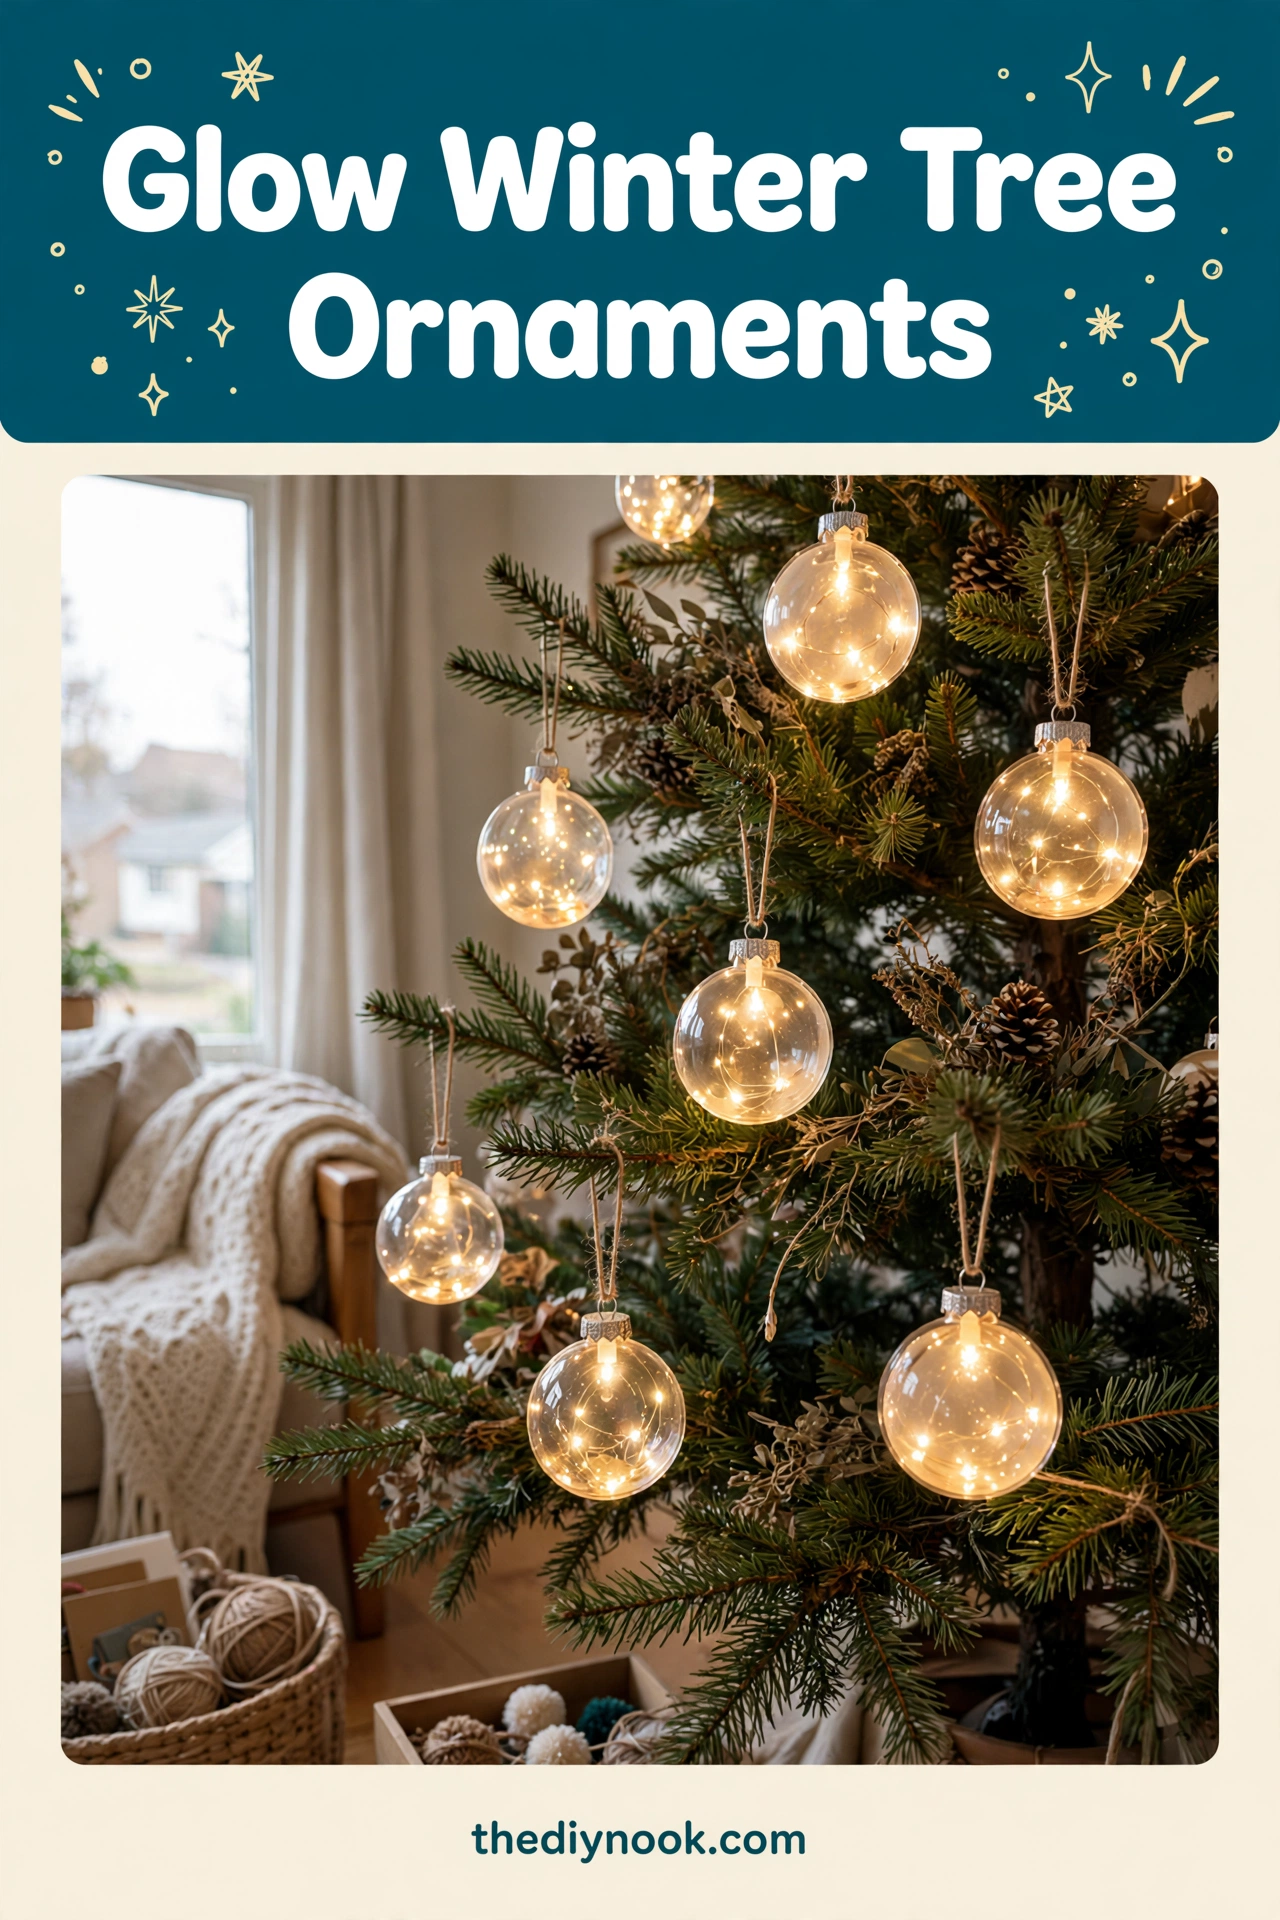
<img src="https://thediynook.com/wp-content/uploads/2026/09/pin-v1-2.webp" alt="Glow Winter Tree Ornaments" />
Step-by-Step Directions
- Cover your table with newspaper or a plastic tablecloth. Paint plus excited kids — you know the drill.
- Pop the tops off your clear ornaments and set them aside somewhere they won't roll away.
- If you're using glow powder, mix it with water in a disposable cup according to the package directions and stir well. If you're using glow paint, just pour a little into a cup.
- Spoon or pour the glow mixture inside each ornament, then rotate and swirl it around so it coats the inside evenly. This is weirdly fun.
- While the paint is still wet, sprinkle in some glitter if you're going that route.
- Turn the ornaments upside down in a cup to drain out the excess paint. Let them drip for a few minutes.
- Flip them upright and let them dry completely — several hours or overnight is best. Patience is the hardest step, trust me.
- Once dry, thread a ribbon through the top and pop the caps back on.
- Hang them on the tree, charge them up in the light, and then turn off the lamps and enjoy the show.
The Learning Behind This Craft
Glow-in-the-dark paint is basically a tiny science lesson in a bottle. The pigments absorb light and release it slowly — phosphorescence, if you want to impress someone at dinner. My daughter now explains this to everyone who walks in our house, and I couldn't be prouder.
There's also great fine-motor practice in the pouring, swirling, and ribbon-threading, plus a lesson in delayed gratification. The ornaments have to dry before the magic happens, and waiting for that glow? Worth every minute.
Tips If Things Go Sideways
Glow not bright enough? The paint probably needs a second coat — just let the first one dry fully, then repeat the swirl-and-drain routine. Two thin coats beat one thick one every time.
Paint pooling at the bottom? You didn't drain long enough. Pop it back upside down in the cup for a bit longer.
Glitter clumping? Sprinkle it while the paint is still wet and give the ornament a gentle swirl to spread it around.
And if a little paint gets on the outside of the ornament, a damp paper towel takes it right off while it's wet.
Fun Variations to Try
- Mix different glow colors for a rainbow tree effect — green and blue look especially dreamy together.
- Add small stickers or tiny gems to the outside before the paint dries for a mixed-media look.
- Try flat disc ornaments instead of balls — they catch the light differently and look super modern.
- Skip the glitter and go for an elegant all-white glow with white ribbon — very winter wonderland.
- Make a whole themed set: snowflakes, icicles, stars, all in matching colors.
FAQs
Can I use regular paint instead of glow paint?
You can, but you won't get the glow — which is kind of the whole point here. Glow-in-the-dark paint or powder is the star of this show.
How long does the glow last?
It depends on the paint, but most glow for a few hours after charging in bright light. They recharge every day, so it's a gift that keeps on giving.
Is this project good for young kids?
Yes, with supervision. The pouring and swirling are very toddler-friendly, but you'll want to handle the ribbon threading and cleanup.
Where do I find clear ornaments?
Craft stores carry them in the holiday aisle, and you can order packs online. Look for the fillable kind with removable tops.
Do they need sunlight to charge?
Bright indoor light works fine — a sunny window is great, but even regular lamps will charge them up.
Can we give these as gifts?
Absolutely — tuck one in a little gift bag with a note that says "charge me in the light!" Grandparents eat this stuff up.