
My two are obsessed with anything they can squish, and air-dry clay might be my favorite craft supply ever discovered. No kiln, no baking, no fuss — just shape it, let it dry, and you have something real. This weekend we made a wildflower pot, and it might be the prettiest thing to come out of our kitchen all year.
This is a two-part project: first you shape the little pot, then you make the wildflowers to fill it — daisies, lavender sprigs, little bell flowers, all from colorful clay. It's the perfect slow-afternoon craft. Put on some music, and let everybody make their own bouquet.
Why You'll Love Making This
Air-dry clay is wonderfully forgiving. If a flower looks wonky, you just squish it and try again. My perfectionist daughter redid her daisy four times and was delighted every single time — no frustration, just pure making.
It also stretches across ages beautifully. Little ones can roll balls and snakes (the backbone of all clay flowers), while older kids can get detailed with petals and leaves. Everyone ends up with a pot they're proud of.
Materials You'll Need
- Air-dry clay in several colors (white, yellow, green, purple, pink, blue)
- A small terracotta or clay pot, or clay to shape your own
- A rolling pin
- Clay tools, a toothpick, or a butter knife for shaping
- A small bowl of water for smoothing
- Acrylic paint and a brush, optional for decorating the pot
- Wax paper or a craft mat to work on
Step-by-Step Directions
- Cover your work surface with wax paper. Knead each clay color until soft and pliable.
- Roll out a ball of terracotta-colored clay, then shape a simple pot: pinch a bowl shape, or roll a coil and wrap it around a round base. Smooth the joins with a dab of water.
- Set the pot aside to start firming up while you make the flowers.
- For daisies: flatten small white balls into petals, arrange 6 to 8 around a yellow center ball, and press gently together.
- For lavender: roll a thin green stem, then press tiny purple ovals along the top half, alternating sides.
- For bell flowers: pinch a small cone of clay, hollow the wide end with a toothpick, and add a green stem.
- Roll long thin green snakes for extra stems and cut leaf shapes from flattened green clay. Score the leaves with a toothpick for veins.
- Arrange the flowers in the pot, pressing stems into a small ball of green clay at the bottom so everything stands up.
- Let the whole thing dry for 24 hours. Paint the pot if you like, once the clay is fully dry.
Tips If Things Go Sideways
Clay cracking as it dries? You probably worked it a little too thin, or it dried too fast. Smooth cracks with wet fingers while it's still damp, and keep it away from heat vents.
Flowers flopping over? Make stems thicker, or let them firm up for 20 minutes before arranging. A support ball of clay at the pot's base fixes most wobbles.
Colors muddying together? Wash hands between colors, especially after dark clay. White clay picks up every fingerprint.
Fun Variations to Try
- Make a mini herb garden instead: tiny clay basil, mint, and rosemary sprigs.
- Press real leaves into the pot's surface for a botanical imprint before it dries.
- Add a tiny clay bee or ladybug sitting on one of the flowers.
- Make matching pots as gifts for grandparents — they keep forever on a shelf.
<p><img src="https://thediynook.com/wp-content/uploads/2026/09/pin-v1-91.webp" alt="DIY Clay Wildflower Pot for Kids" /></p>
FAQs
What kind of clay should I buy?
Any air-dry modeling clay from the craft store works. The soft, lightweight kind is easiest for little hands.
How long does it take to dry?
About 24 hours for pieces this size. Thicker pieces can take longer — just leave them overnight and check.
Can we plant real flowers in it?
A handmade clay pot isn't waterproof, so use it for clay flowers or dried flowers instead. It's a keepsake pot, not a planter.
My child's pot collapsed — help!
Coil-built walls are sturdier than pinched ones for beginners. Also, let each layer firm up for a few minutes before adding the next.
How do we store leftover clay?
Wrap it tightly in plastic wrap and seal it in a zip bag. Dried-out clay can sometimes be revived with a little water and kneading.

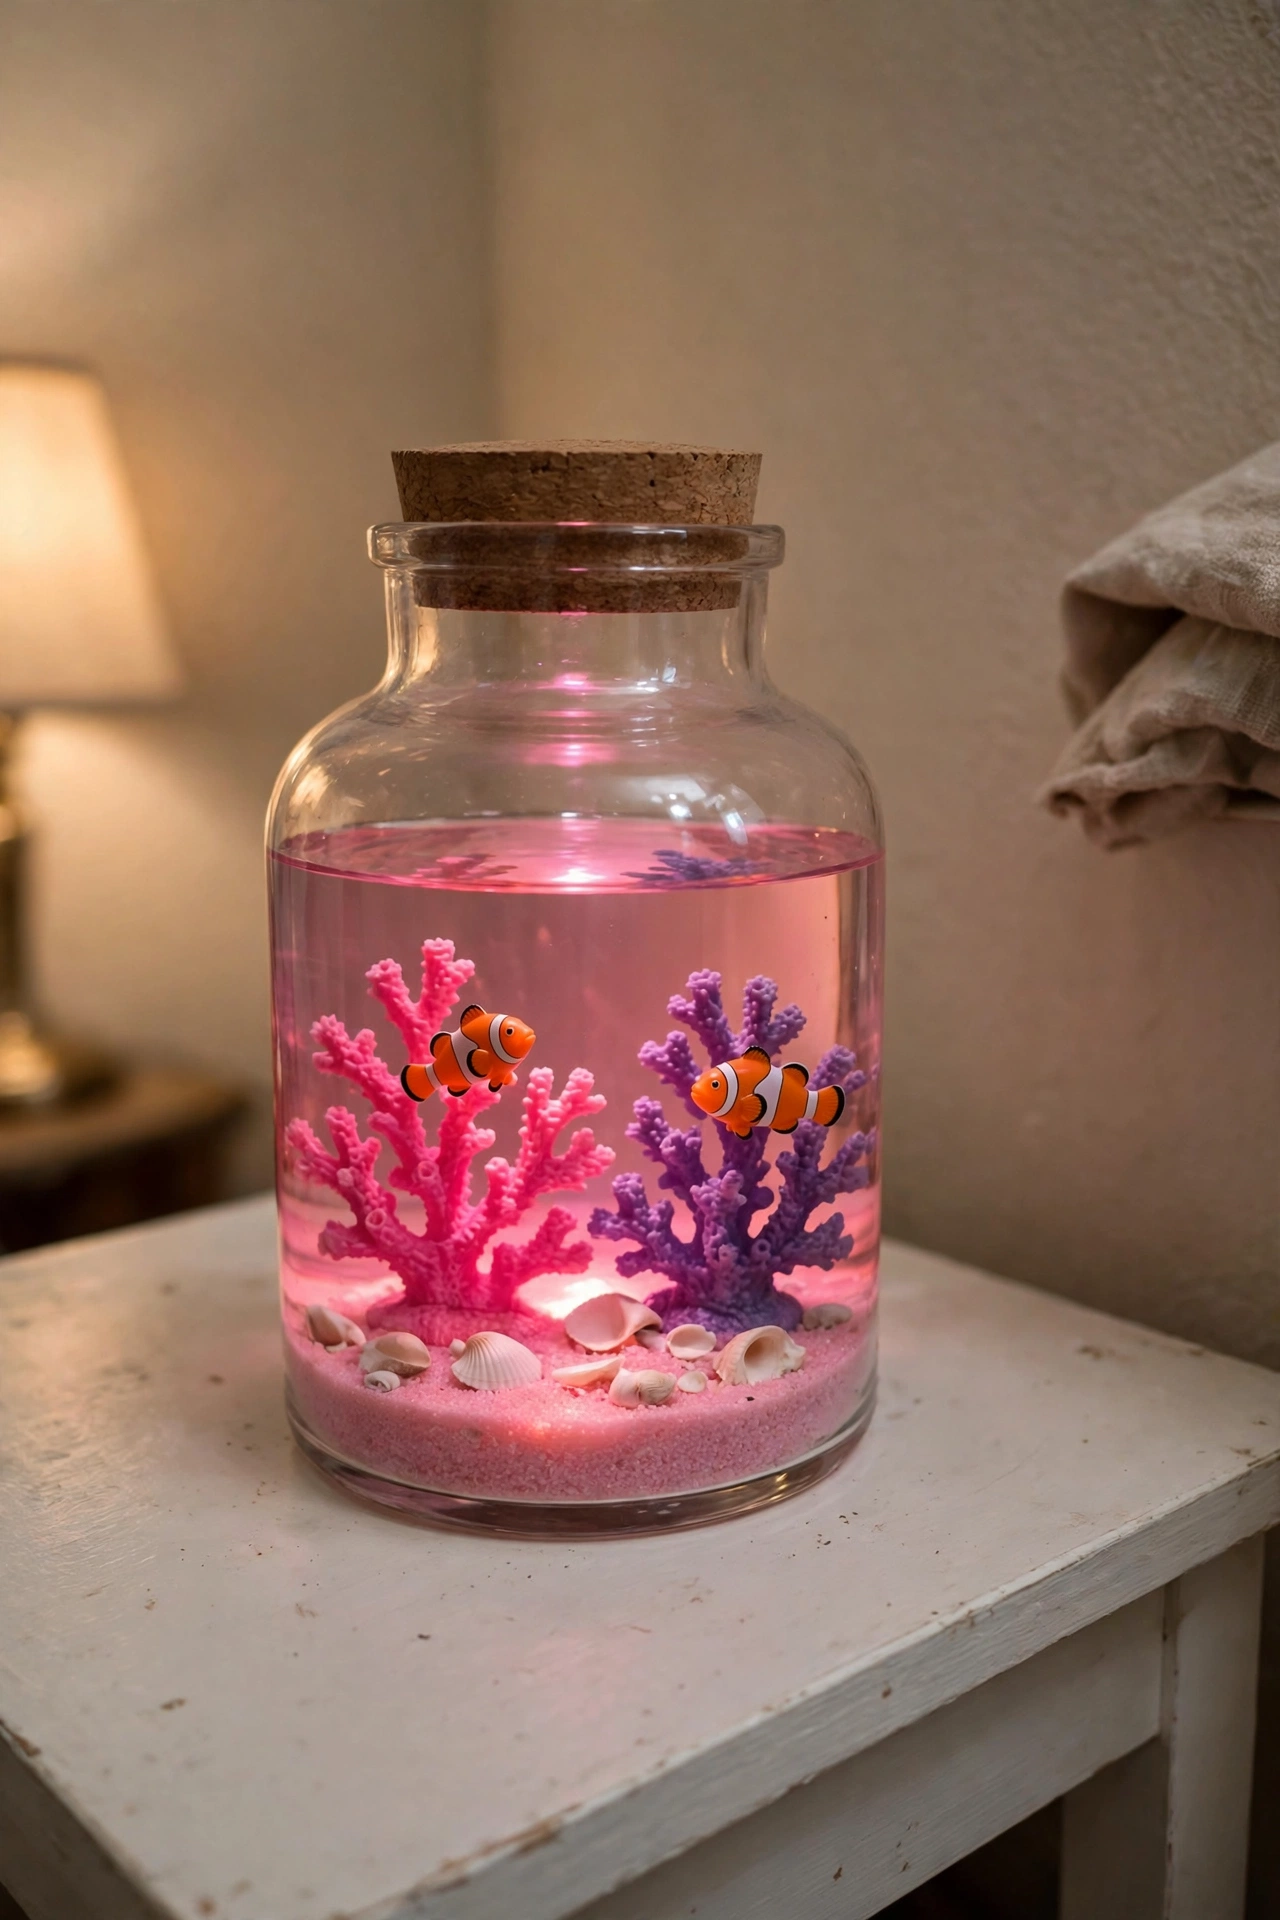 DIY Pink Glow Aquarium Jar for Kids
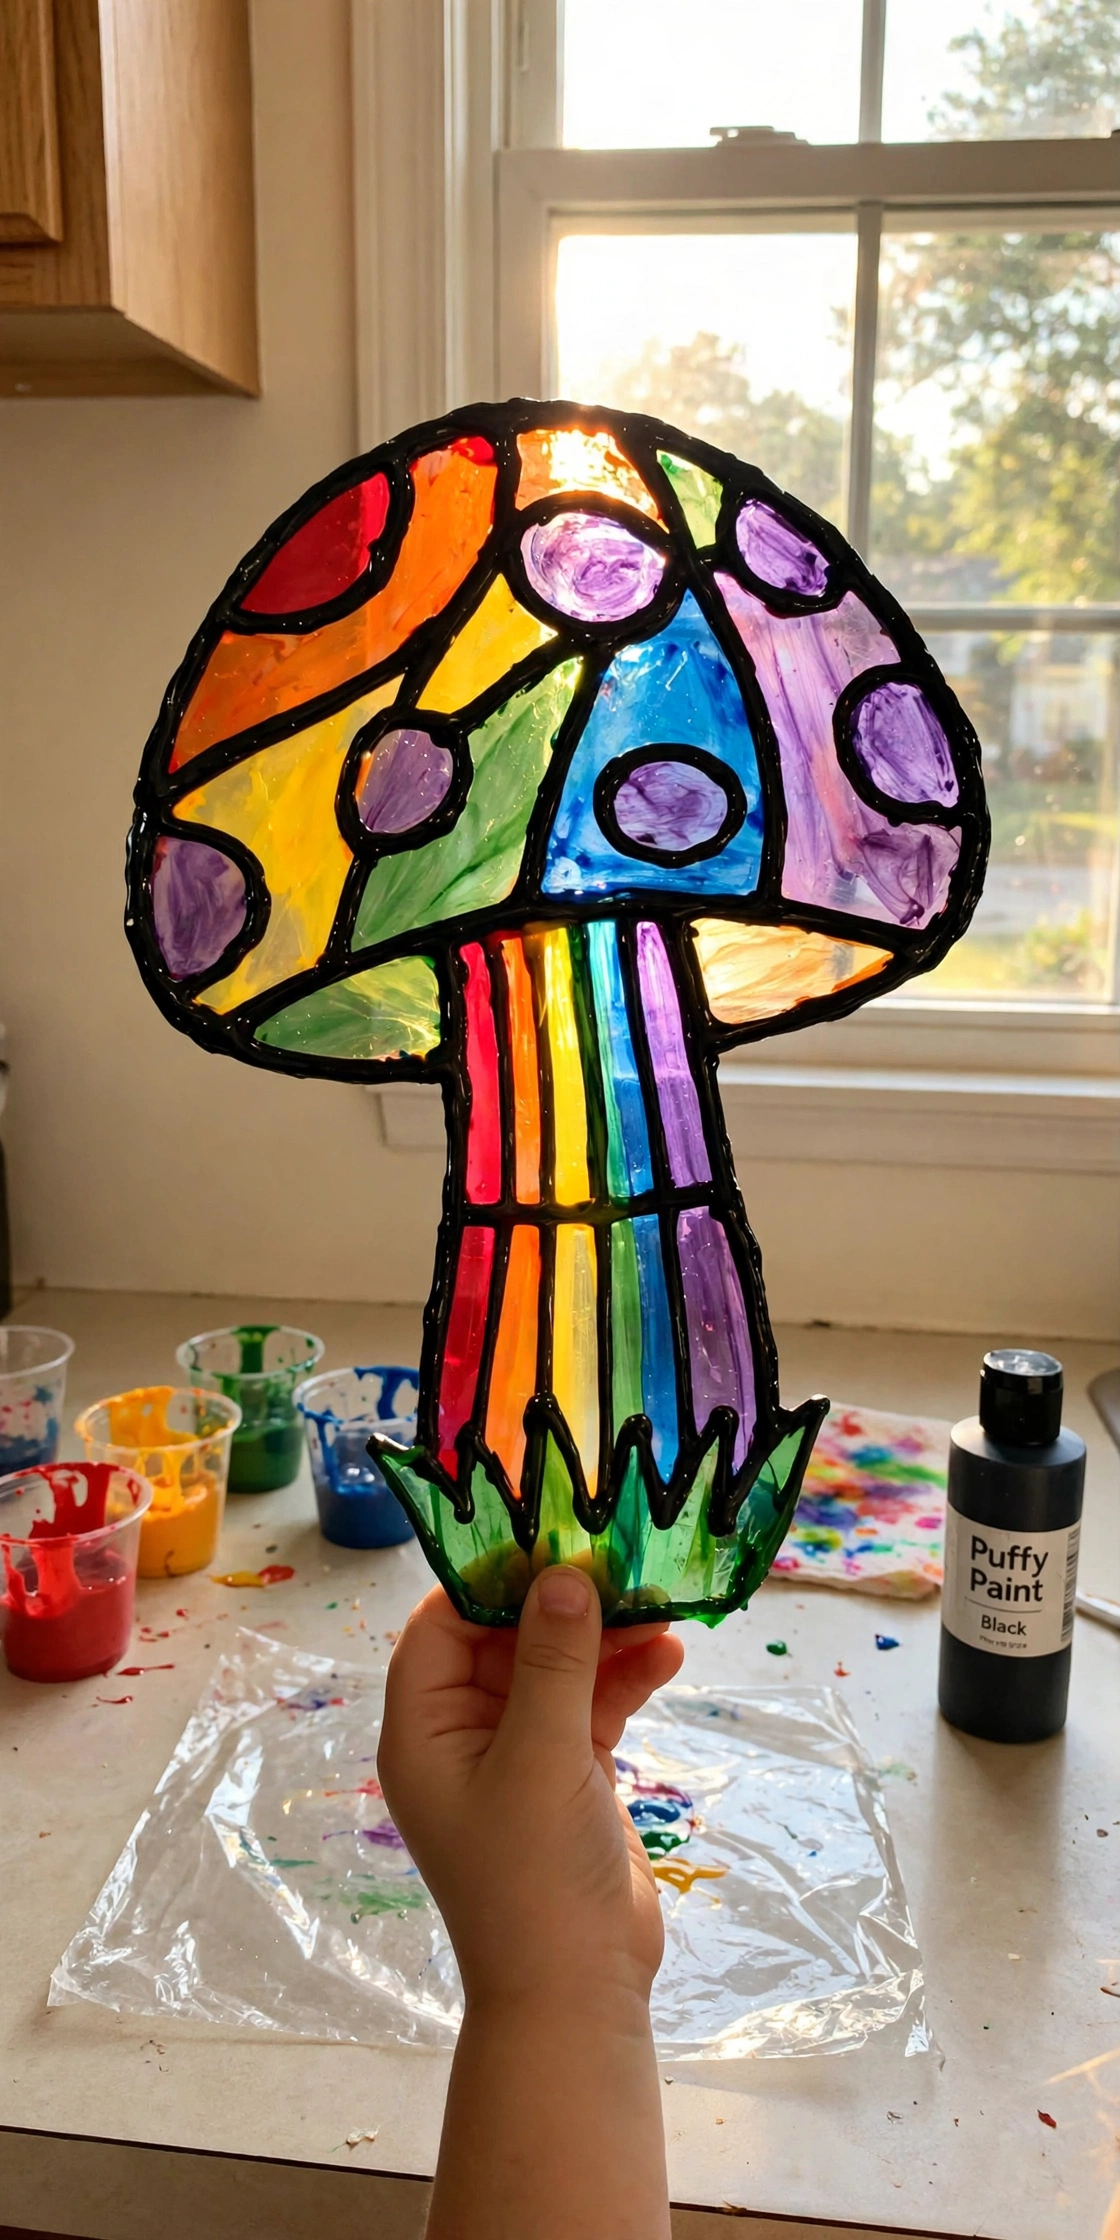 DIY Faux Stained Glass Mushroom for Kids
 DIY Glowing Bubble Lamps for Kids
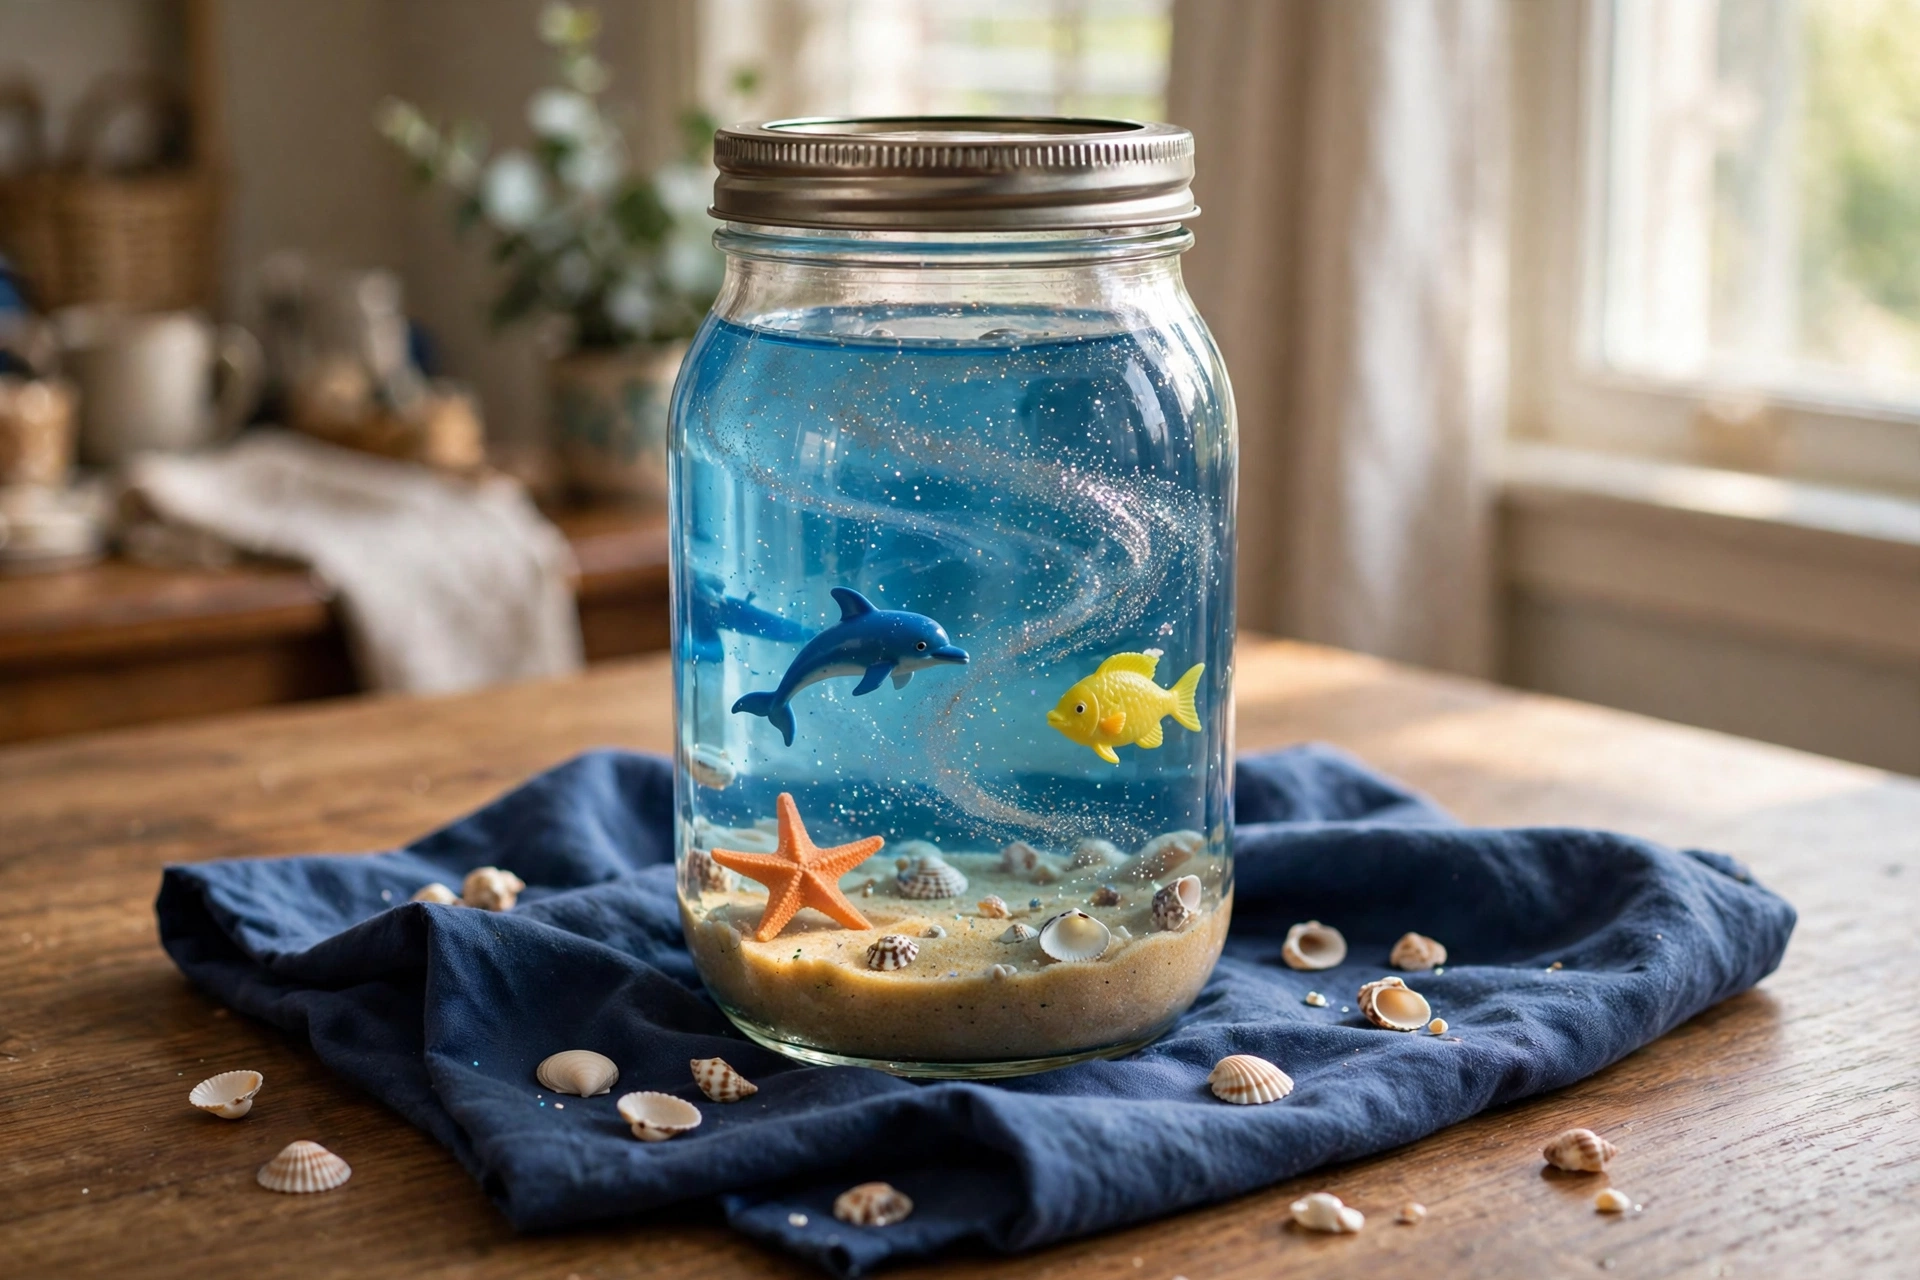 Easy Under the Sea Jar Craft for Kids
Leave a Reply