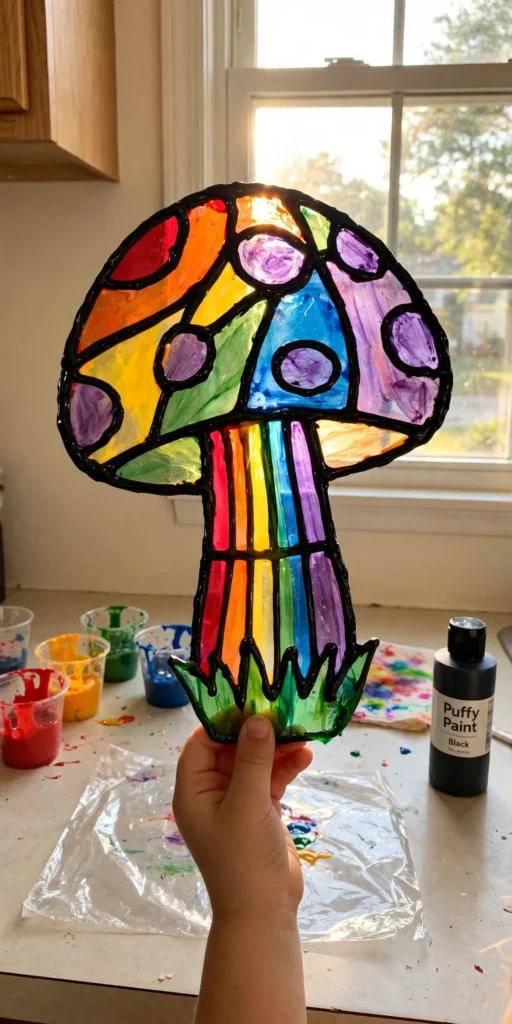
This craft looks like it belongs in an art gallery, but I promise you it's just glue, paint, and a little patience. My kids were absolutely floored when we peeled our mushrooms off the plastic and held them up to the window — they genuinely glow like real stained glass.
The mushroom design is so forgiving for little artists too. It's basically one big round cap and a chunky stem, and every section gets filled with a different rainbow color. No drawing skills required.
Why You'll Love Making This
There's something so satisfying about the black outline step — piping that puffy black glue around the mushroom shape feels fancy, and it instantly makes the whole thing look professional. The kids take it very seriously, and the results always look amazing.
And here's the best part: once it's dry, it peels right off the plastic sheet. It feels like a magic trick every single time, and the finished mushroom makes the prettiest window decoration.
Materials You'll Need
- Clear plastic sheet or page protector — your work surface
- Black puffy paint or black craft glue — for the stained-glass outlines
- Clear glue — for filling in the colored sections
- Food coloring or liquid watercolors — rainbow colors
- Small cups or a palette — for mixing colored glue
- Mushroom outline — hand-drawn or printed as a guide underneath the plastic
- Toothpick — for spreading color into corners
Step-by-Step Directions
- Slide your mushroom outline under the clear plastic sheet so you can see the shape through it.
- Trace the mushroom with black puffy paint, making bold raised outlines for the cap, spots, stem, and grass. Let the black lines dry completely (about 1–2 hours).
- In small cups, mix clear glue with a few drops of food coloring to make your rainbow colors.
- Fill in each section of the mushroom with colored glue, using a toothpick to nudge it right up to the black lines.
- Work one color at a time so the sections stay nice and separate.
- Let everything dry flat for at least 24 hours, until completely firm and no longer tacky.
- Gently peel the mushroom off the plastic sheet.
- Stick it to a sunny window with a dab of clear glue or a suction hook and watch it glow.
Tips for the Best Results
- Make the black outlines nice and thick — thin lines can tear when you peel the art off.
- Don't overfill the sections. A thin, even layer of colored glue dries faster and peels cleanly.
- If colors bleed into each other, let the first section dry for 30 minutes before filling the neighbor.
- Drying flat is non-negotiable — even a slight tilt and the glue will run.
Fun Variations to Try
- Fall mushroom — orange, red, and gold cap with a cream stem.
- Night mushroom — deep blues and purples with a little silver glitter mixed in.
- Butterfly or flower — the same technique works for any simple outlined shape.
- Gift version — make a small one and frame it in a cheap picture frame with the glass removed.
<p><img src="https://thediynook.com/wp-content/uploads/2026/09/pin-v1-119.webp" alt="DIY Faux Stained Glass Mushroom for Kids" /></p>
FAQs
What kind of black paint works for the outline?
Black puffy paint (dimensional fabric paint) is ideal because it dries raised and rubbery, which is exactly what you need for the stained-glass effect. Thick black craft glue works too.
Can I use regular washable markers to color the sections?
Markers won't give you the translucent glow. Clear glue mixed with food coloring or liquid watercolor is what makes light shine through like real stained glass.
How long does it take to dry?
The black outline needs 1–2 hours; the colored glue needs a full 24 hours. Thick spots may need a little longer, so check that it's firm everywhere before peeling.
My mushroom tore when I peeled it — what went wrong?
Usually it's either peeled too soon or the colored layer was too thin. Next time, pour a slightly thicker layer and wait until every spot feels completely dry and firm.
Is this craft safe for young kids?
Yes, with supervision. The squeezing and filling steps are great fine-motor practice for ages 4 and up. An adult should handle printing the template and the peeling step for little ones.

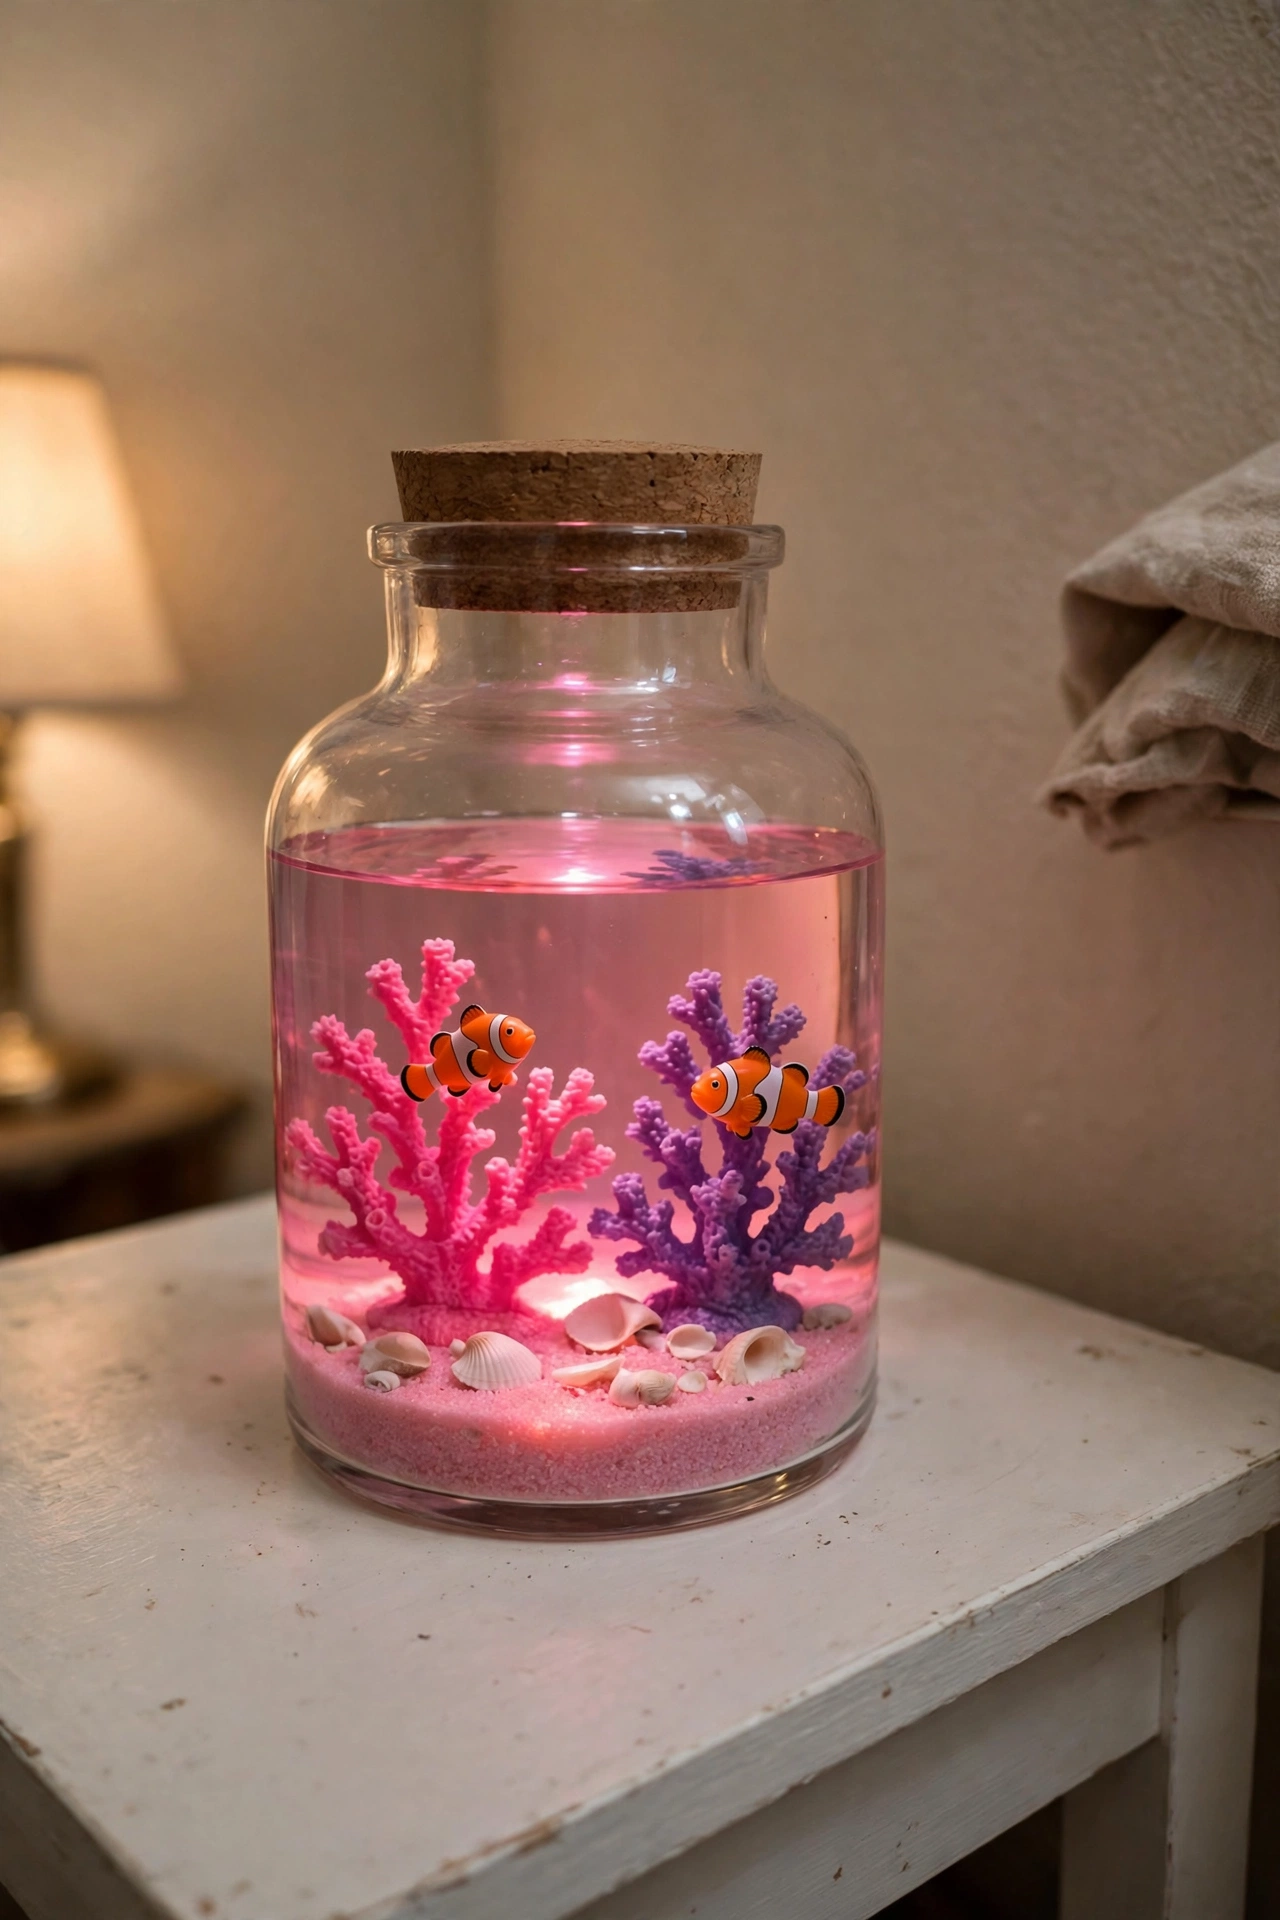 DIY Pink Glow Aquarium Jar for Kids
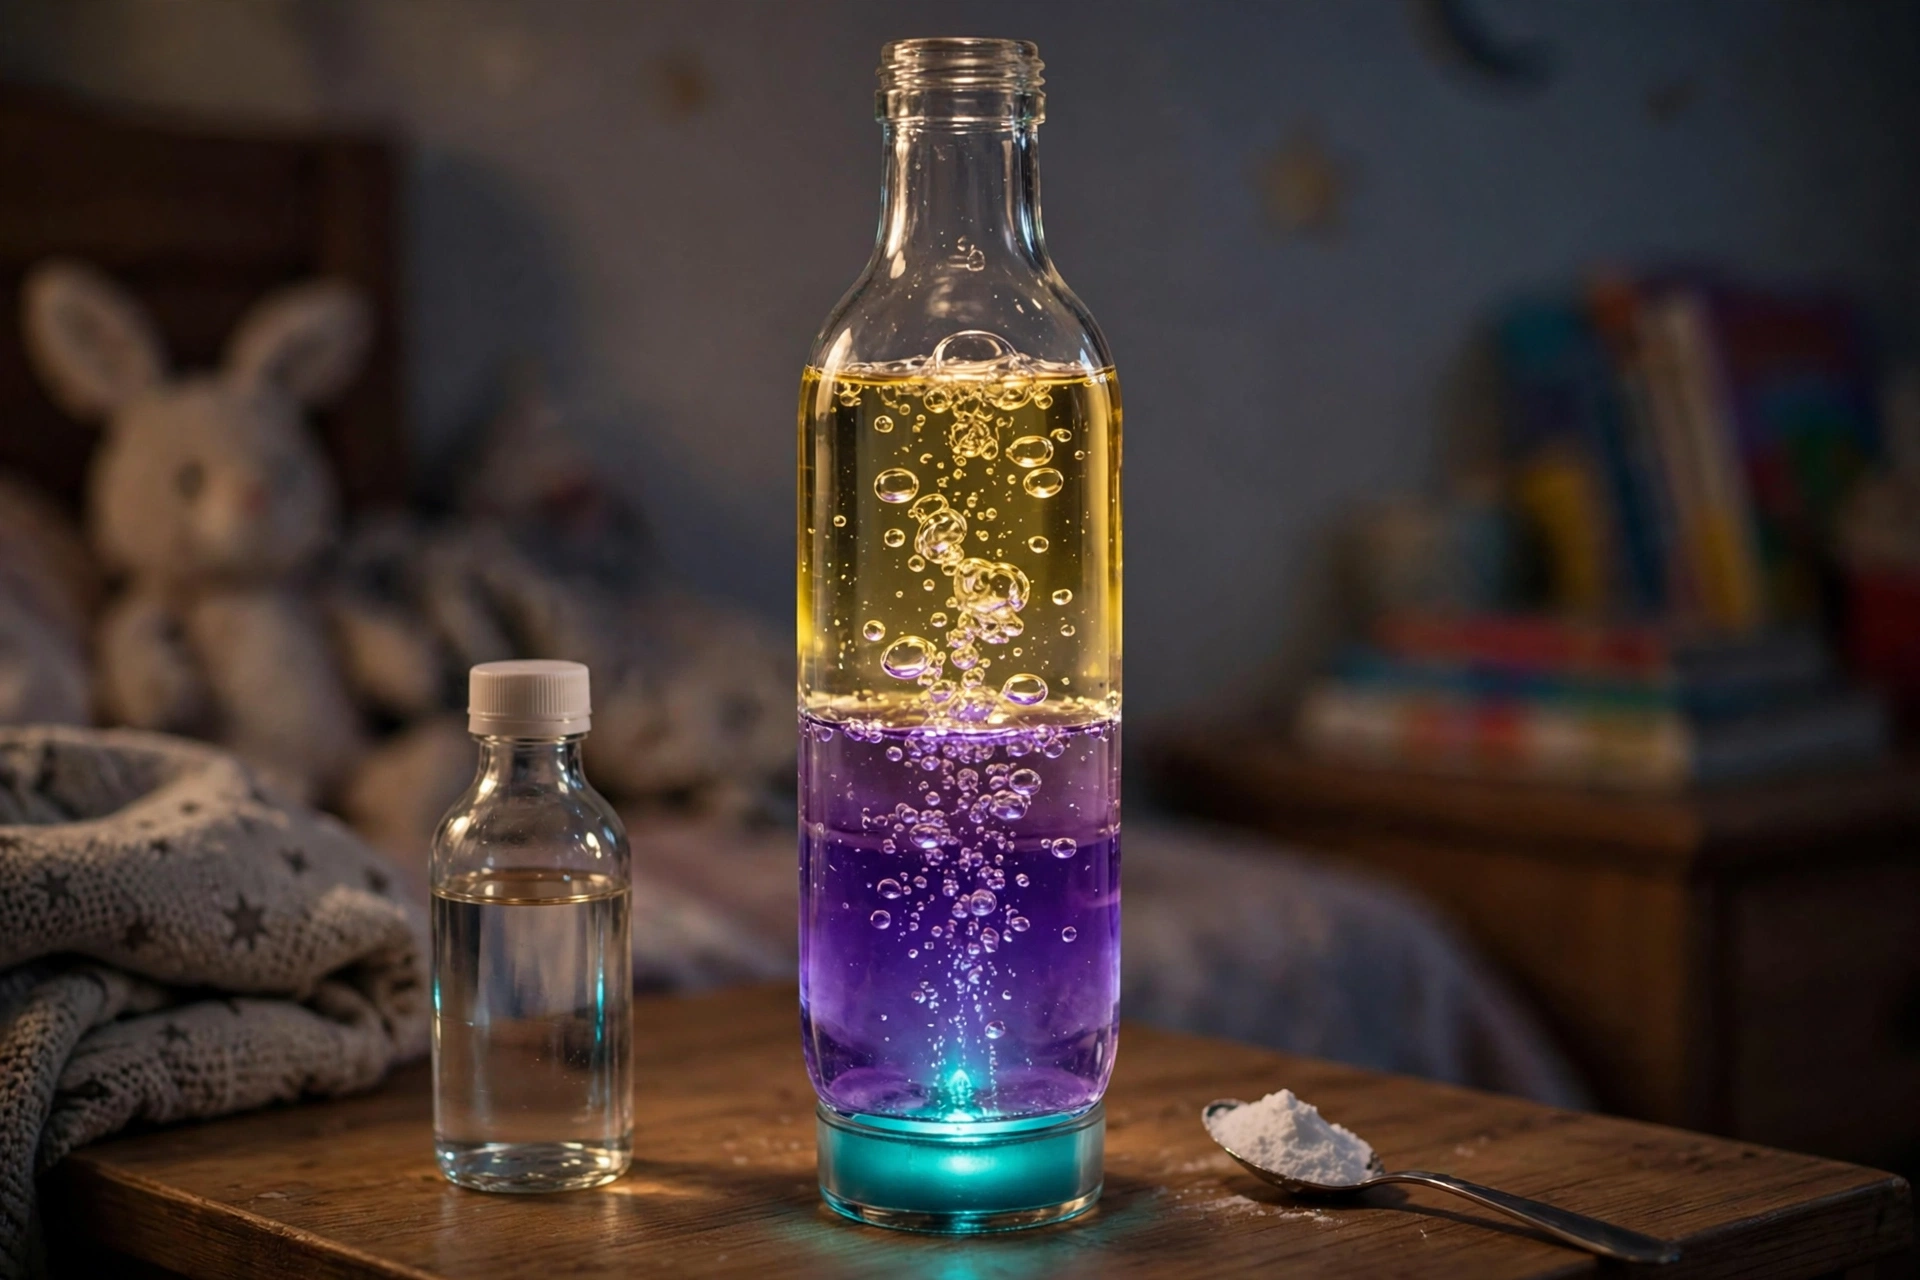 DIY Glowing Bubble Lamps for Kids
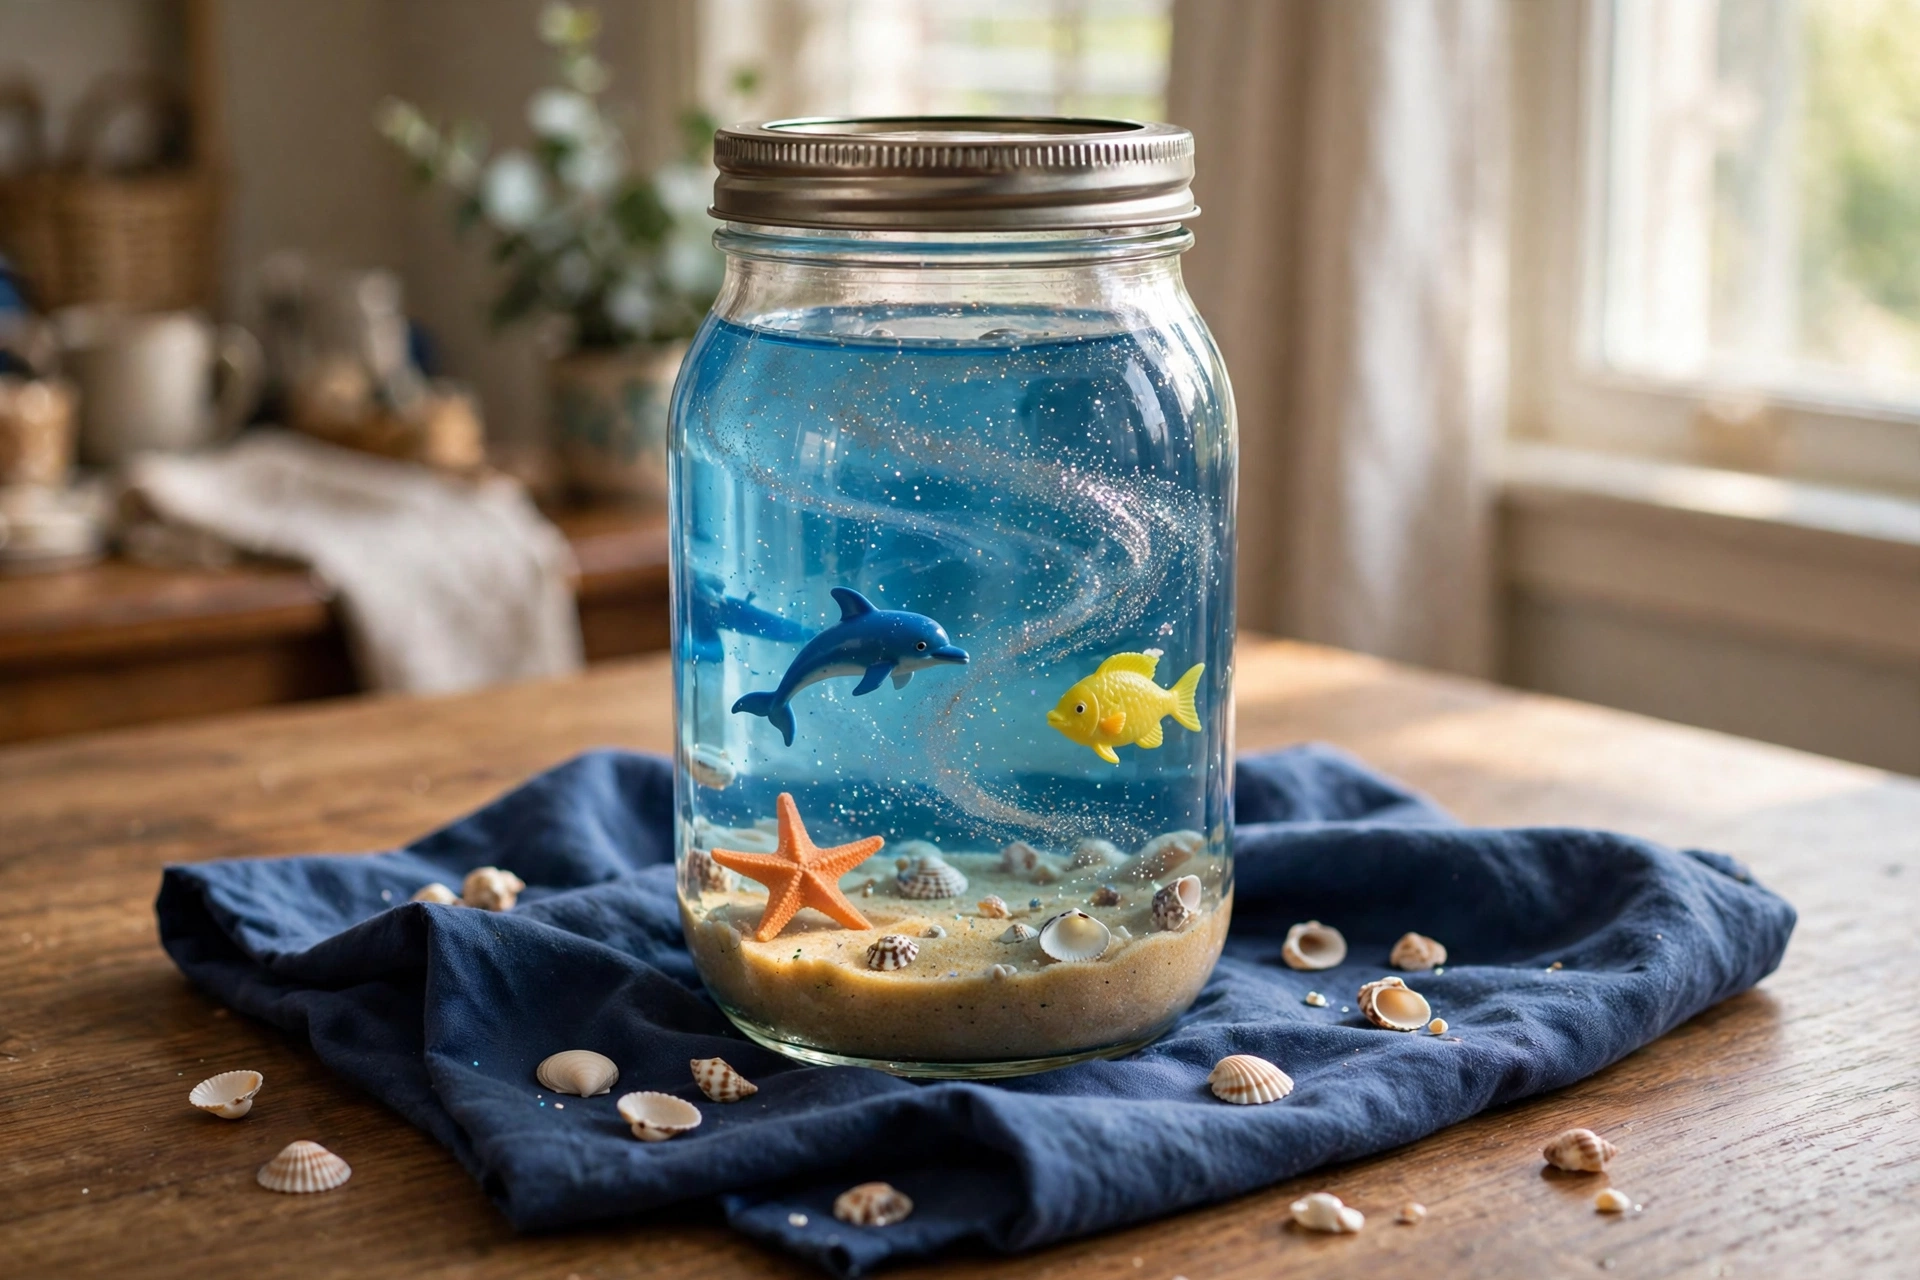 Easy Under the Sea Jar Craft for Kids
 DIY Button Bouquet for Kids
Leave a Reply