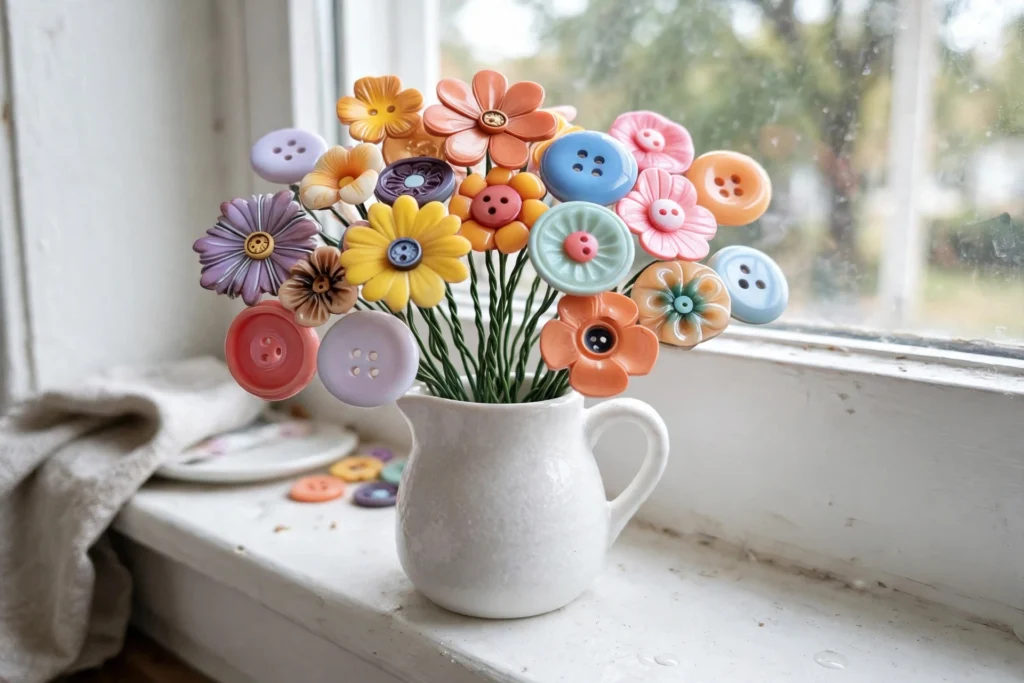
We have a jar in our house that's basically a graveyard of lonely buttons — the strays from every sewing project I've ever abandoned. Last weekend my two dumped the whole jar onto the table and asked, "Mom, what are these FOR?" And I thought, you know what? Let's make flowers that never wilt.
This button bouquet is one of those crafts that looks like you bought it at a fancy gift shop but is secretly just buttons on wire. It's perfect for using up that button stash, makes the sweetest gift for grandparents, and kids can make the whole thing themselves with a little help on the wire-cutting.
Why You'll Love Making This
This is the craft that finally empties that button jar. Every button becomes a flower, no two bouquets ever look alike, and there's zero wrong way to do it. My youngest went full rainbow chaos and my oldest made a whole pink-and-white "wedding" bouquet — both were gorgeous in completely different ways.
It's also one of the rare crafts that doubles as real decor. Ours lived on the dining table for months and got more compliments than anything I've ever actually purchased for the house.
Materials You'll Need
- Assorted buttons: all sizes, shapes, and colors — raid the sewing box
- Floral wire: or green craft wire, for the stems
- Floral tape: green, for wrapping the wire stems
- Craft glue: optional, a dab for extra-secure buttons
- Scissors: for cutting wire — grown-up job or supervised
- Small vase, jar, or pot: whatever you have for displaying
Step-by-Step Directions
- Dump out the buttons and let the kids sort their favorites. Pastels for a soft look, brights for a bold one — or glorious chaos.
- Cut the floral wire into stem lengths, about 12 to 18 inches depending on your vase. This is the grown-up or closely-supervised step — wire ends are pokey.
- Thread a button onto a wire, pushing it up to the top. Fold the tip of the wire over the button so it can't slide off.
- Wrap floral tape tightly around the wire just under the button to lock it in place. Add a dab of craft glue if a button feels wobbly.
- Repeat until you have a good pile of blooms — mix big buttons, tiny ones, and flower-shaped ones for the prettiest look.
- Gather the stems together, bend them slightly outward like a real bouquet, and wrap floral tape around the bunch to hold the shape.
- Pop the bouquet into your vase or jar. Add some tissue paper or fabric scraps around the stems for a finished look.
Tips & Variations
- No floral wire? Sturdy paper straws or wooden dowels work great as stems — just glue the buttons on top instead of threading.
- Try a seasonal theme: red, white, and blue for the Fourth of July, or orange and yellow for fall.
- Add little charms, beads, or a tiny photo tag to the bouquet for a personalized gift.
- Mini bouquets in tiny jars make the sweetest teacher or grandparent gifts.
<p><img src="https://thediynook.com/wp-content/uploads/2026/09/pin-v1-109.webp" alt="DIY Button Bouquet for Kids" /></p>
FAQs
What ages can do this craft?
Kids around 5 and up can do most of it independently. The wire-cutting and wire ends need grown-up help for younger kids.
What if I don't have floral wire?
Paper straws, wooden dowels, or even pipe cleaners all work. Pipe cleaners are actually easiest for little hands — no sharp ends at all.
How do I keep the buttons from sliding off?
Fold the wire tip over the button, wrap floral tape snugly underneath, and add a dot of craft glue for insurance. That combo holds everything.
Can we make these as gifts?
Absolutely — that's their highest calling. A mini button bouquet in a small jar with a handmade tag is a gift people genuinely keep.
How do I clean it?
Just a quick dust with a dry cloth now and then. Unlike real flowers, these never need water.
Where's the best place to display one?
Anywhere! Ours has lived on the dining table, a bookshelf, and my daughter's nightstand. They look great in a kid's room because they can't be killed.

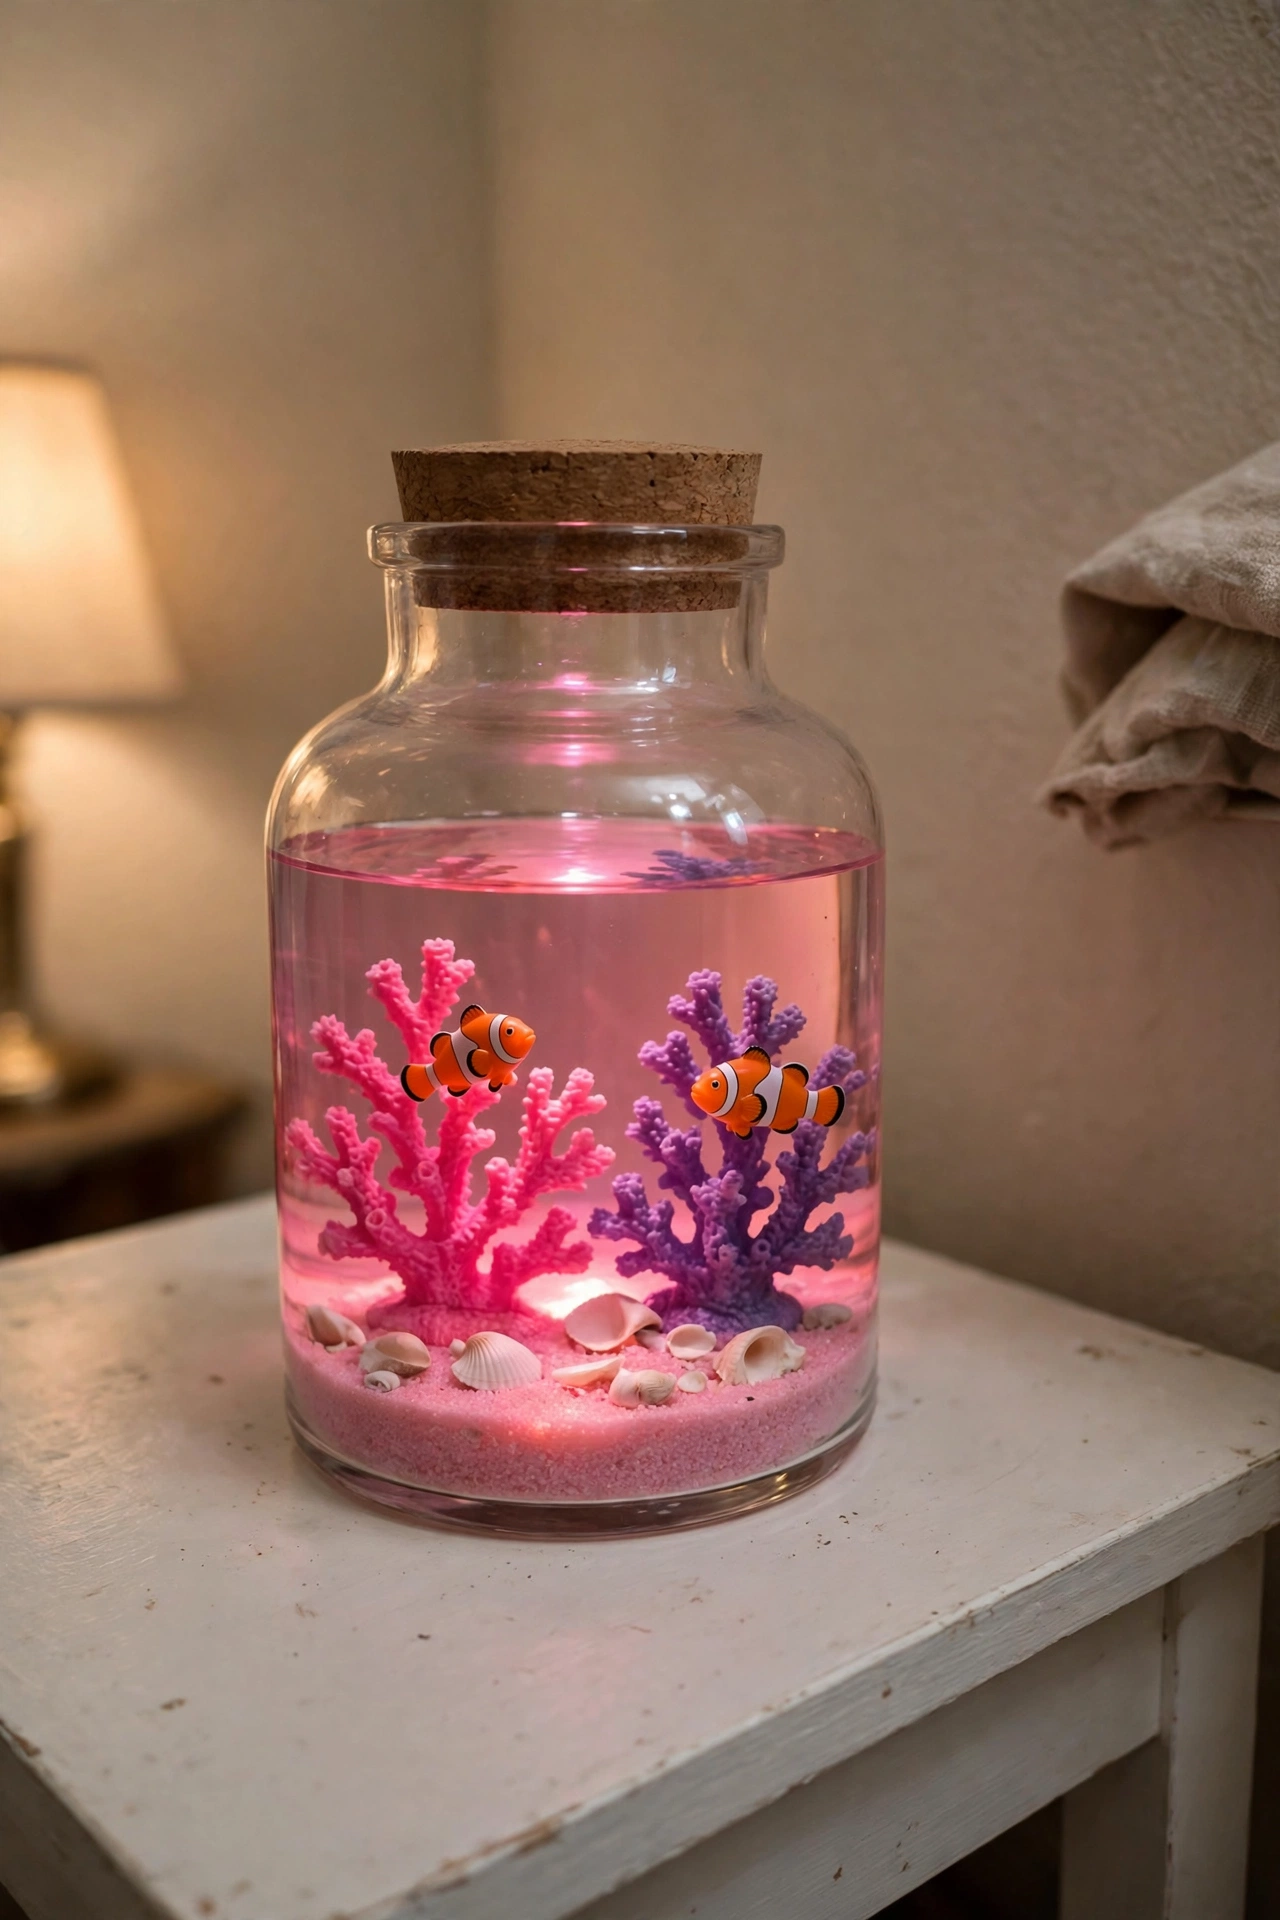 DIY Pink Glow Aquarium Jar for Kids
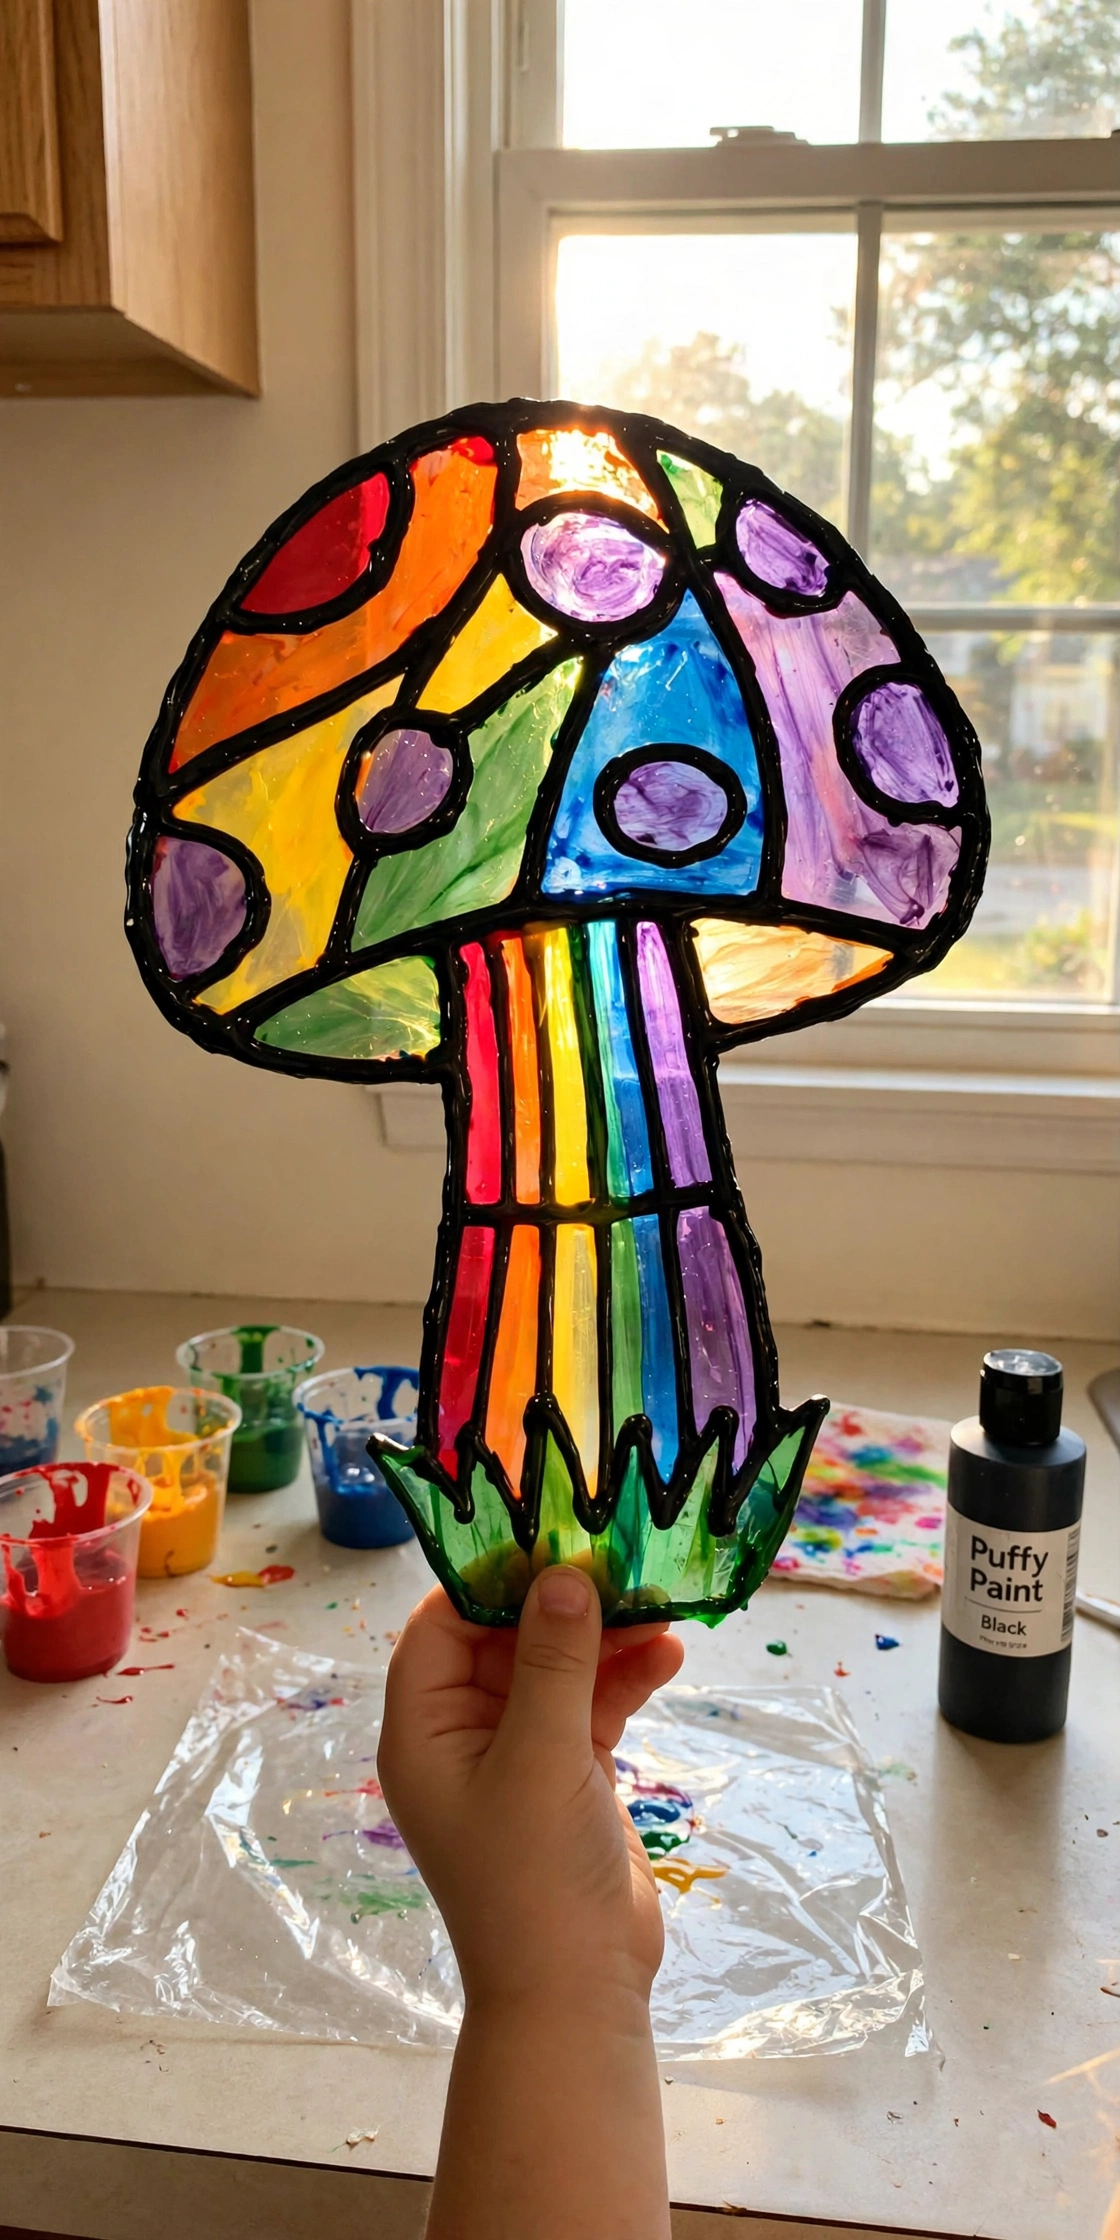 DIY Faux Stained Glass Mushroom for Kids
 DIY Glowing Bubble Lamps for Kids
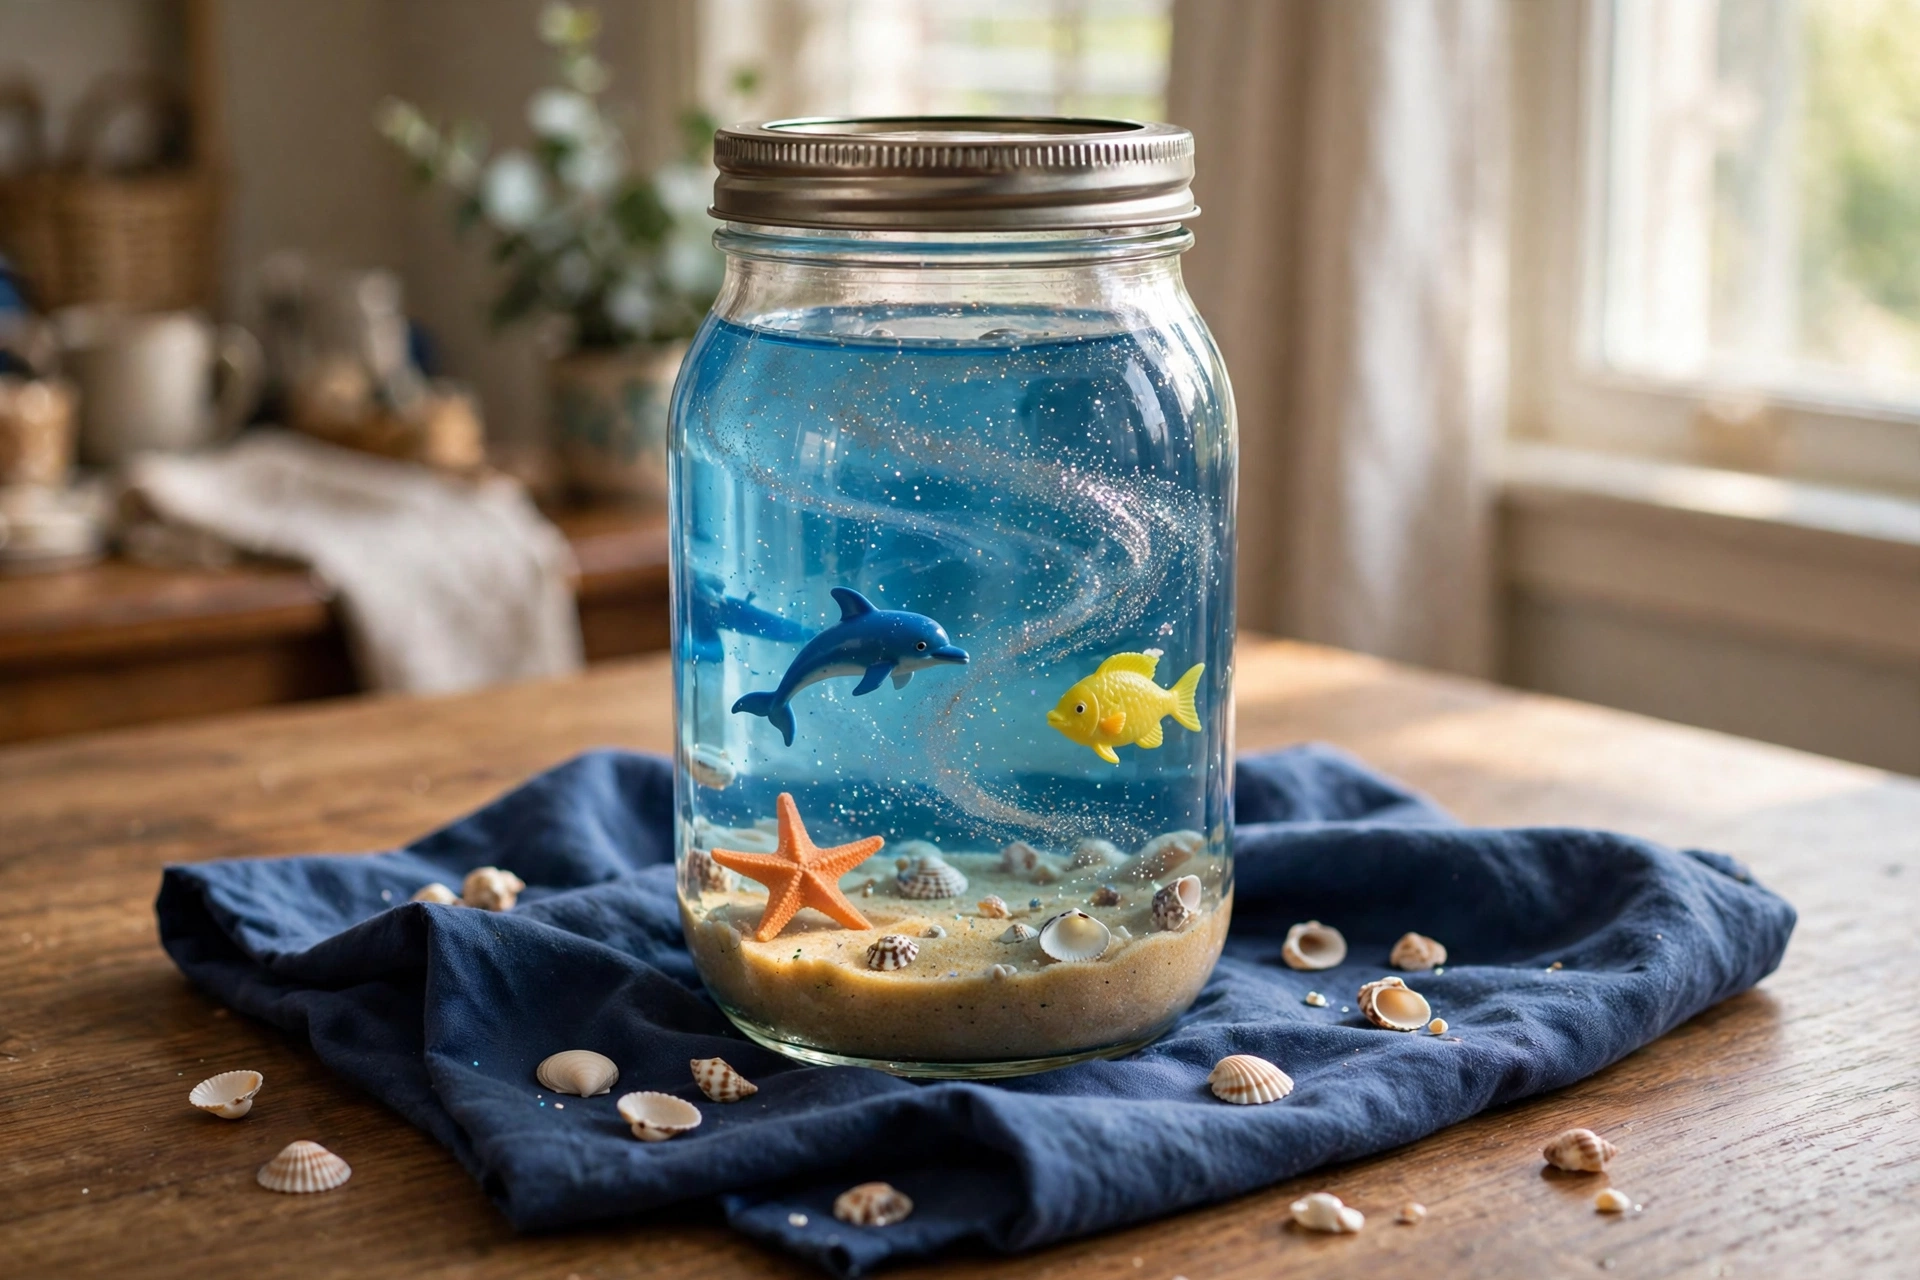 Easy Under the Sea Jar Craft for Kids
Leave a Reply