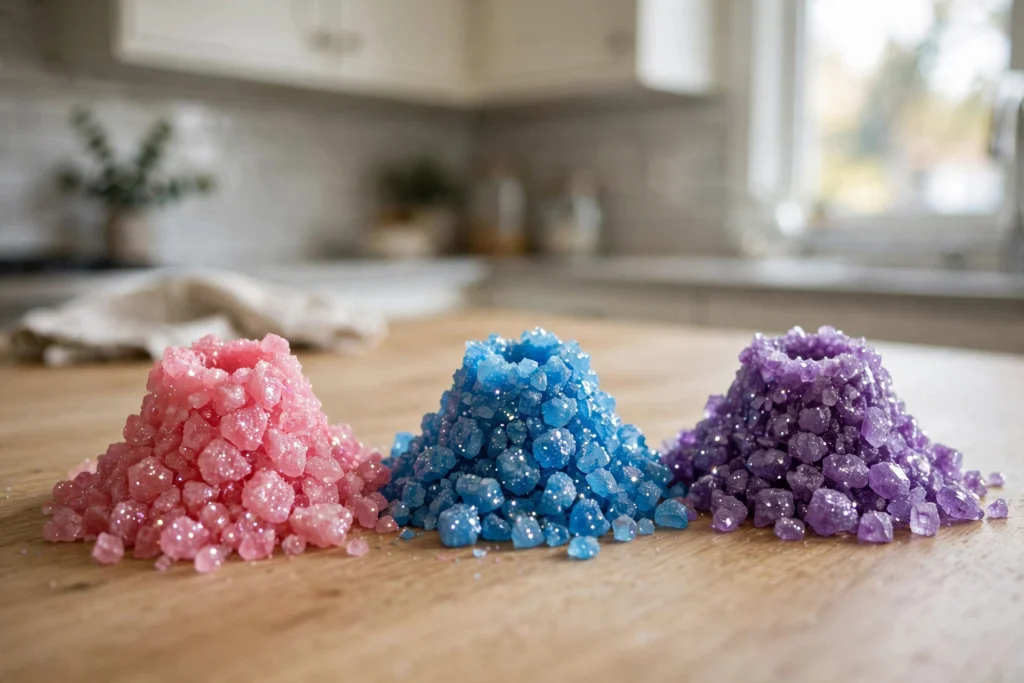
My kids go absolutely wild for anything that fizzes and bubbles, so when I found a way to turn the classic baking soda volcano into something that grows actual sparkly crystals, I knew we had a winner. This one starts with the big fizzy eruption they love and ends with a gorgeous crystal keepsake they can show off for days.
We made a whole row of these in pink, blue, and purple on a rainy Saturday afternoon, and honestly? I had just as much fun as they did. It is simple, it is science-y without feeling like homework, and the clean-up is way easier than you would think.
Why You'll Love Making This
First, it is two activities in one. You get the thrilling volcano eruption moment — the fizz, the foam, the giggles — and then the quiet magic of crystals forming overnight. My two love checking on their volcanoes the next morning like little scientists.
Second, everything you need is probably already in your kitchen. Baking soda, vinegar, dish soap, and food coloring are the whole show, and if you have glitter in the craft drawer, you are officially winning this activity.
Materials You'll Need
- Baking soda: 1 cup
- White vinegar: 1 cup
- Corn syrup: 2 to 3 tablespoons
- Dish soap: 1 tablespoon
- Food coloring: any colors you love
- Small cup or bowl: to shape the volcano
- Tray or baking sheet: to catch the overflow
- Glitter: optional, but so worth it
Step-by-Step Directions
- Set up your tray or baking sheet in a spot where spills are totally fine.
- Mound the baking soda into your small cup or bowl, shaping it into a little volcano. Make sure the base feels stable.
- In a separate bowl, stir together the white vinegar, corn syrup, dish soap, and a few drops of food coloring until blended.
- Pour the vinegar mixture slowly into your baking soda volcano.
- Watch it erupt! The fizzing reaction is the best part — let the kids narrate it like a nature documentary.
- Sprinkle glitter over the eruption while it is still bubbling for extra sparkle.
- Leave the tray alone for several hours or overnight so the leftover solution can form crystals.
Tips for the Best Eruption
Do this outside or on a washable tray if your kids are the enthusiastic pouring type — mine absolutely are. If you want a rainbow of volcanoes, split the vinegar mixture into a few cups and color each one differently. And do not rush the crystal part; the sparkle shows up best when the volcanoes sit undisturbed overnight.
<p><img src="https://thediynook.com/wp-content/uploads/2026/09/pin-v1-98.webp" alt="Easy Crystal Volcanoes for Kids" /></p>
FAQs
Can I use a different kind of vinegar?
You can, but plain white vinegar gives you the biggest, foamiest eruption and the clearest colors. Save the fancy vinegar for salad dressing.
How long do the crystals last?
The eruption itself is over in a minute or two, but the crystals will stick around for days as long as they stay dry. My kids kept theirs on the windowsill for a week.
Do I really need the corn syrup?
It is not strictly required, but it makes the eruption thicker and glossier, and it helps the crystals form. Use it if you have it.
What if my volcano does not erupt?
You probably need more vinegar or fresher baking soda. Pour slowly and give it a second — the reaction builds. Old baking soda from the back of the pantry can be a dud.
Is this safe for toddlers?
Yes, with supervision. Everything is kitchen-safe, but little ones will need help with the pouring, and remind them the volcano is for looking, not tasting.
Can we make more than one color?
Absolutely — that is the best part. Make a whole row of mini volcanoes and let each kid pick their own color. Rainbow volcanoes are a whole vibe.

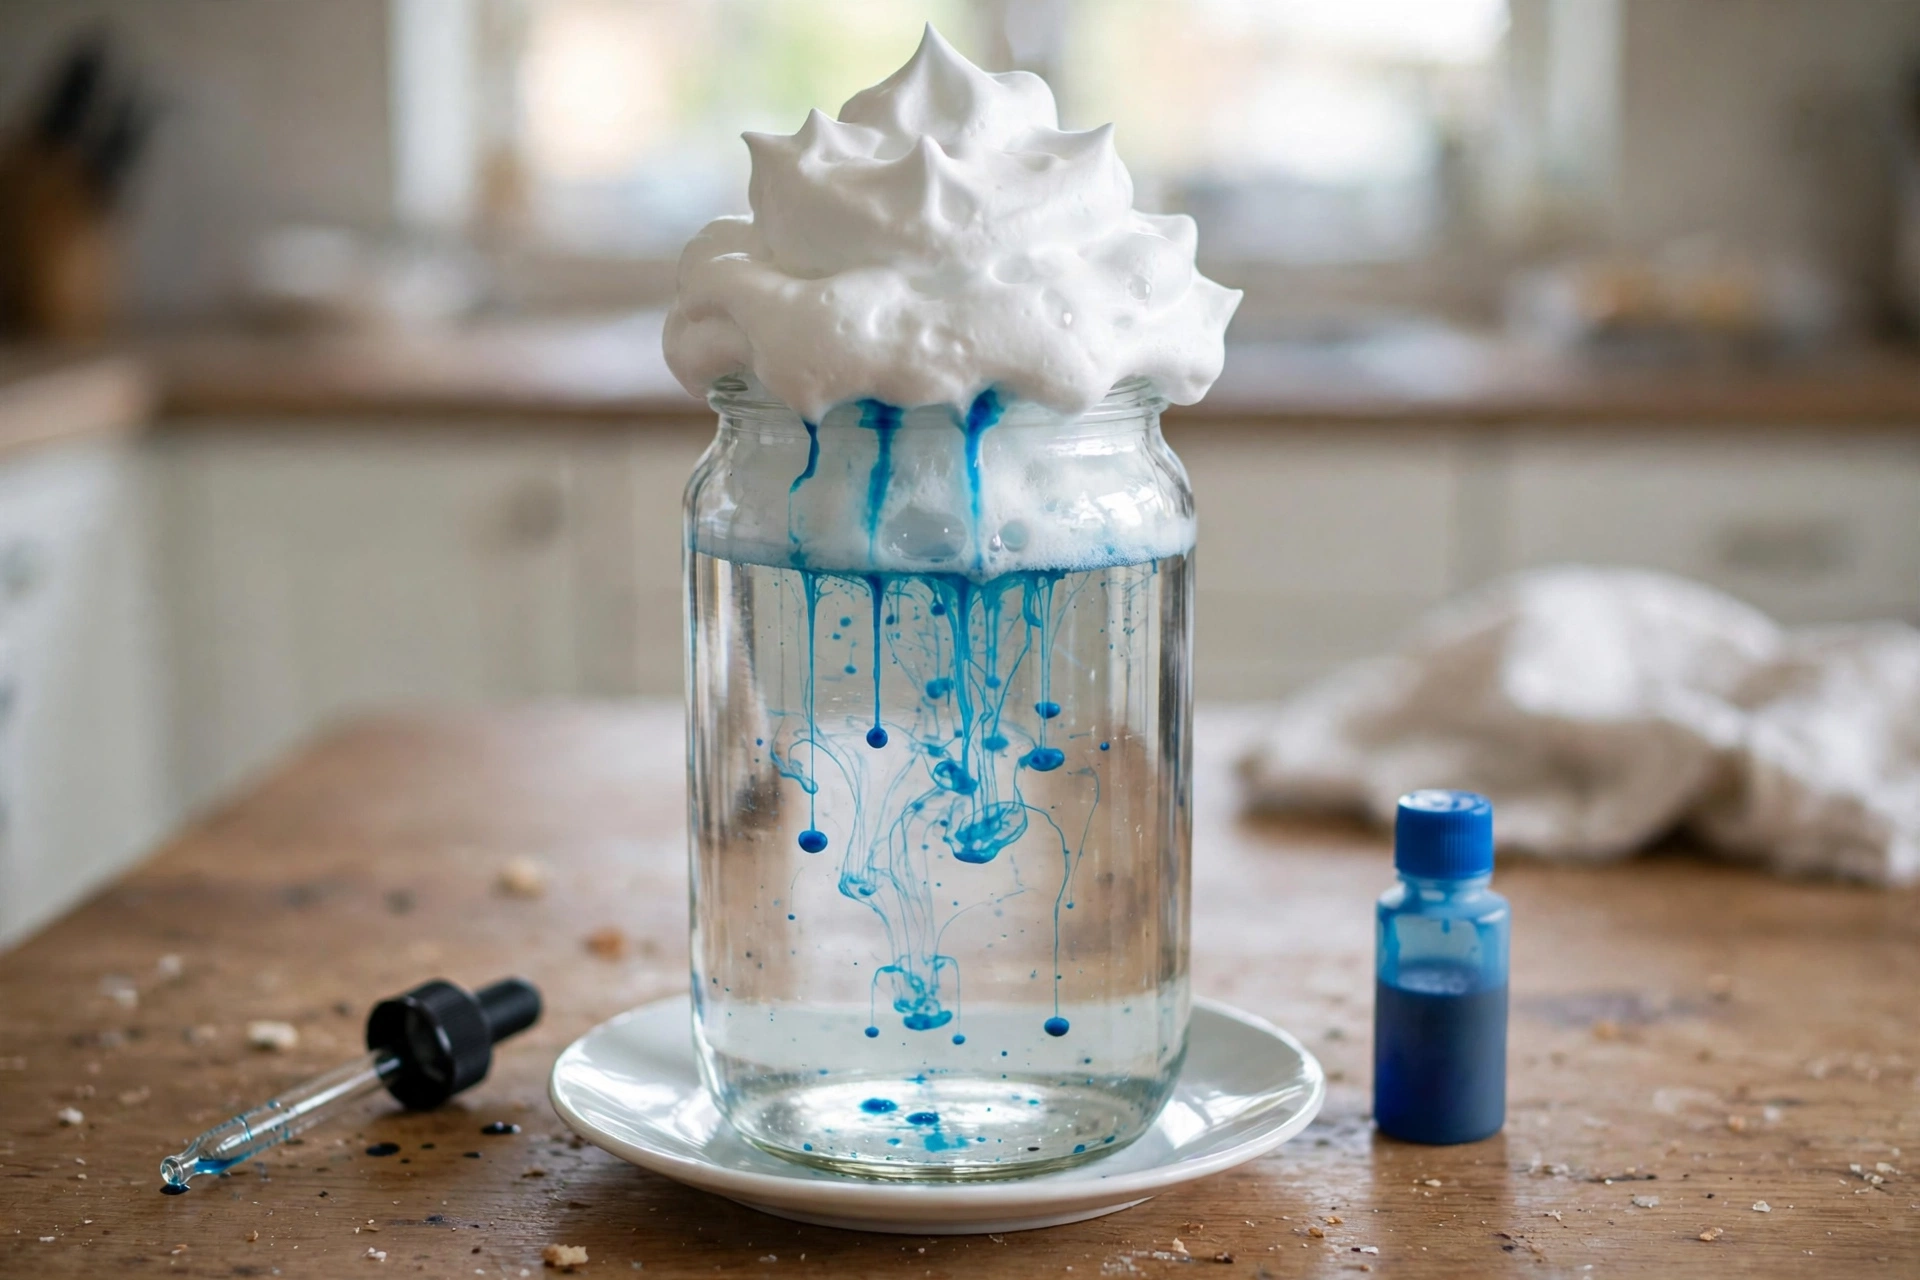 Shaving Cream Rain Cloud Science Experiment
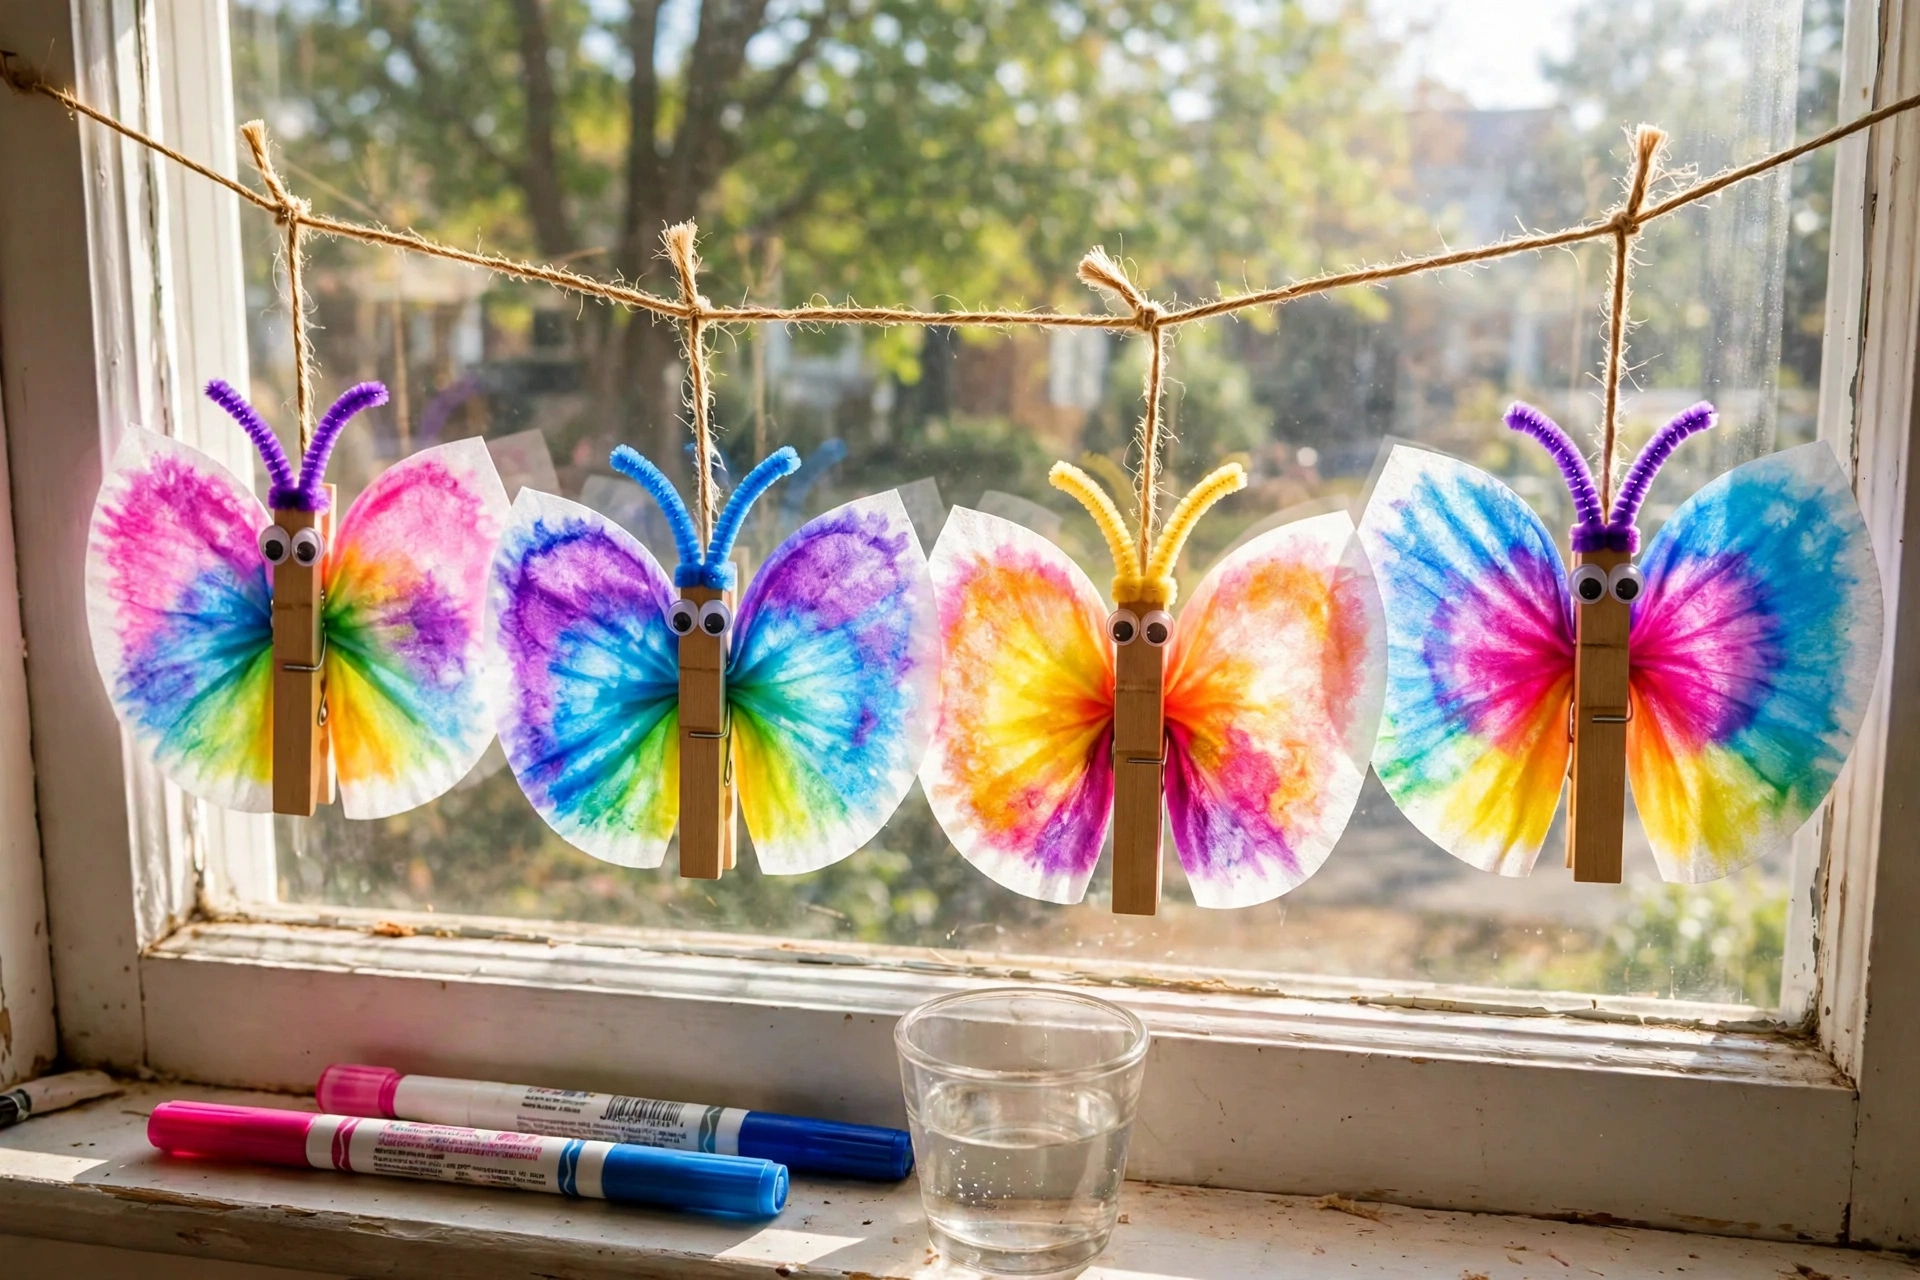 Calm Color-Mixing Butterfly Science Craft
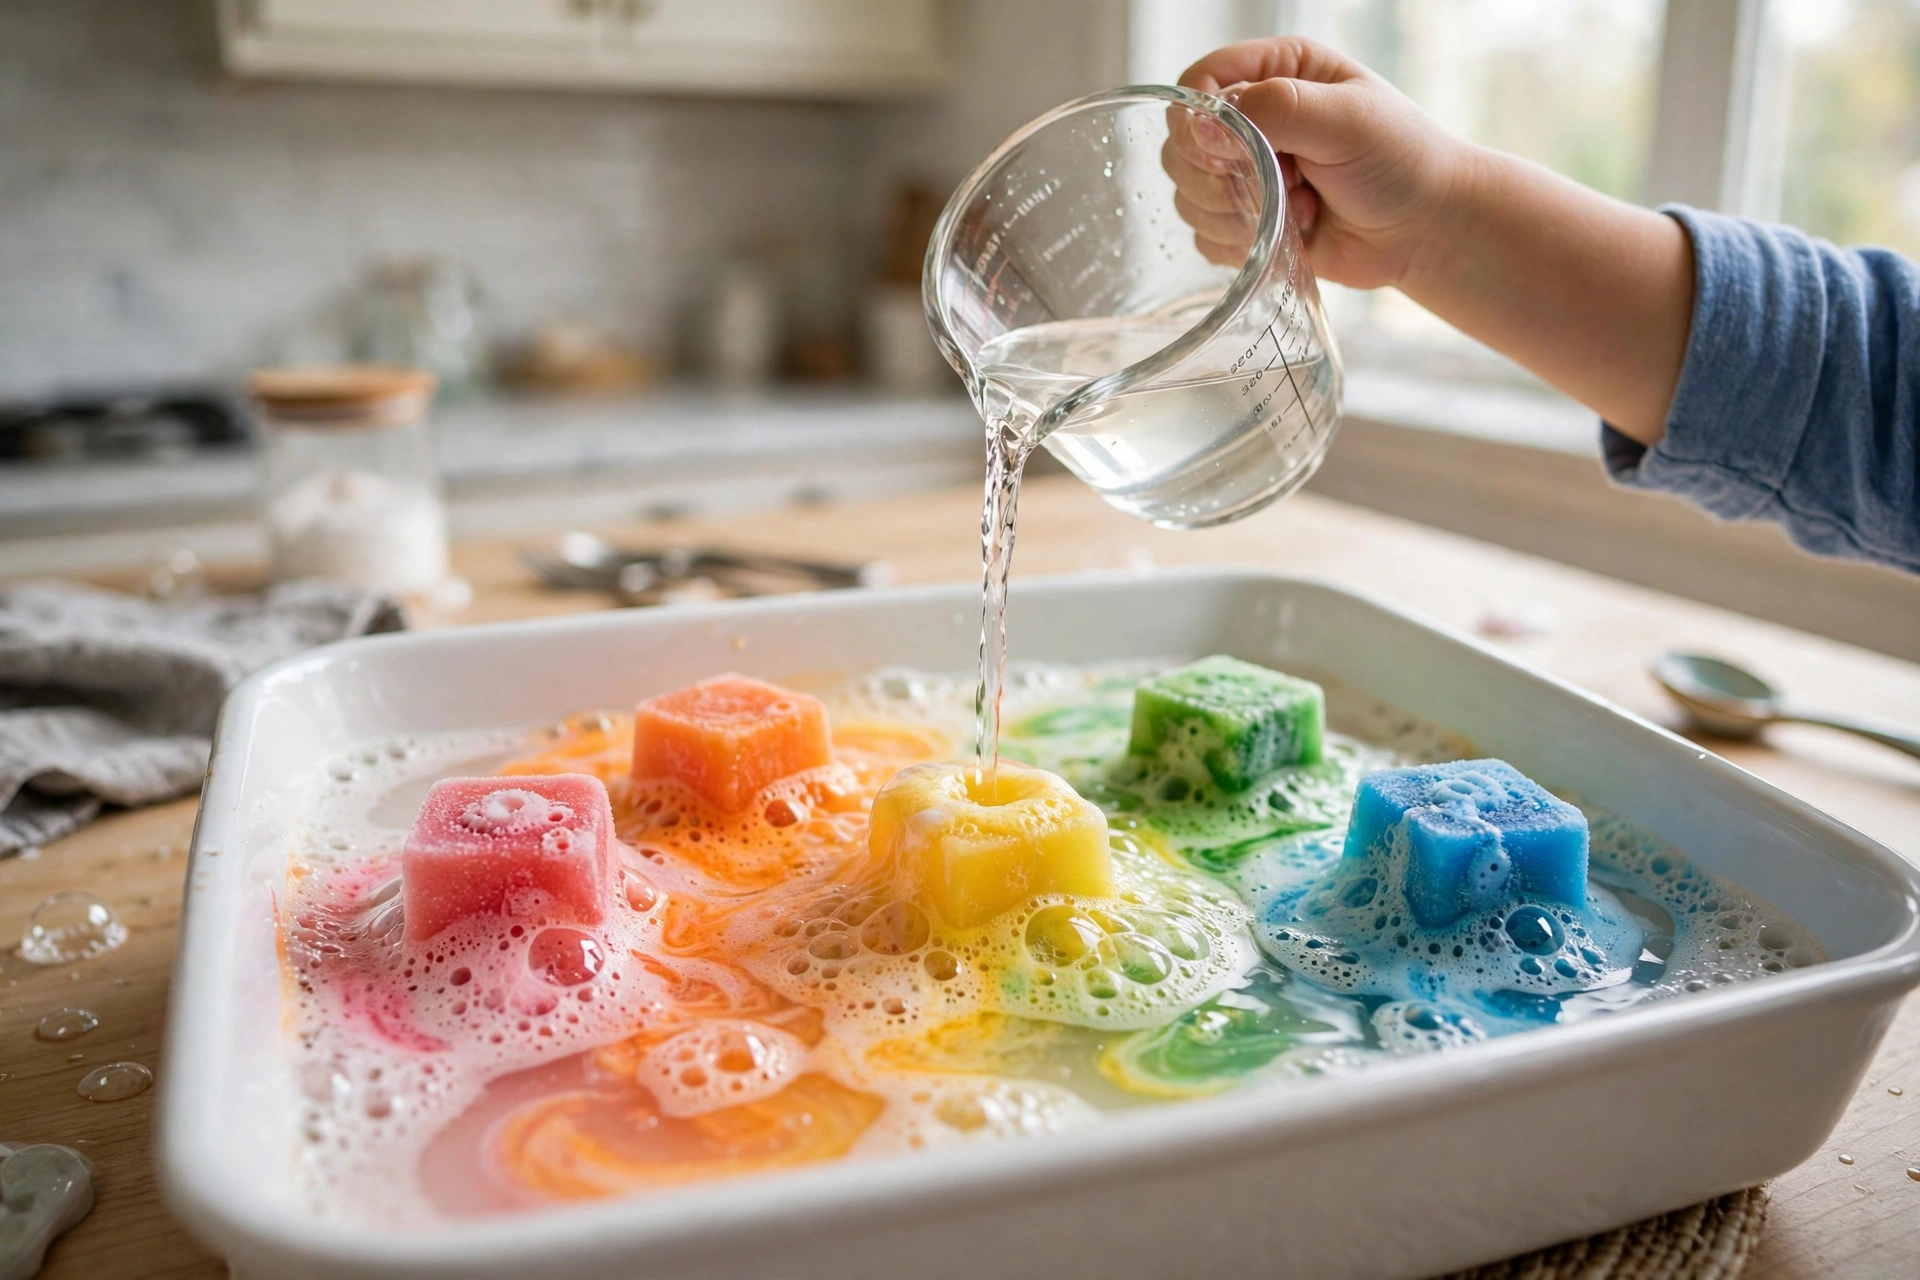 Easy Fizzing Ice Cubes Experiment for Kids
 Easy Rainbow Rain Cloud Experiment for Kids
Leave a Reply