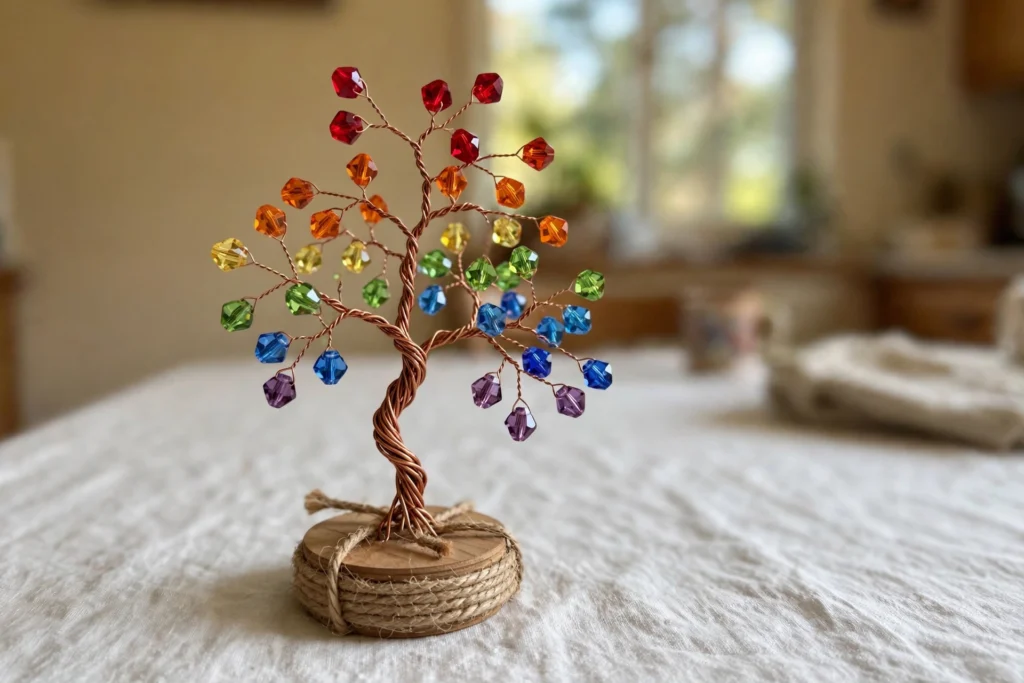
Some crafts are fun for an afternoon and then quietly disappear into the recycling bin. This is not one of those crafts. Our rainbow crystal love tree is still sitting on the bookshelf in our living room, catching the sunlight every morning, and my kids still point it out to anyone who walks through the door.
It looks like something from a fancy gift shop, but it is really just wire, beads, and a little patience. Each branch gets its own rainbow color, and stringing the beads is the kind of calm, focused work that even wiggly kids settle into. We made ours together on a slow Sunday, and it turned into the sweetest family moment.
Why You'll Love Making This
First, it is a keepsake, not a throwaway. Most kid crafts have a lifespan of about three days on the fridge. This little tree becomes actual home decor — something you will happily keep out for months, maybe years.
Second, the process is genuinely peaceful. There is no mess, no drying time, no glitter in your carpet. Just beads, wire, and quiet concentration. My two worked side by side picking colors, and it was one of the calmest craft sessions we have ever had.
Materials You'll Need
- Copper craft wire: one spool, medium gauge for the trunk and branches
- Colorful crystal beads: faceted beads in rainbow colors (red, orange, yellow, green, blue, purple)
- Twine or string: for hanging charms or wrapping the base
- Small wooden disc or lid: for the tree base
- Wire cutters: for trimming branches
- Scissors: for the twine
- Ribbon or small charms: optional, for extra personality
Step-by-Step Directions
- Cut several long pieces of copper wire — these will become your trunk and branches.
- Twist the bottom ends of the wires together tightly to form a sturdy trunk, leaving the top ends free.
- Spread the free ends outward and twist small groups together to make branches of different lengths.
- Thread crystal beads onto each branch, grouping colors by branch to make your rainbow — red branches, orange branches, and so on.
- Bend the tip of each branch into a tiny loop so the beads cannot slide off.
- Fan the branches out and shape the tree until it looks full and balanced from every angle.
- Spread the twisted wire at the bottom into roots and press them flat onto your wooden disc or lid.
- Wrap twine around the base to secure the roots, and tie a bow or add a charm if you like.
Tips for the Best Tree
Thicker wire makes a sturdier trunk, so do not be shy about using several strands twisted together. If little fingers get tired of threading, an adult can pre-string beads and let the kids do the arranging. And place your finished tree somewhere it catches the light — a windowsill turns those beads into tiny rainbows.
Variations to Try
Make a pastel version with soft pink, mint, and lavender beads for a nursery, or go full holiday with red and green for December. You can also shape the branches into a heart outline for a Valentine's Day love tree, or let each family member make their own mini tree in their favorite color.
<p><img src="https://thediynook.com/wp-content/uploads/2026/09/pin-v1-99.webp" alt="Easy Rainbow Crystal Love Tree for Kids" /></p>
FAQs
What kind of wire works best?
Medium-gauge copper craft wire is ideal — it is sturdy enough to hold the beads but soft enough to twist by hand. You can find it in any craft store's jewelry section.
How long does this take?
About 30 to 45 minutes with kids helping. Threading the beads is the slow part, but it is also the relaxing part.
Is this okay for younger kids?
Yes, with an adult handling the wire cutting and twisting. Kids as young as four can thread beads onto the branches — the beads are big enough to grip easily.
Will the beads fall off?
Not if you bend each branch tip into a small loop. That little curl locks everything in place.
Can I use different beads?
Absolutely. Glass beads, acrylic beads, even wooden beads all work. Faceted crystal-style beads just catch the light the prettiest.
How do I keep it from getting dusty?
Keep it out of direct sun for long stretches and give it a light dusting now and then. A quick rinse under the tap and air dry brings the sparkle right back.

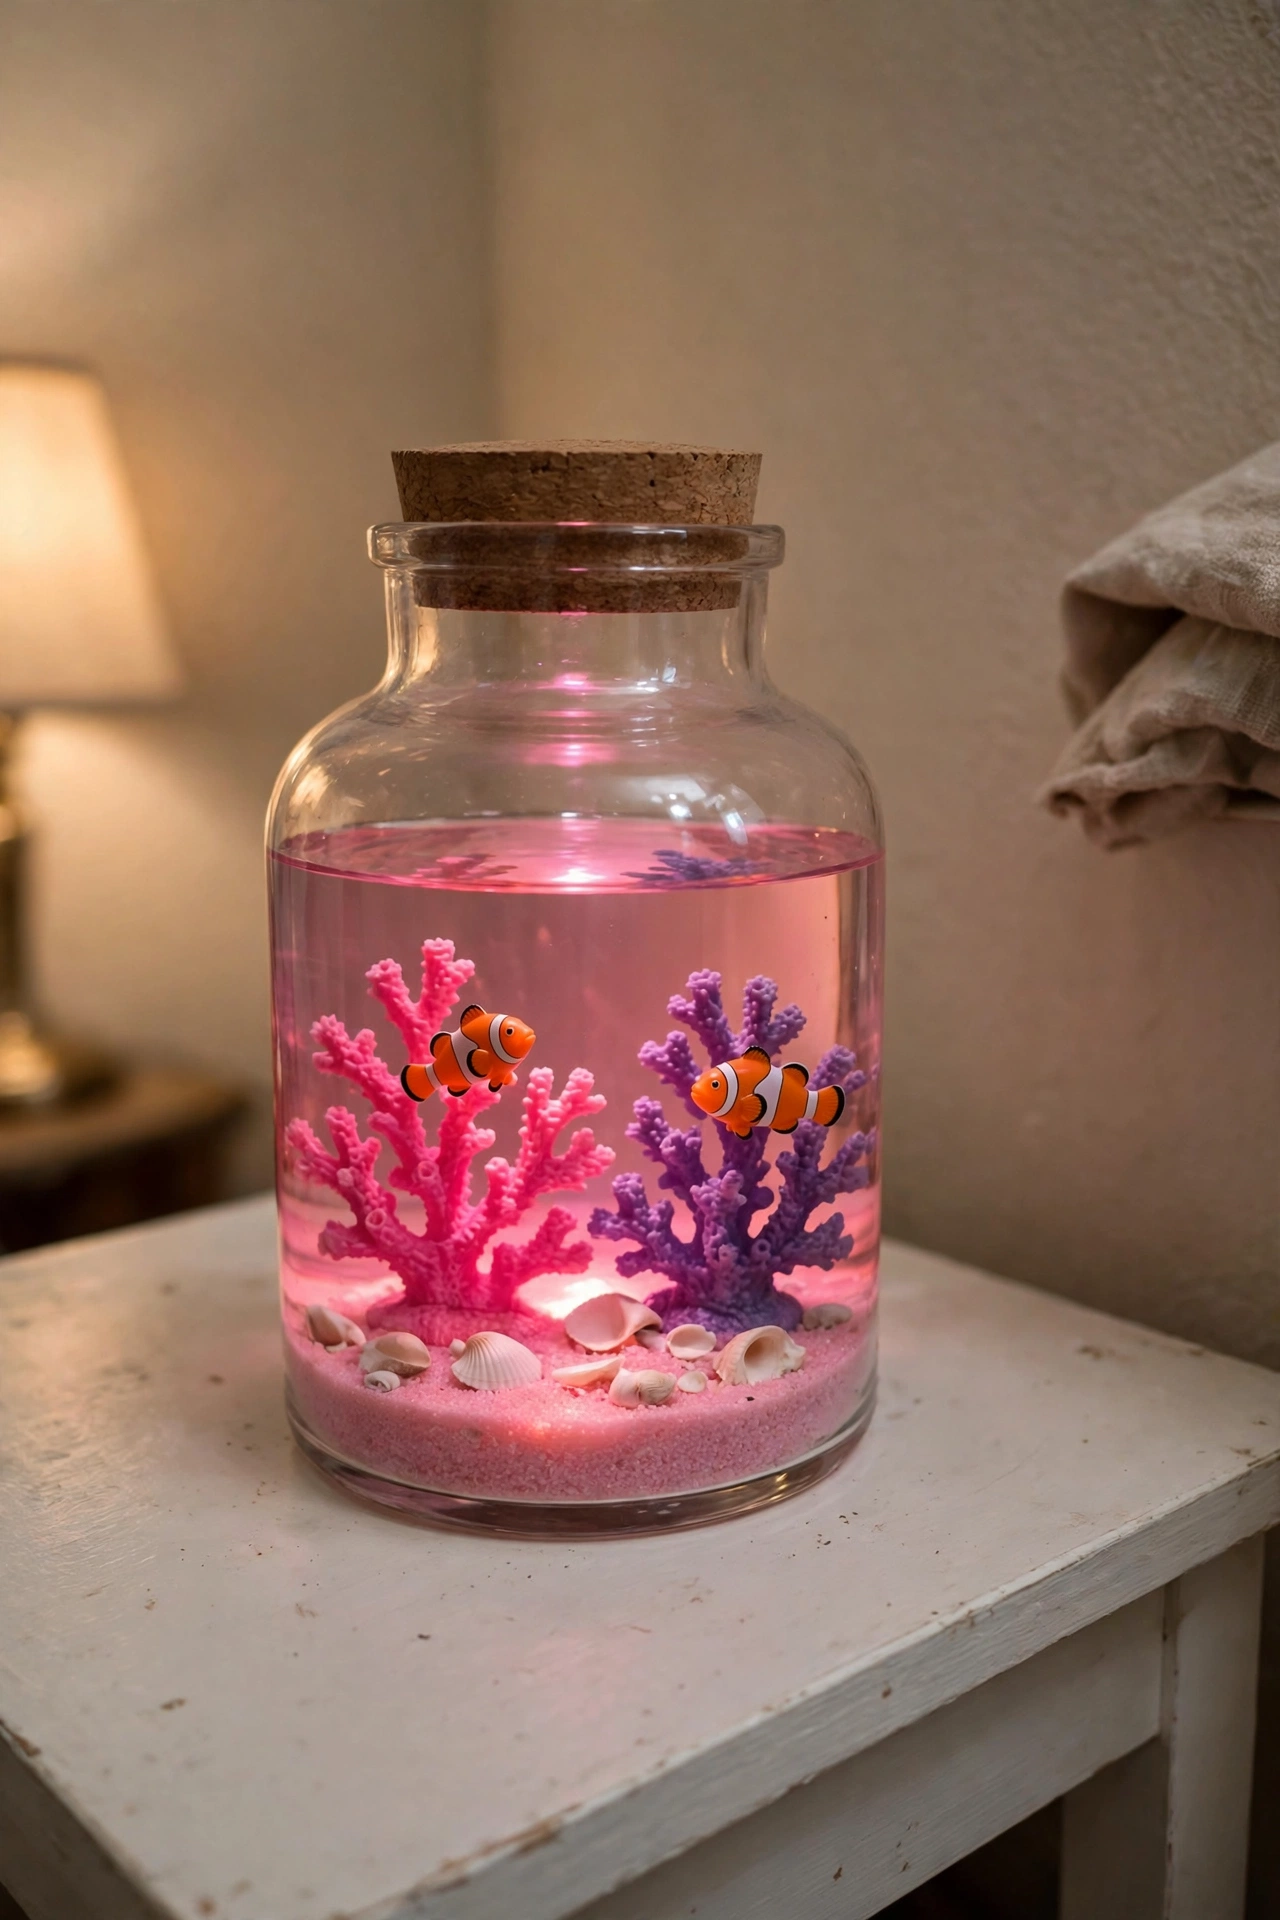 DIY Pink Glow Aquarium Jar for Kids
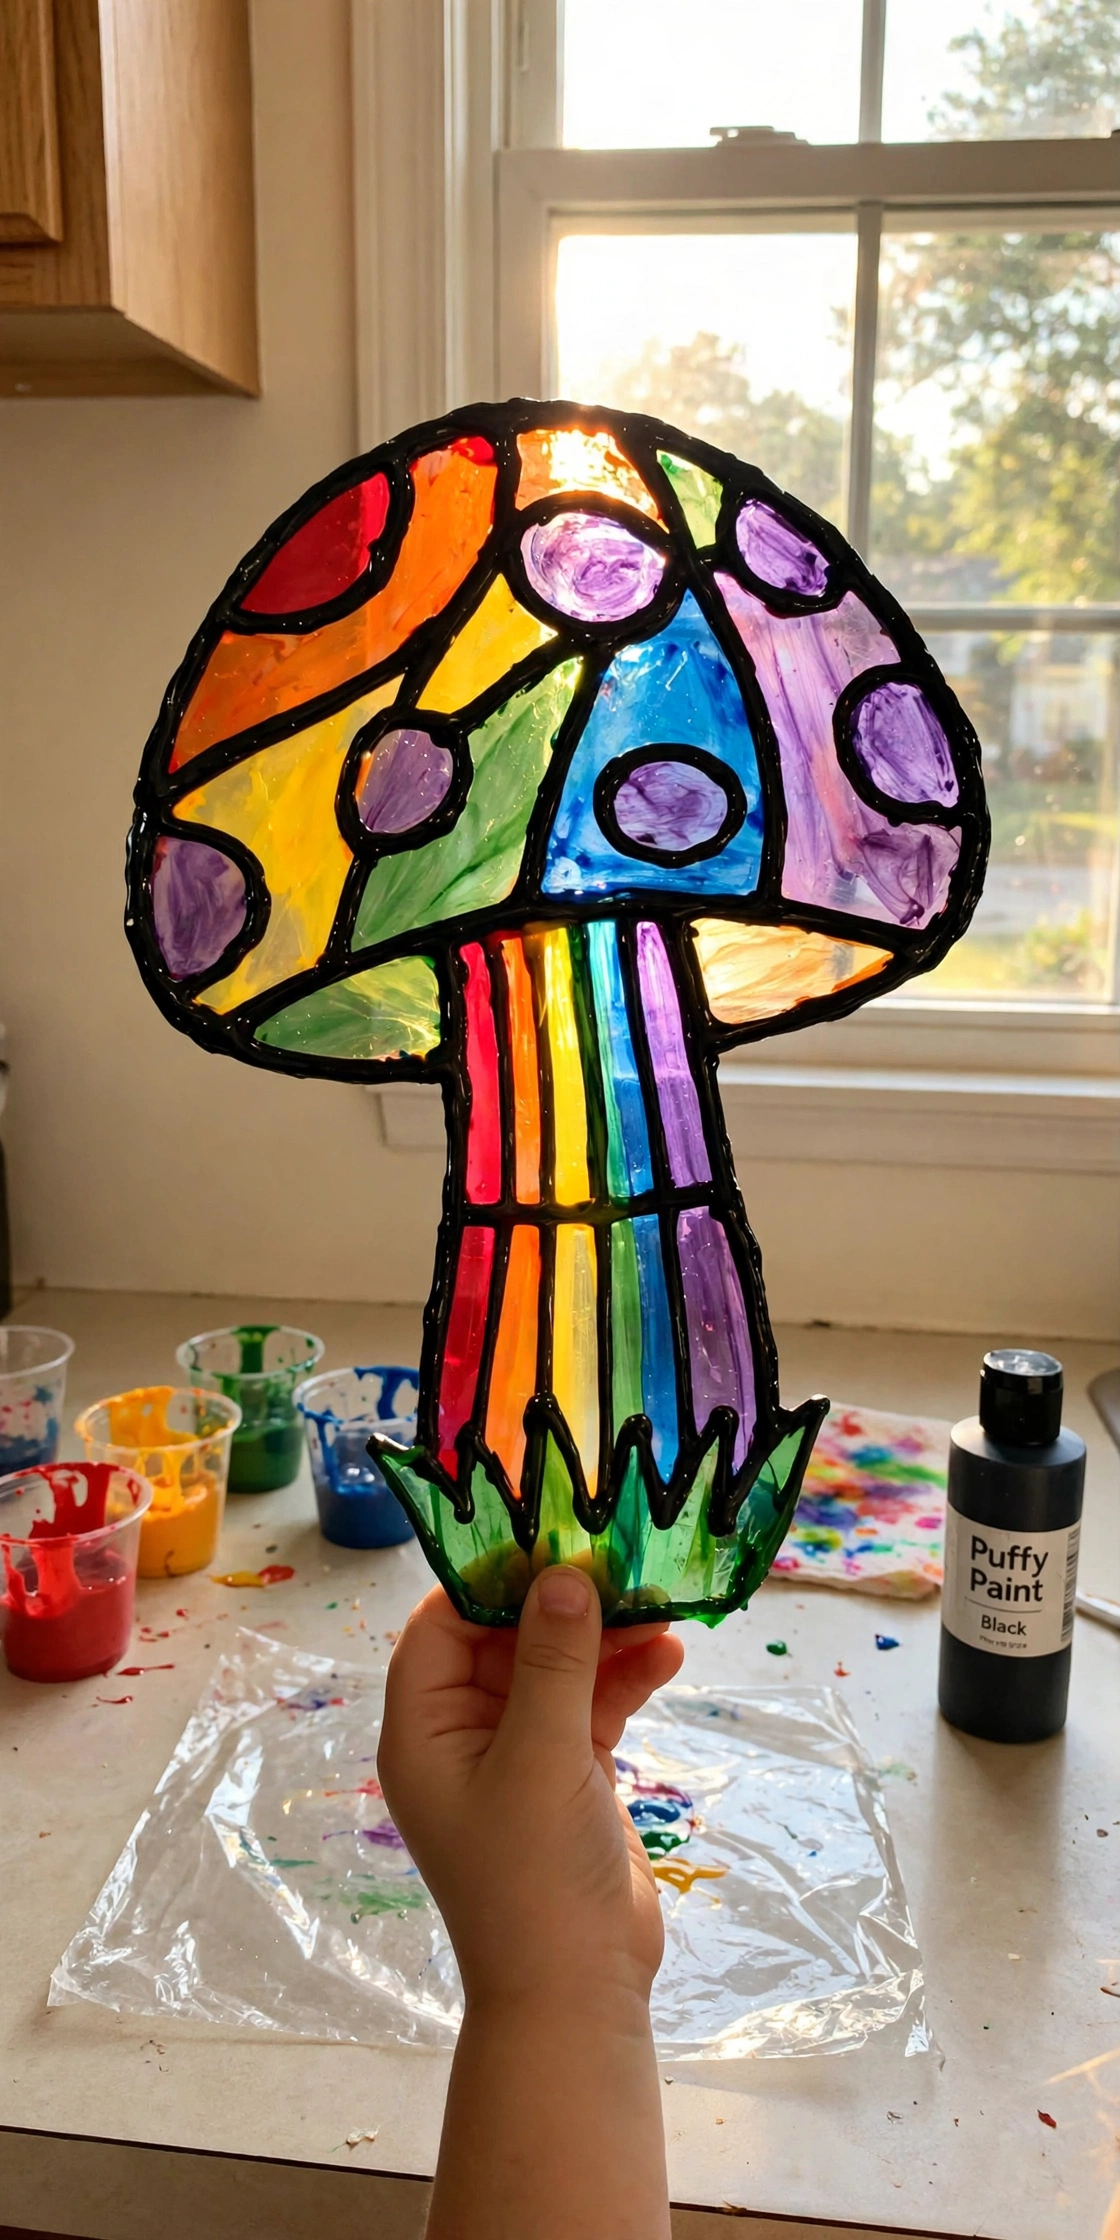 DIY Faux Stained Glass Mushroom for Kids
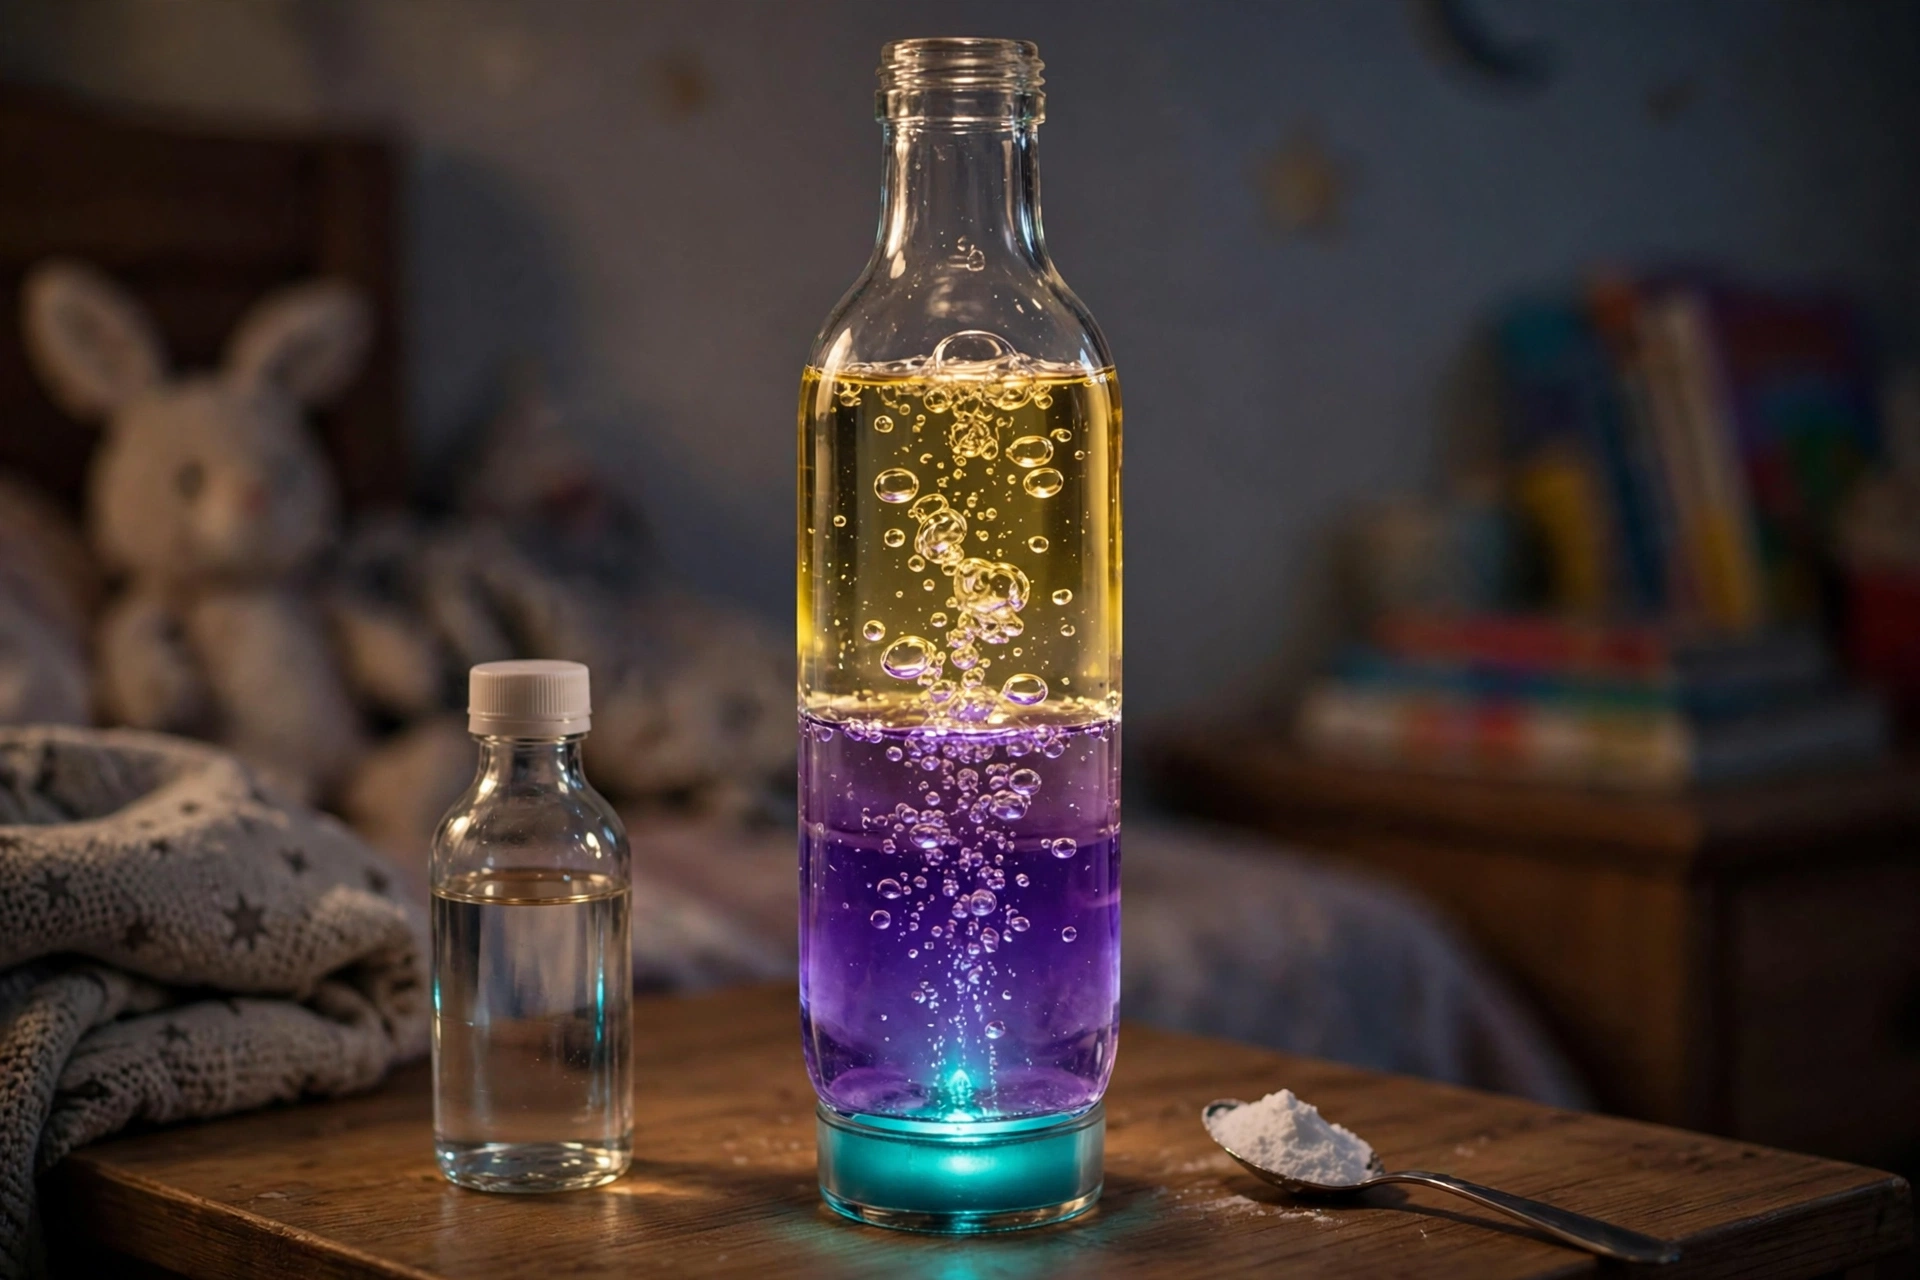 DIY Glowing Bubble Lamps for Kids
 Easy Under the Sea Jar Craft for Kids
Leave a Reply