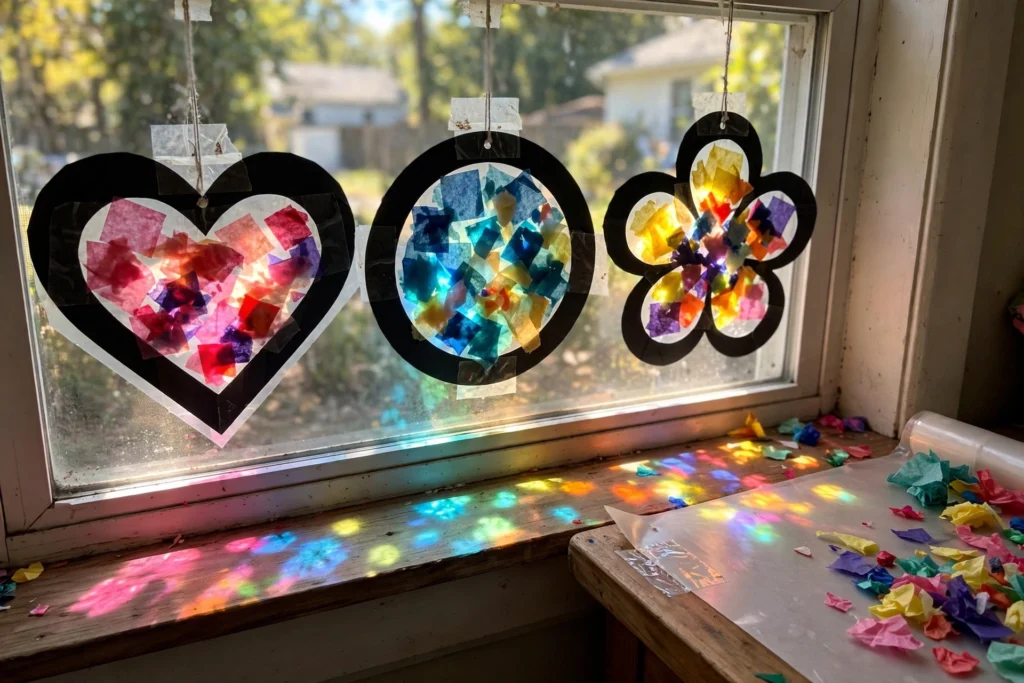
Rainbow season hits our house every spring, and I finally found the fastest way to put one on the window: homemade suncatchers that take about ten minutes from start to finish. No drying, no waiting, no special supplies — just tissue paper, contact paper, and a sunny window.
The method is almost embarrassingly simple: stick colorful tissue paper bits onto sticky contact paper, seal it, cut out a shape, and hang it up. My kids treat it like a puzzle made of light. And when the sun hits them in the afternoon, the whole kitchen glows.
Why You'll Love Making This
This is the craft I recommend when someone tells me they "aren't crafty." There is genuinely no way to mess it up — every random arrangement of tissue paper looks beautiful once the light shines through it. Kids of all ages can do it, including toddlers who mostly just enjoy sticking things.
It's also the perfect rainy-afternoon craft. Ten minutes of making, then hours of admiring your work every time the sun comes out.
Materials You'll Need
- Clear contact paper: one sheet makes several suncatchers
- Colorful tissue paper: cut or torn into small squares and shapes
- Black construction paper: for making frames (optional but pretty)
- Scissors: for cutting shapes and frames
- String or yarn: for hanging
- Tape: for sticking the contact paper to the table while you work
Step-by-Step Directions
- Cut a piece of clear contact paper and tape it to the table, sticky side up.
- Have the kids tear or cut tissue paper into small pieces — squares, triangles, confetti, whatever they like.
- Stick the tissue paper pieces onto the contact paper in any design they want. Overlap colors for fun color-mixing effects.
- When the design is covered, peel a second piece of contact paper and press it over the top to seal everything in.
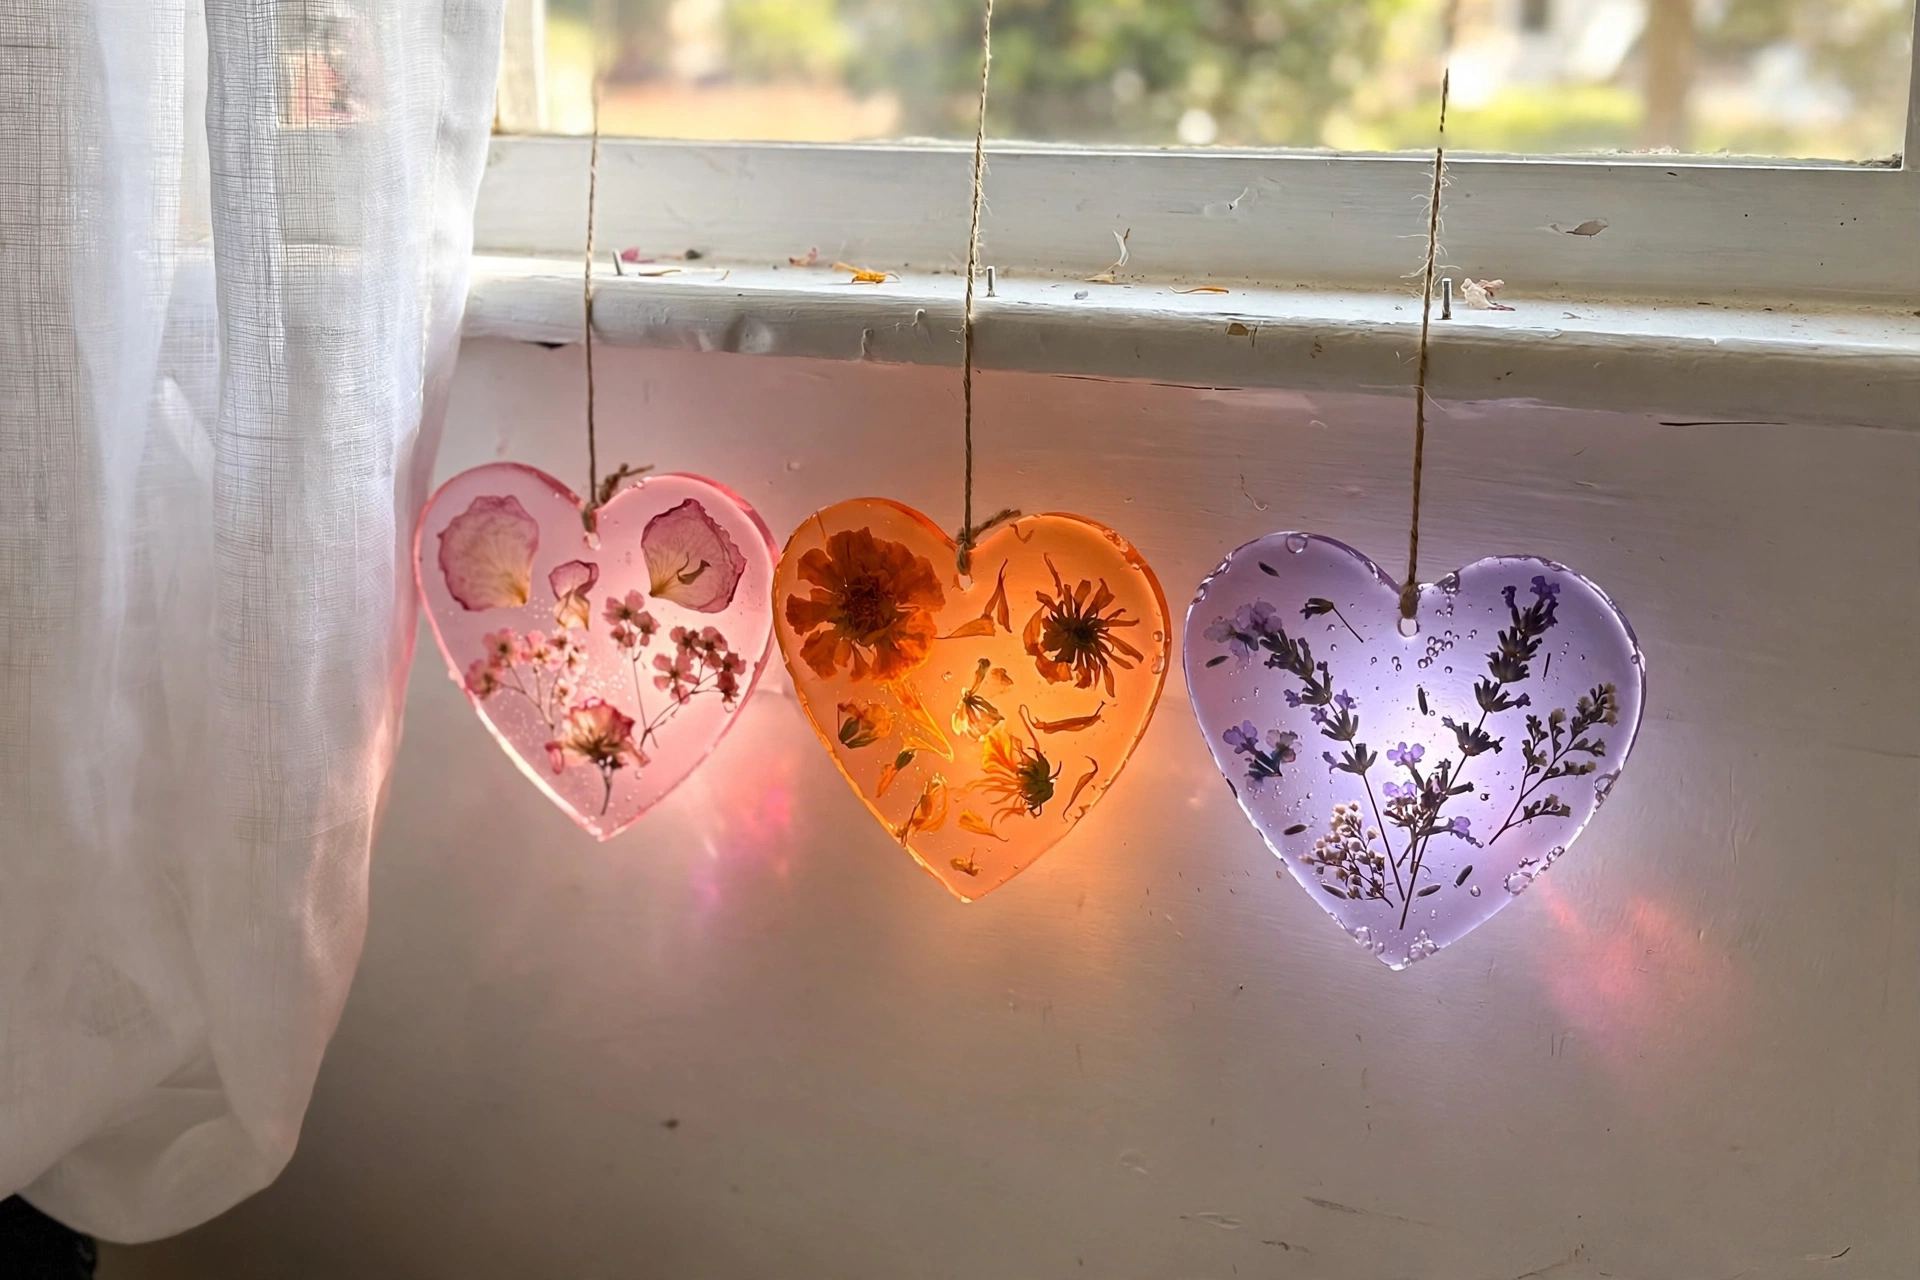
- Cut out your suncatcher shape — a circle, a heart, a flower, or use a black construction paper frame around the edges.
- Punch a hole or tape a loop of string to the top.
- Hang it in a sunny window and step back to admire the glow.
Tips & Variations
- Cut a shape out of black construction paper (like a butterfly or flower) and use it as a frame over the tissue design — instant stained-glass look.
- Confetti-cut tissue paper pieces make a gorgeous mosaic effect.
- Seasonal themes are easy: red and pink hearts for Valentine's, orange and yellow leaves for fall.
- Layer two or three sheets for deeper, richer colors.
<p><img src="https://thediynook.com/wp-content/uploads/2026/09/pin-v1-114.webp" alt="Easy Colorful Suncatchers for Kids" /></p>
FAQs
What if I don't have contact paper?
Clear packing tape strips or a laminator sheet work in a pinch. Even a zip-top bag with the tissue inside looks pretty in a window.
Do the colors fade in the sun?
Eventually, yes — tissue paper fades over a few months in direct sun. The good news is they take ten minutes to remake.
Can toddlers do this?
Absolutely — it's one of the best toddler crafts. Tearing tissue paper is great fine-motor practice, and sticking is all they need to do.
What shapes work best?
Simple shapes with big areas of color: circles, hearts, stars, flowers. Intricate shapes are harder to cut cleanly.
How do you hang them without damaging the window?
A small piece of tape, a suction cup hook, or just tuck them into the window frame. They're feather-light.
Can we use other materials besides tissue paper?
Dried flower petals, thin fabric scraps, and even pressed leaves all work beautifully between the contact paper layers.

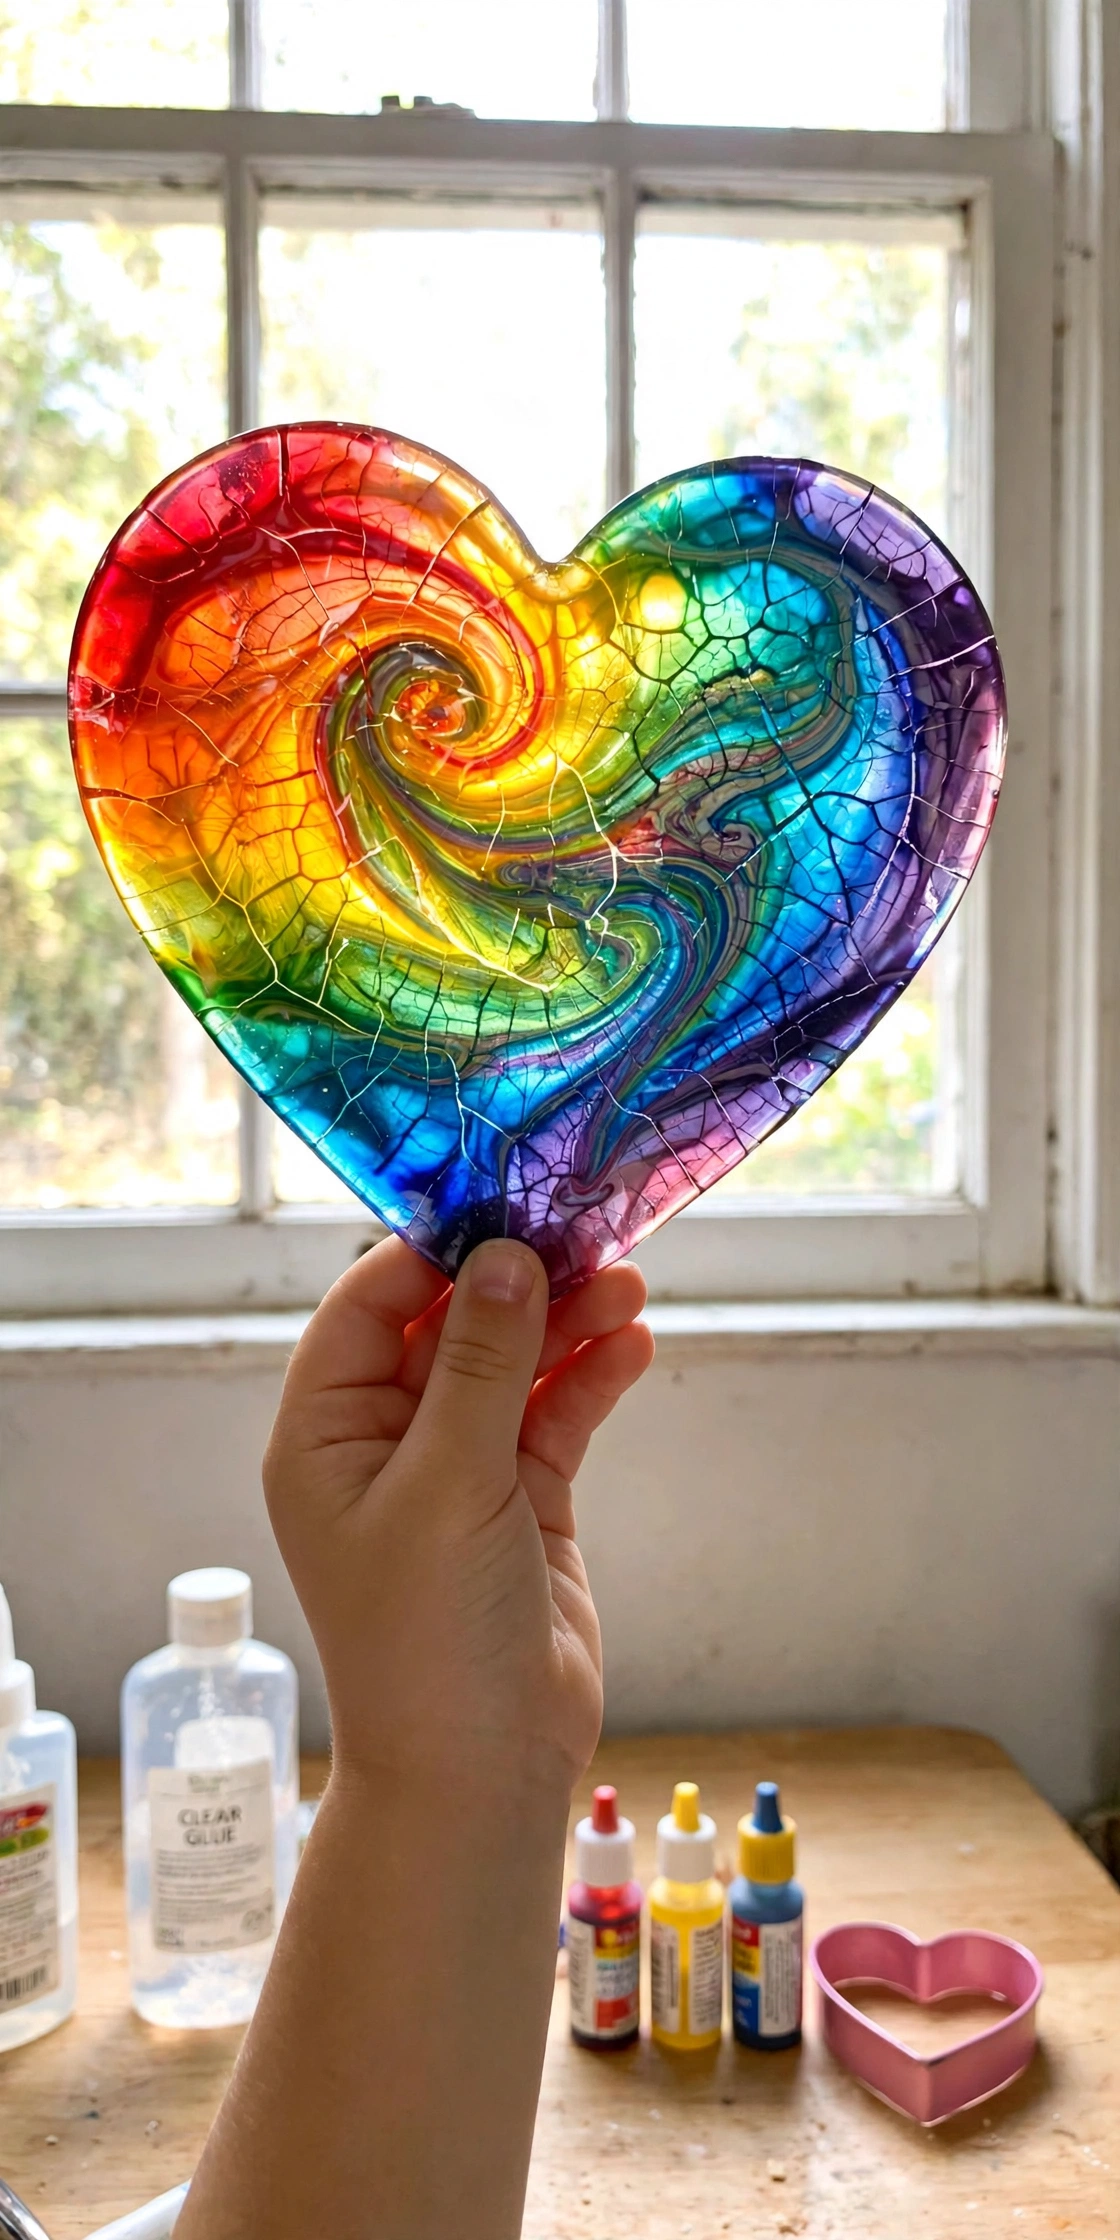 Easy Swirled Glue Suncatchers for Kids
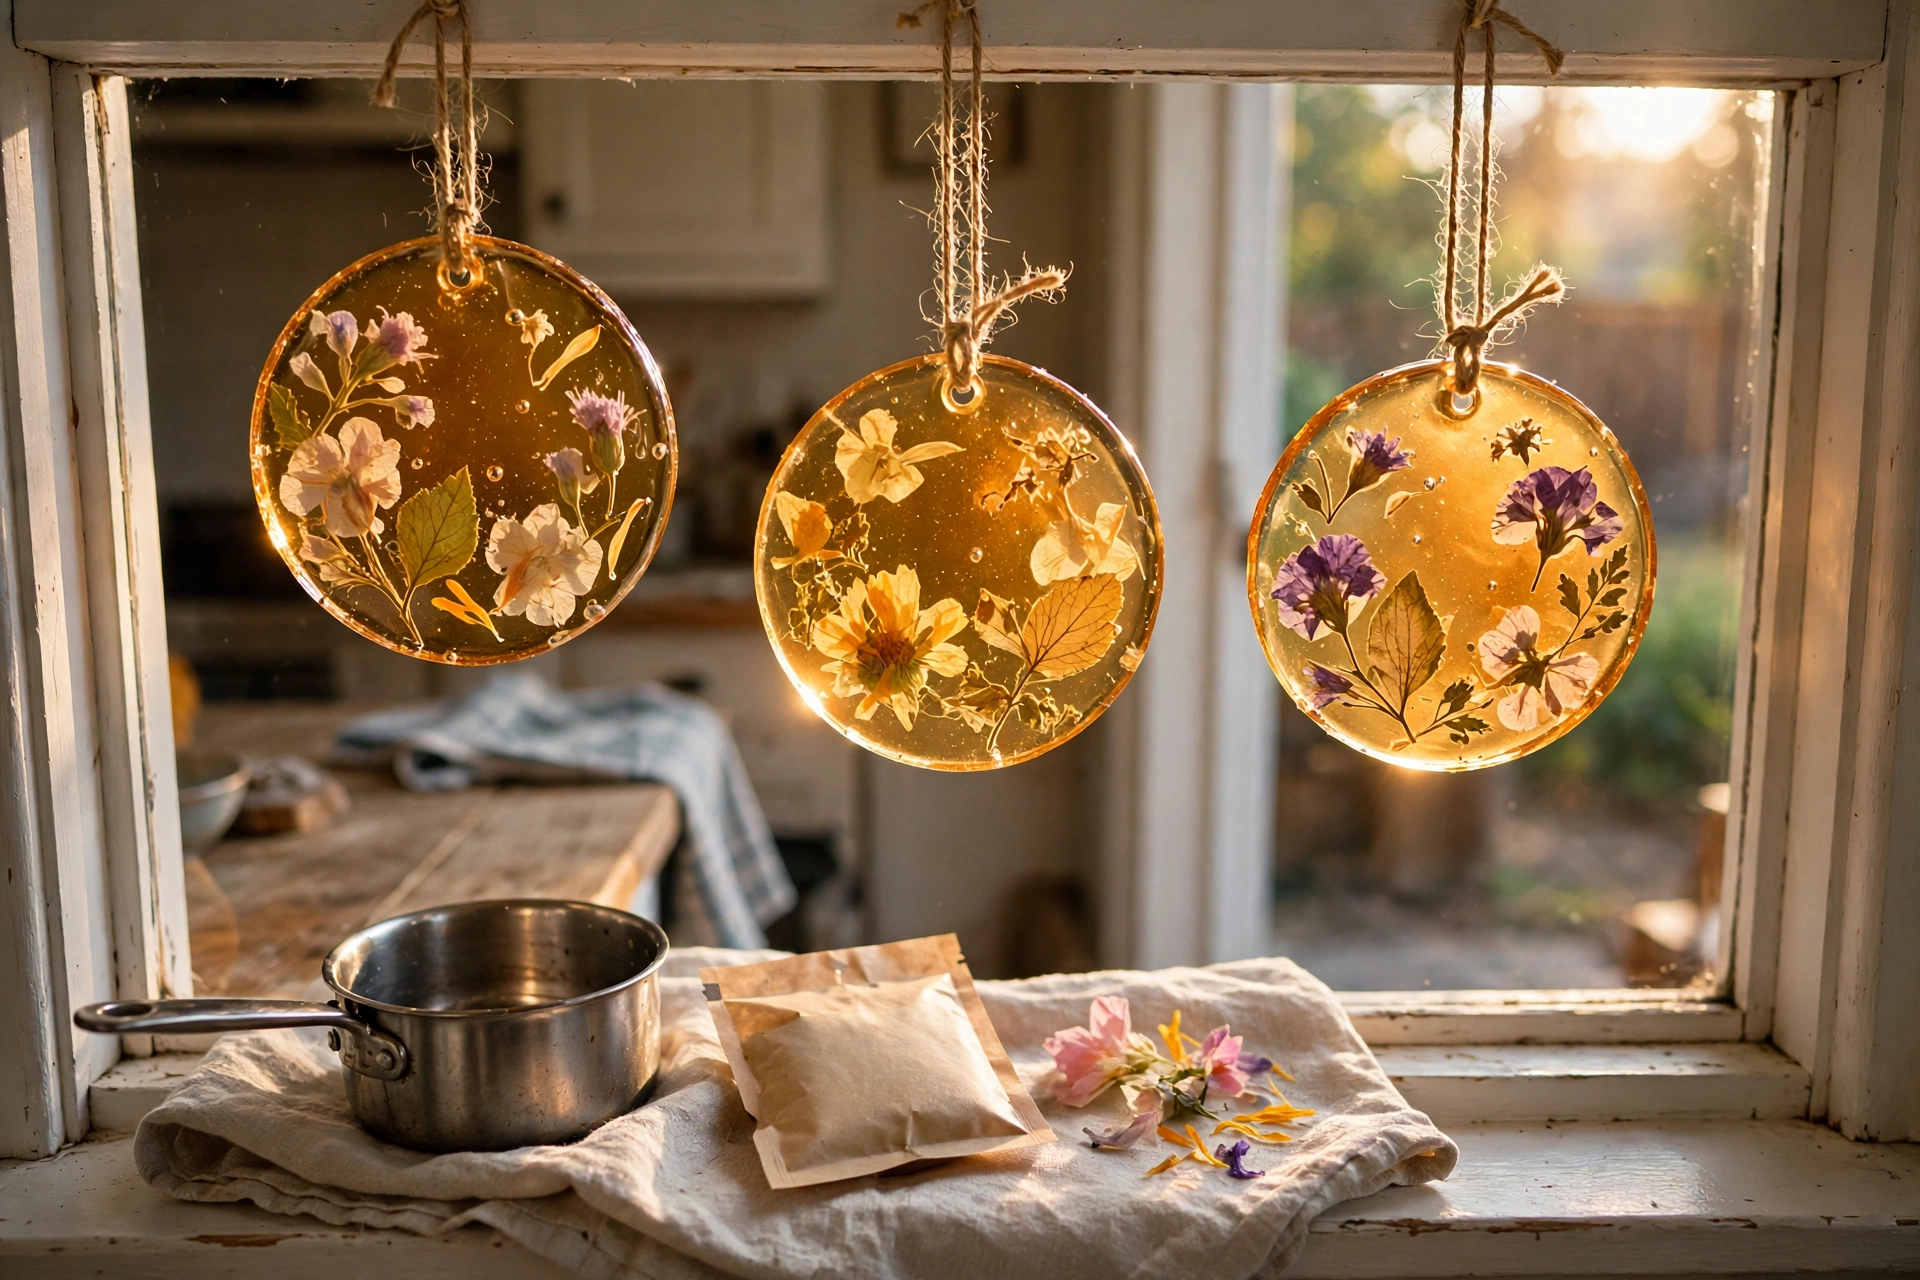 Cozy Bioplastic Suncatchers for Kids
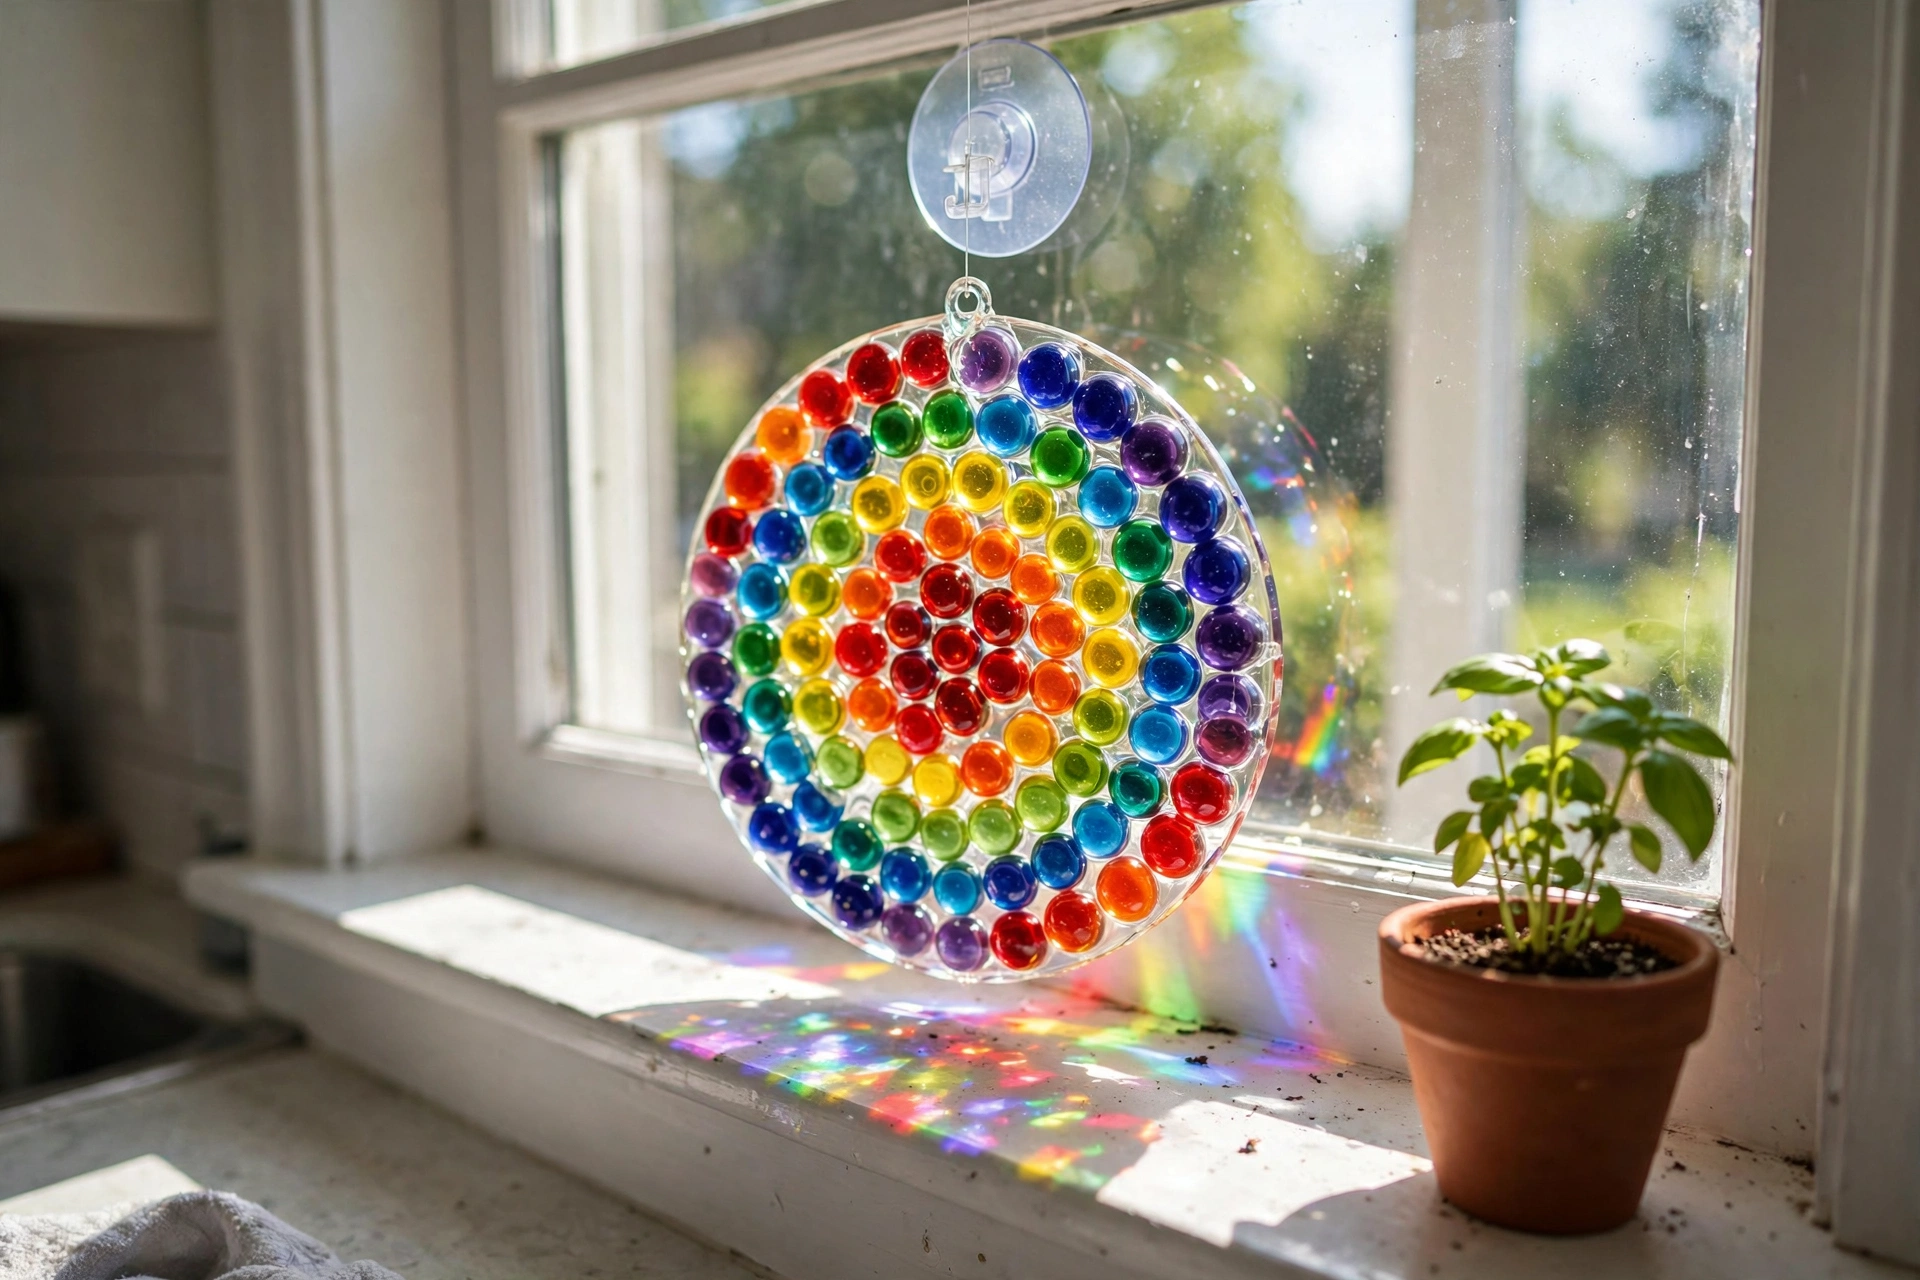 Easy DIY Glass Bead Suncatcher
 Easy DIY Bioplastic Suncatchers for Kids
Leave a Reply