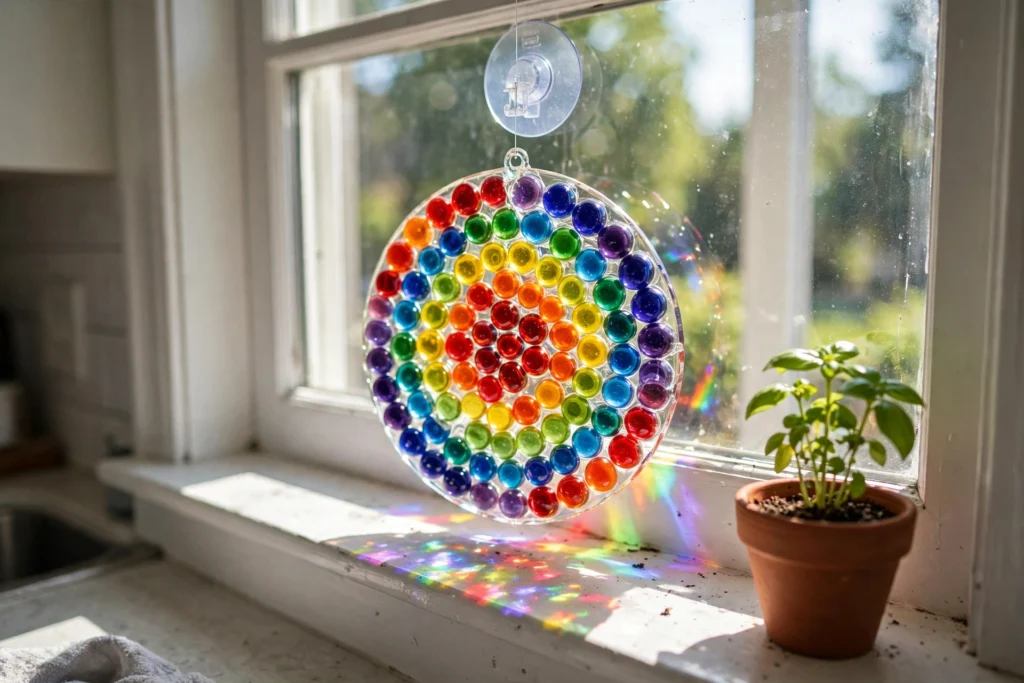
Our kitchen window used to be the most boring spot in the house, until we hung up these glass bead suncatchers. When the afternoon sun hits them, they throw little rainbows all over the walls, and my kids have started eating their snacks sitting right underneath just to watch the colors dance.
The best part? There is no oven, no melting, no tricky steps. Kids press colorful glass beads into clear glue inside a plastic lid, wait a few days, and pop out a sparkling suncatcher. It is basically foolproof, and the results look like something from a gift shop.
Why You'll Love Making This
First, it is genuinely easy for all ages. Even toddlers can press beads into glue, and older kids can get fancy with patterns and color gradients. There is no wrong way to arrange the beads.
Second, it is a two-dollar craft that looks like a ten-dollar gift. We have made these for grandparents, teachers, and party favors, and people always ask where we bought them.
Materials You'll Need
- Glass beads: flat-back, transparent, assorted colors (dollar store bags are perfect)
- Clear glue: school glue or craft glue that dries transparent (not hot glue)
- Plastic lid: from a yogurt or margarine container — this is your mold
- Fishing line or sturdy thread: about 11 inches per suncatcher
- Suction cup with hook: for hanging on the window
- Needle or push pin: for poking the hanging hole
Step-by-Step Directions
- Cover the bottom of a clean plastic lid with a generous layer of clear glue.
- Press your glass beads into the glue, flat side down, arranging them in any pattern you like — rainbows, spirals, or random confetti.
- Fill in all the gaps so the beads sit snugly edge to edge.
- Set the lid in a safe, undisturbed spot and let it dry for 4 to 5 days until completely firm.
- Gently peel the suncatcher out of the plastic lid — it should pop out in one piece.
- Use a needle or push pin to poke a small hole through a thinner part of the dried glue.
- Thread about 11 inches of fishing line through the hole and tie a secure knot.
- Attach the other end to your suction cup hook and hang it on a sunny window.
Tips for the Best Suncatcher
Patience is the whole secret — if it will not peel out of the lid cleanly, it needs more drying time. Use transparent beads rather than opaque ones; they catch the light far better. And avoid hot glue entirely — it does not dry clear and it yellows over time.
Variations to Try
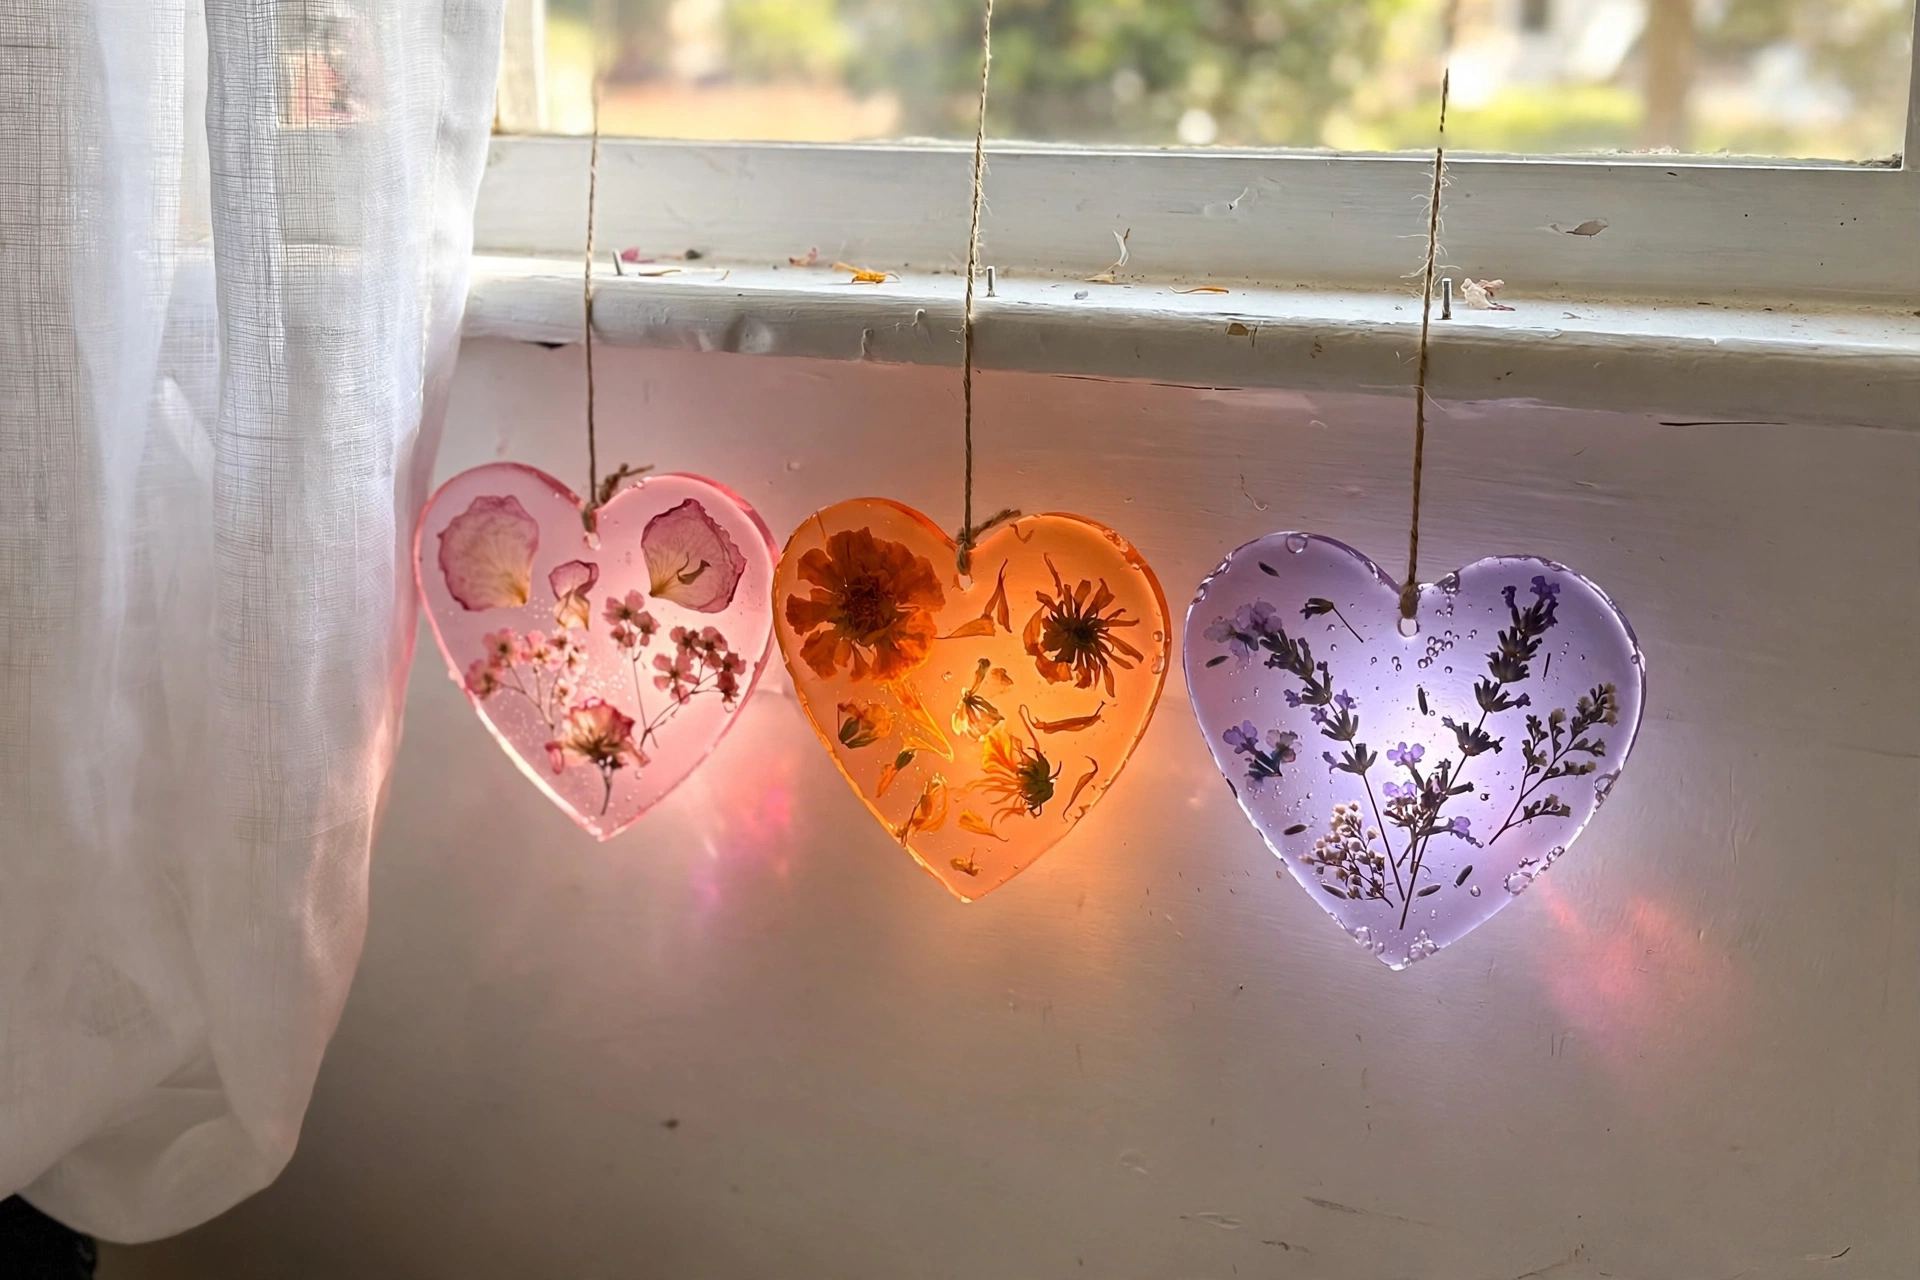
Make a set in seasonal colors — pastels for spring, red and green for Christmas. Try a heart shape by using a heart-shaped plastic container as your mold. Older kids can create mosaic pictures by outlining a simple shape with one bead color and filling it in with another.
<p><img src="https://thediynook.com/wp-content/uploads/2026/09/pin-v1-106.webp" alt="Easy DIY Glass Bead Suncatcher" /></p>
FAQs
How long does the glue take to dry?
Plan on 4 to 5 days in a dry spot. Thicker glue layers take longer. Do not rush it — a suncatcher that is still soft underneath will bend or tear when you peel it.
Can I use plastic beads instead of glass?
Glass beads catch the light much better and give that true suncatcher sparkle. Plastic beads work in a pinch but look duller in the window.
Will it hold up outdoors?
These are happiest indoors or on a sheltered patio. Rain and wind can weaken the glue over time, so keep them where they stay dry.
What if my suncatcher cracks when I peel it out?
It probably needed one more day of drying. Small cracks can be patched with a dab of clear glue pressed into the gap and left to dry again.
Can toddlers help with this?
Yes — pressing beads into glue is perfect toddler work. Just handle the needle-poking step yourself, and make sure little ones do not mouth the beads.
How do I clean it?
Wipe gently with a damp cloth. Do not soak it — long soaks can soften the glue base.

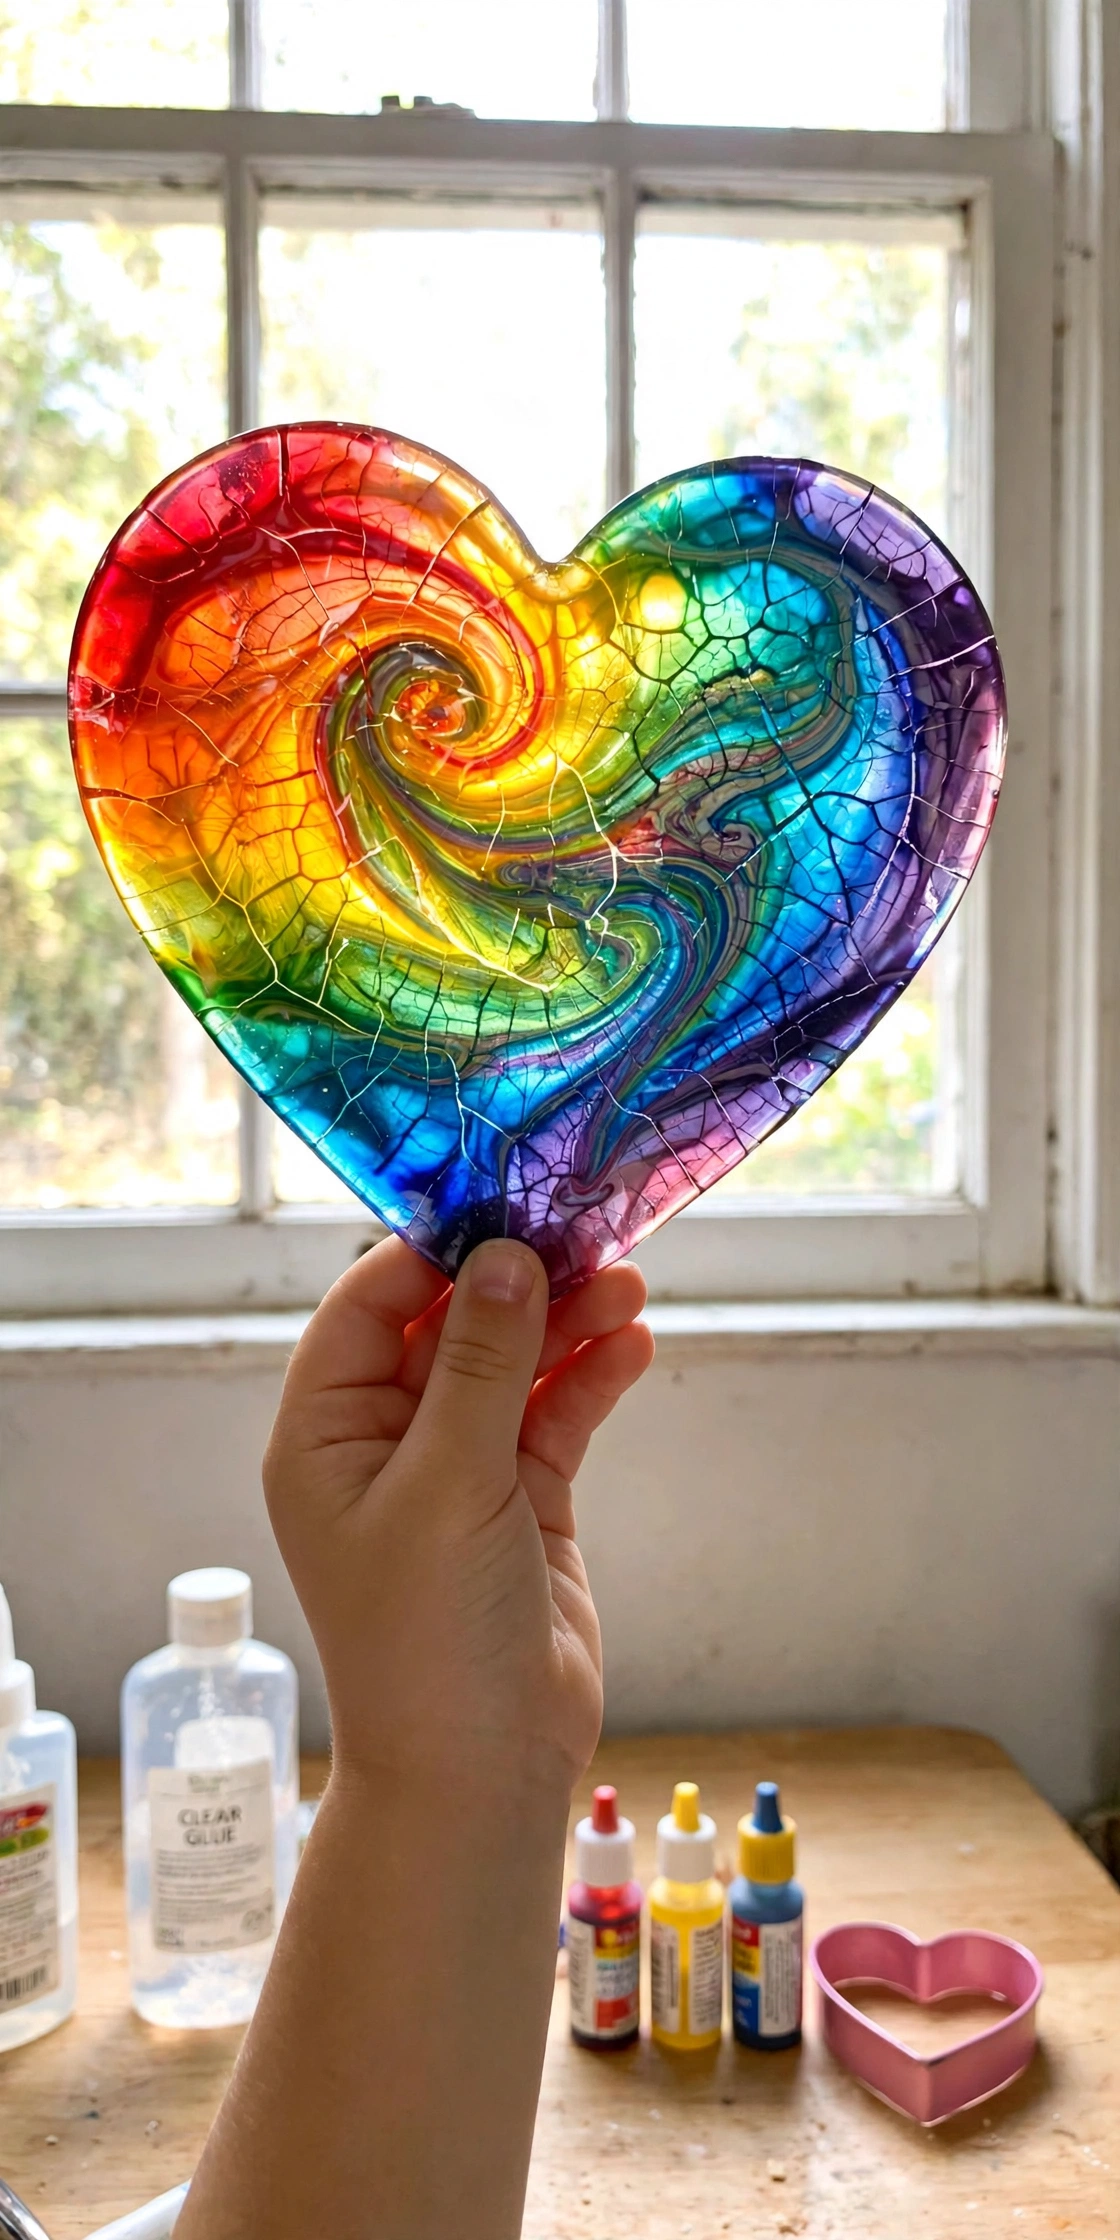 Easy Swirled Glue Suncatchers for Kids
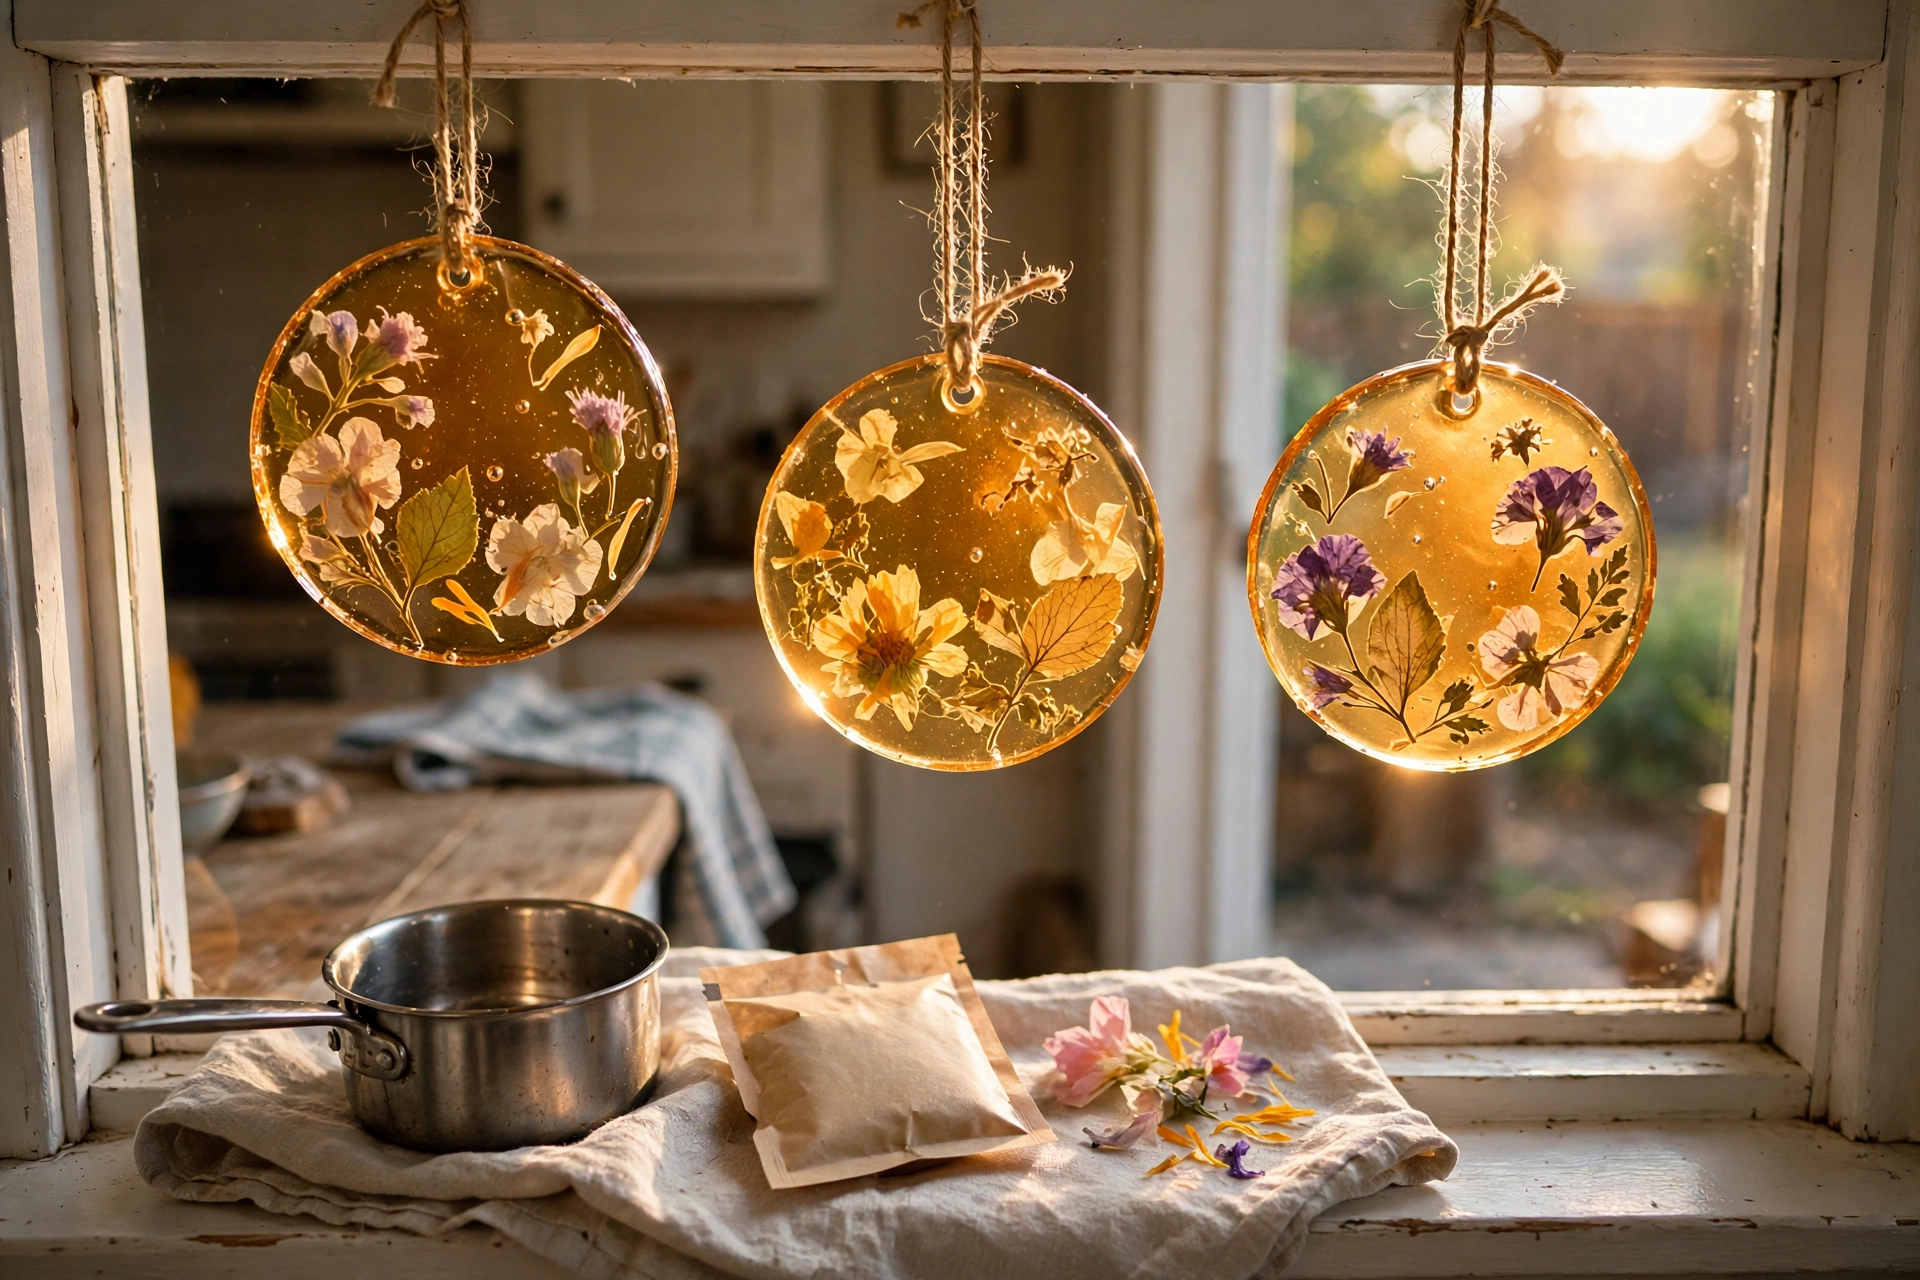 Cozy Bioplastic Suncatchers for Kids
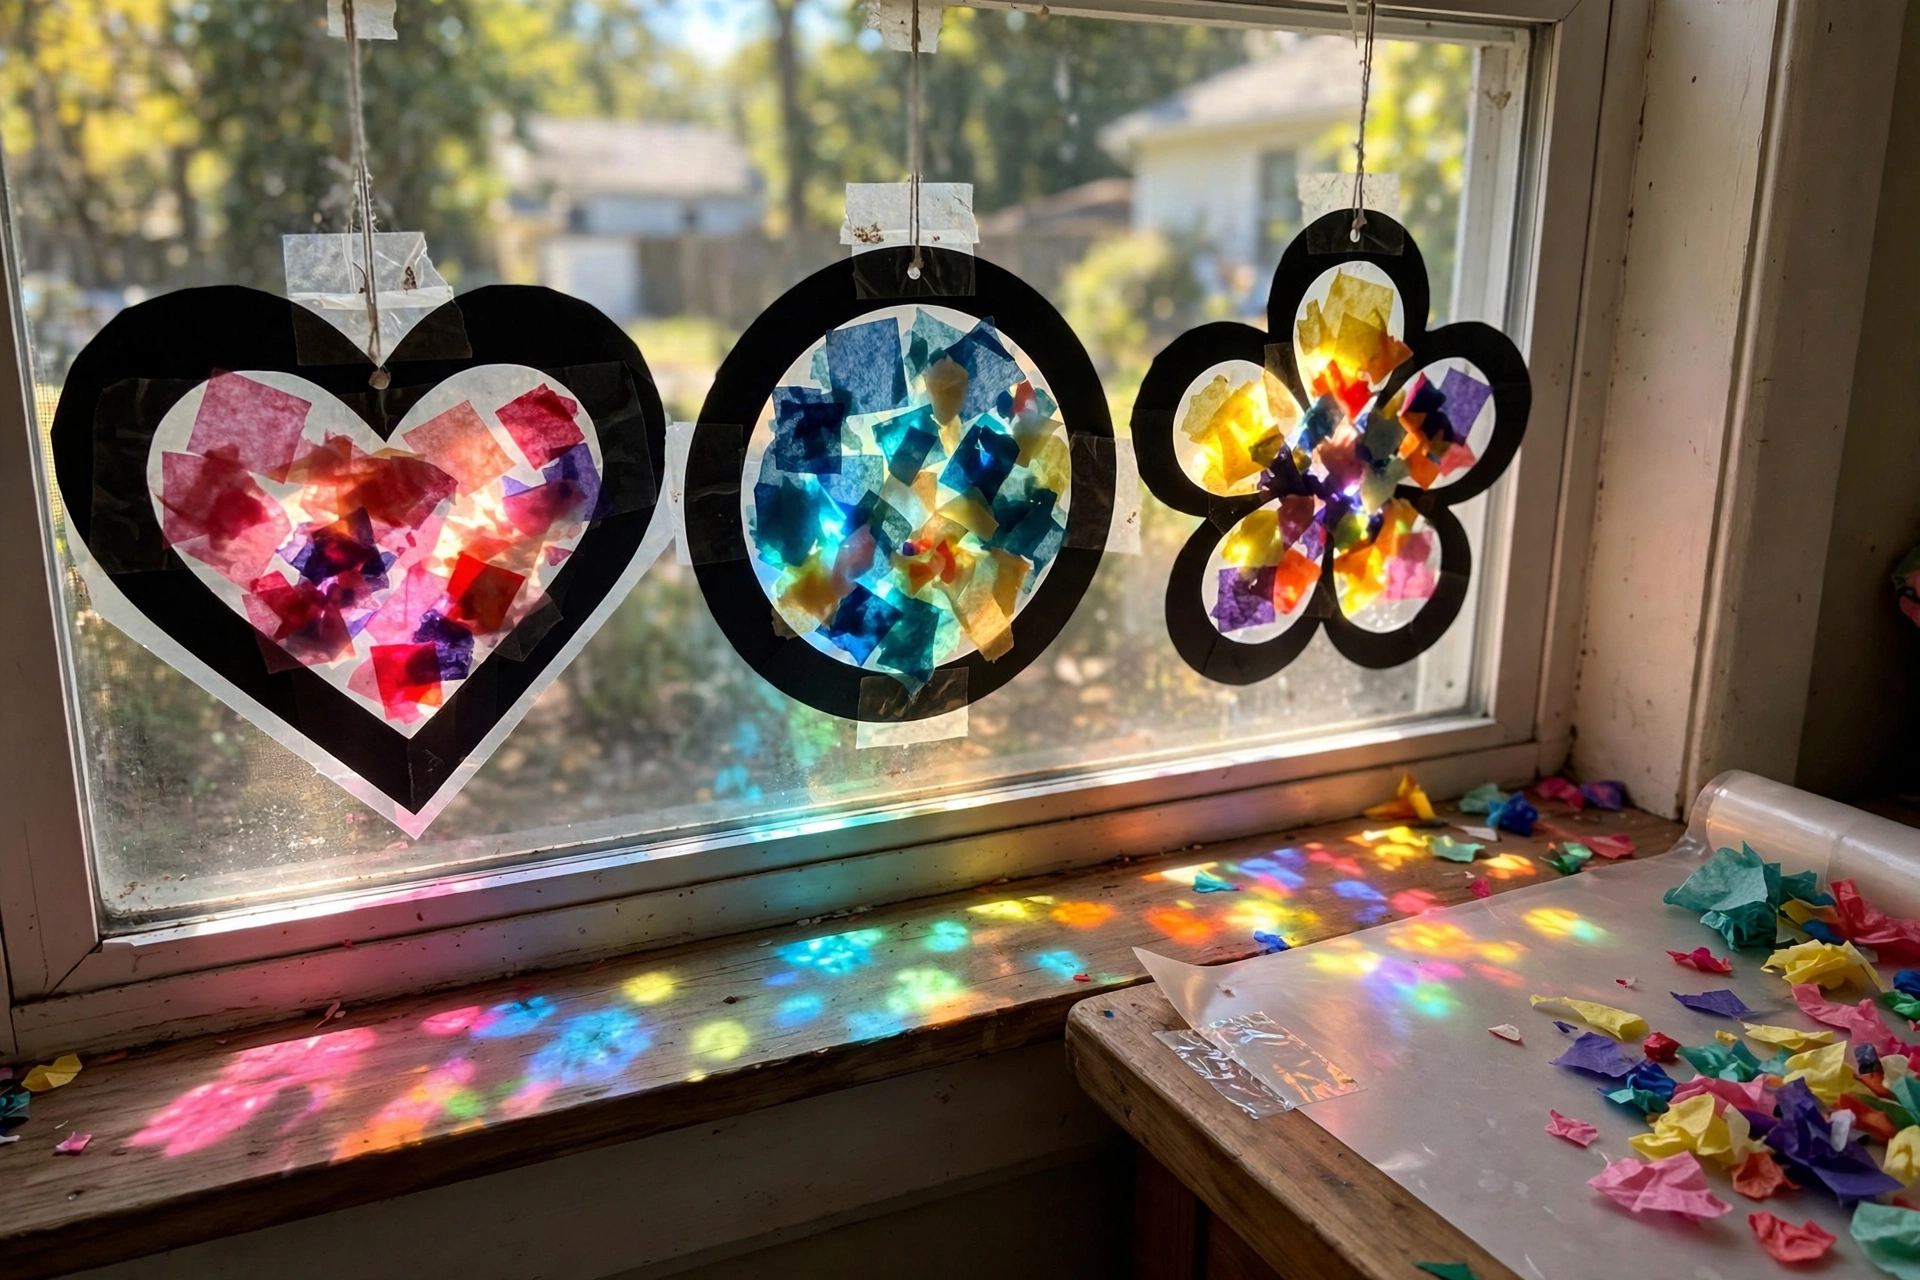 Easy Colorful Suncatchers for Kids
 Easy DIY Bioplastic Suncatchers for Kids
Leave a Reply