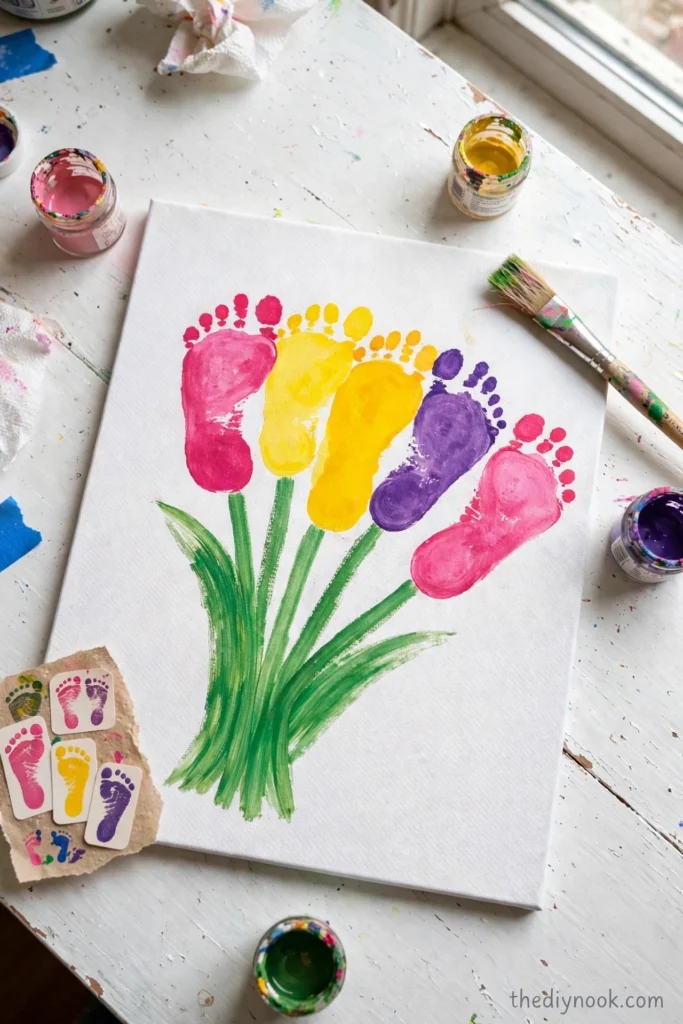
There is a particular kind of quiet that settles over the house when my kids are deep in a calm craft — no one's arguing about whose turn it is, no one's asking for the tablet. I get it maybe twice a year. The first time we made these footprint keepsakes, I felt like I'd been handed a small gift of silence along with the craft itself.
The idea is simple: press a tiny foot into soft clay, let it dry, paint it in soft Easter colors, and you have a keepsake that makes grandparents cry every single time. It feels like holding time in the palm of your hand — one small foot, one ordinary afternoon, preserved forever.
Why You'll Love Making These
This is a slow craft in the best possible way. There's no rushing it: you press, you smooth, you wait for it to dry, you paint in gentle layers. For toddlers especially, it's a wonderful reset — the cool clay, the counting-to-three while we press the foot down, the careful brushing of paint. My youngest, who is usually vibrating at the frequency of a hummingbird, went completely still during this one.
And the result is the kind of keepsake you keep. Not the glitter-covered thing that falls apart by June — a real, solid little piece you can hold, gift, and pull out year after year.
Materials You'll Need
- Air-dry clay or salt dough (air-dry clay holds detail best and needs no oven)
- A small rolling pin or a smooth bottle
- Wax paper or a silicone mat (to keep things from sticking)
- A clean, damp cloth (for gentle smoothing)
- A tiny dish of water (helps smooth the edges)
- A flat board or tray to work on
- Soft sandpaper, fine grit (optional, for smoothing after drying)
- Acrylic or tempera paint in soft spring colors — non-toxic, always
- Small soft paintbrushes (size 0 to 4 are perfect for detail)
- Clear matte sealer (optional, for protecting the finish)
- A pencil or toothpick (for writing a name and date)
- Ribbon or twine (optional, for hanging)
One note: if toddlers will be touching the finished piece a lot, stick with non-toxic paints and a food-safe sealer, or skip the sealer entirely.
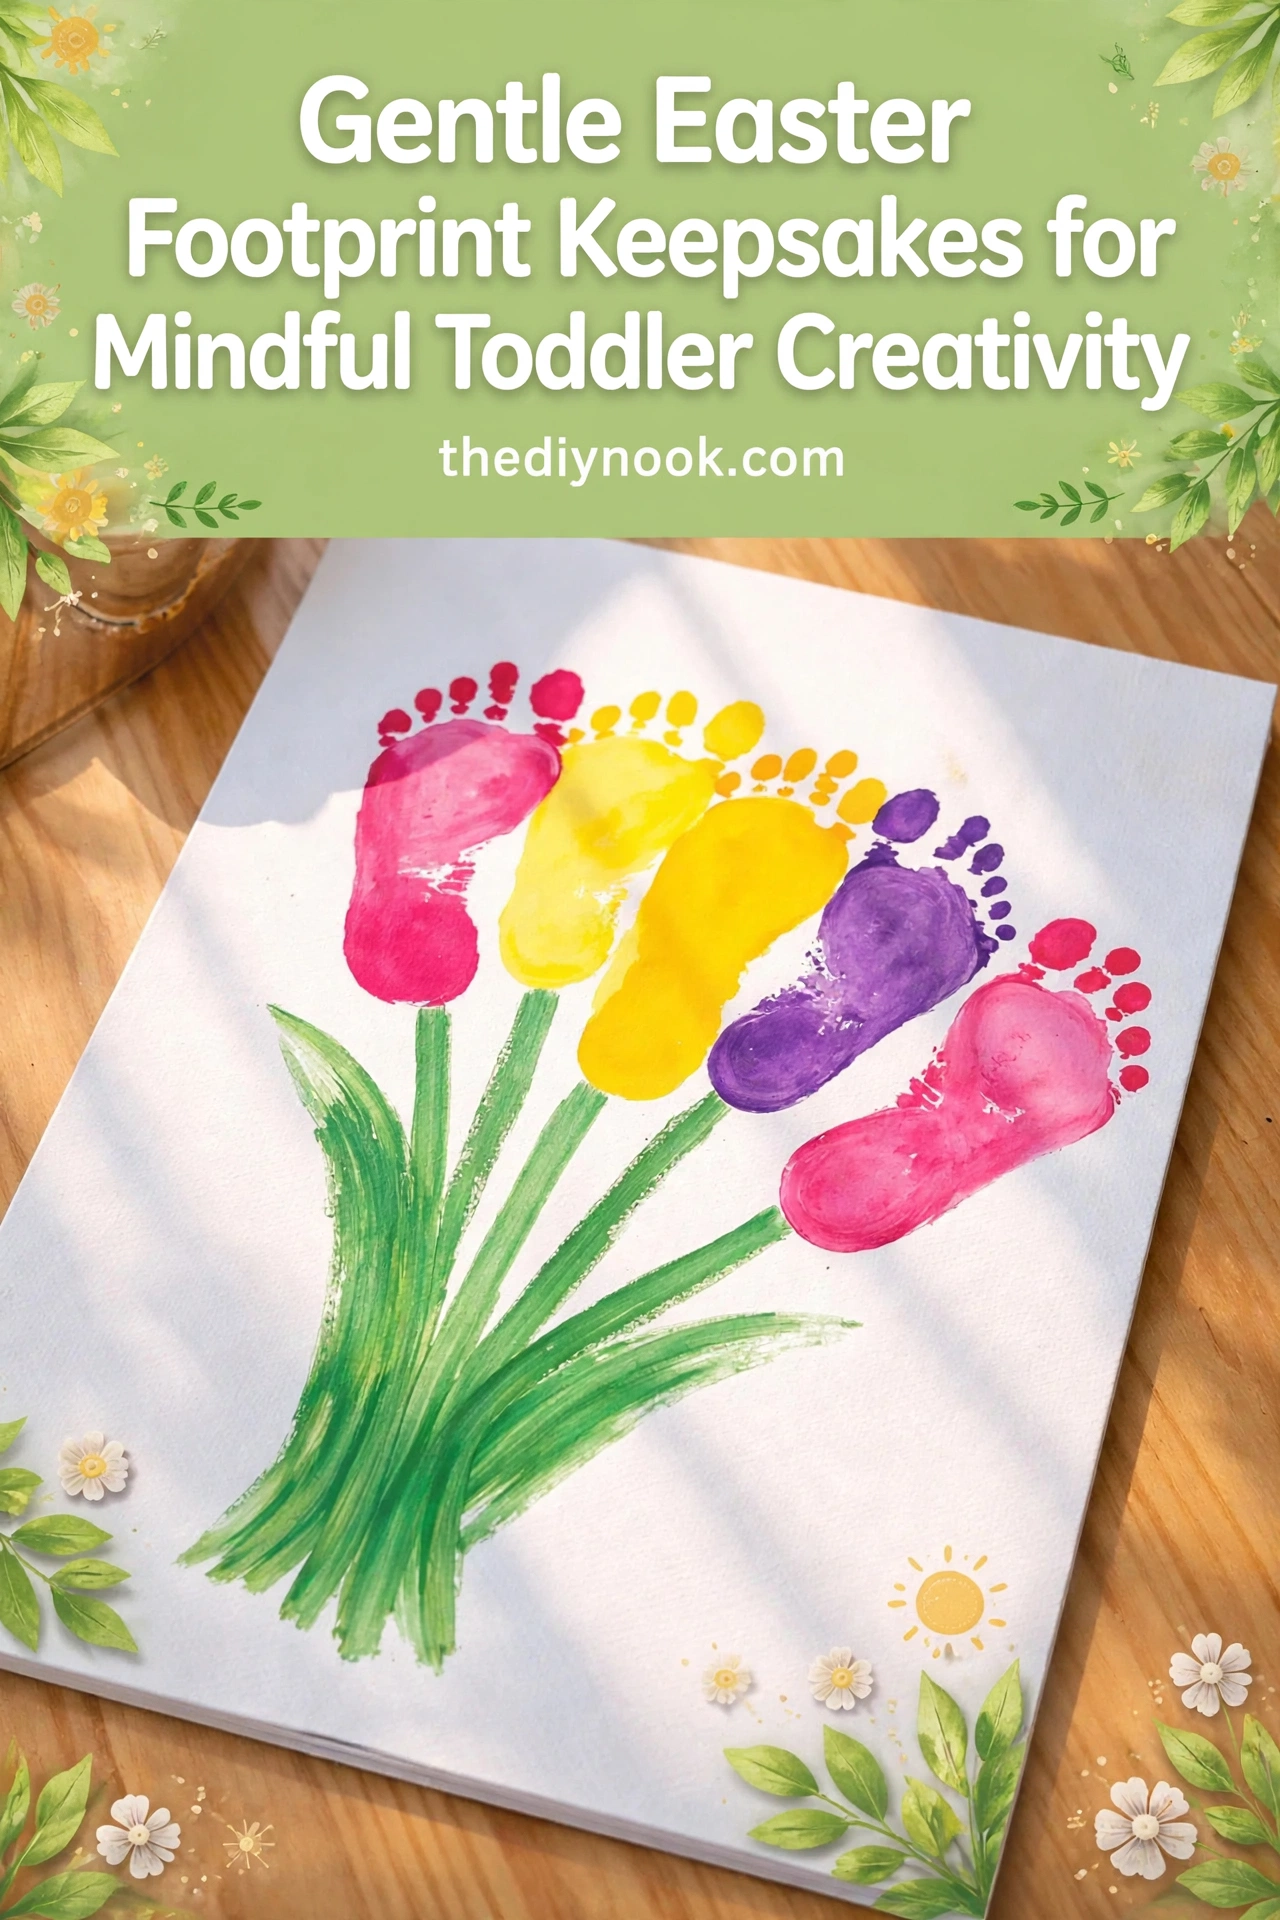
<img src="https://thediynook.com/wp-content/uploads/2026/09/pin-v1-40.webp" alt="Gentle Easter Footprint Keepsakes for Mindful Toddler Creativity" />
Step-by-Step Directions
- Set up a calm workspace: lay down wax paper or a silicone mat, set out the damp cloth and water dish, and have the clay ready. A quiet table is half the battle with toddlers.
- Knead the clay gently until it's smooth and even, then roll it to about half an inch thick. You want it thick enough to hold a clear print.
- Invite your little one to sit comfortably. Wipe their foot clean and dry it. Let them squish the clay a bit first — it helps them settle in.
- Press the foot gently but firmly into the clay, straight down. If they're wiggly, count slowly to three together and lift the foot straight up. The counting game worked wonders with mine.
- Smooth the edges around the print with the damp cloth or a wet fingertip, working in small circles. This is the part that makes it look finished rather than accidental.
- Use the pencil or toothpick to write a name and date beside the print. Press lightly — you don't need to carve it.
- Set the keepsake on a tray in a dry, low-traffic spot and let it dry completely, 24 to 72 hours depending on thickness. It should feel uniformly hard and cool to the touch.
- If any edges feel rough, give them a light pass with fine sandpaper using soft strokes.
- Paint in thin layers, letting each layer dry before adding the next. Try pastel washes on the background and leave the print natural — or paint the little toes in soft spring colors. Both look lovely.
- If you want, brush on one light coat of clear matte sealer. Thread a ribbon through a hole poked before drying if you'd like to hang it. Then hold it for a moment before it goes to its new home.
The Learning Behind This Craft
This one is sneaky-good for little ones. Pressing a foot into clay and painting in thin layers builds fine motor control and body awareness — feeling the cool clay, the gentle pressure, the smooth paint. There's real sensory processing happening in what looks like simple play.
It also teaches the loveliest thing: patience. The waiting between steps (drying! drying again!) is its own lesson, and kids who stick with it get to watch something fragile become something permanent. That's cause and effect you can hold in your hand.
Tips If Things Go Sideways
The print came out blurry? The clay was probably too soft or the foot slid. Roll a fresh piece, let the clay firm up a minute, and try again — counting to three together really does steady them.
Cracks appeared while drying? It dried too fast. Next time, keep it away from heat vents and direct sun. Small cracks can be filled with a dab of wet clay and smoothed.
Paint looks streaky? Thin it down a touch and use more layers instead of one thick one. Thin washes are the whole aesthetic here.
Child absolutely will not sit still? Take a break and try later, or press their foot while they're standing and relaxed. It doesn't have to happen on the first attempt — the clay will wait.
Fun Variations to Try
- Footprint tulips: paint little feet in pink, yellow, and purple, stamp them onto paper as flower heads, and paint green stems below. Frame it — it's instant grandparent gold.
- Family plaque: roll one long slab and take prints from everyone side by side, smallest foot to biggest. It tells a whole growth story.
- Nature press: press a small leaf or flower sprig into the clay beside the footprint for a soft botanical detail.
- Wash technique: instead of painting the print itself, paint the background in a gentle color wash and wipe the print clean with a damp cloth. The contrast looks calm and modern.
- Gift it: nest the finished keepsake in a small box with shredded paper and a handwritten note. Simple, weighty, unforgettable.
FAQs
My toddler won't stay still for the print — what can I do?
Let them wiggle their toes first, count slowly together, or sing a short familiar line while you press. Hold their foot gently and keep your voice calm. If it's not happening, walk away and try again later — forcing it never works.
Can I use salt dough instead of air-dry clay?
Yes, salt dough is a warm, homey option and it bakes in the oven. Just know it's a bit more fragile than air-dry clay and can soften in humidity over time.
How long does it take to dry?
Plan on 24 to 72 hours depending on thickness. Thin pieces may be ready in a day; thicker ones need the full three. It's done when it feels uniformly hard and cool.
How do I clean the keepsake later?
Dust it with a soft brush or microfiber cloth. If you sealed it, you can gently wipe with a slightly damp cloth and dry it right away. Never soak it.
Can I make this with an infant?
You can — press the foot while the baby is calm (after a nap is ideal) and have a second pair of hands to help. Work quickly and gently, and don't stress if the print is a little soft. Imperfect prints are still perfect keepsakes.

 Sunflower Chocolate Mother’s Day Card
 DIY Ghost Costume for Kids: Easy No-Sew Halloween Costume
 Easy Rainbow Glow Ghost Mason Jar Lanterns for Kids
 Valentine Glue Gem Hearts: Easy Craft for Kids
Leave a Reply