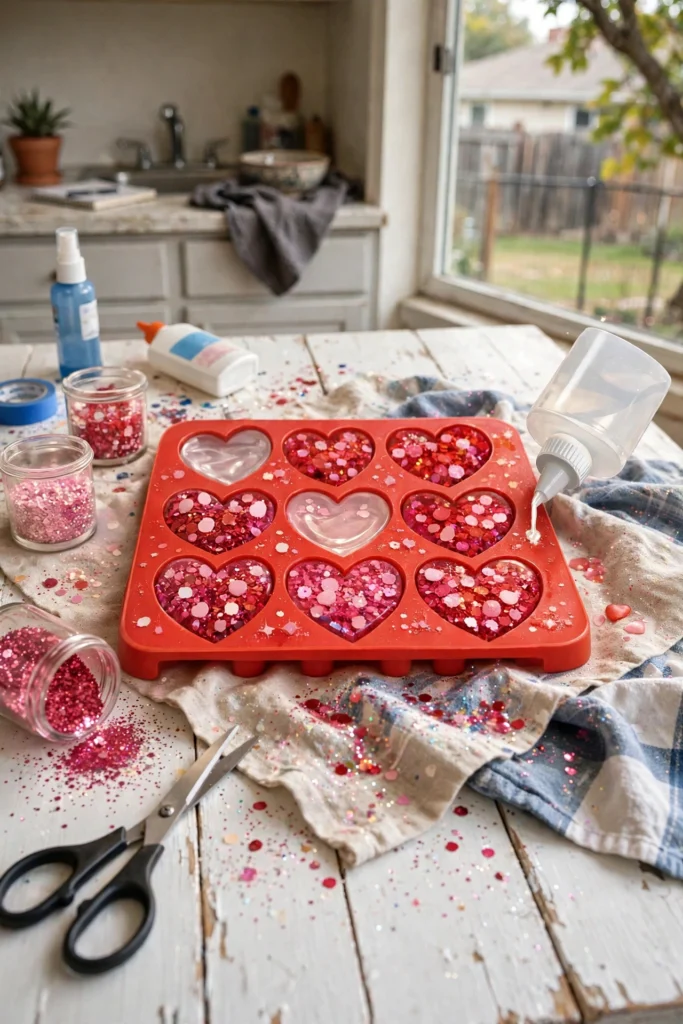
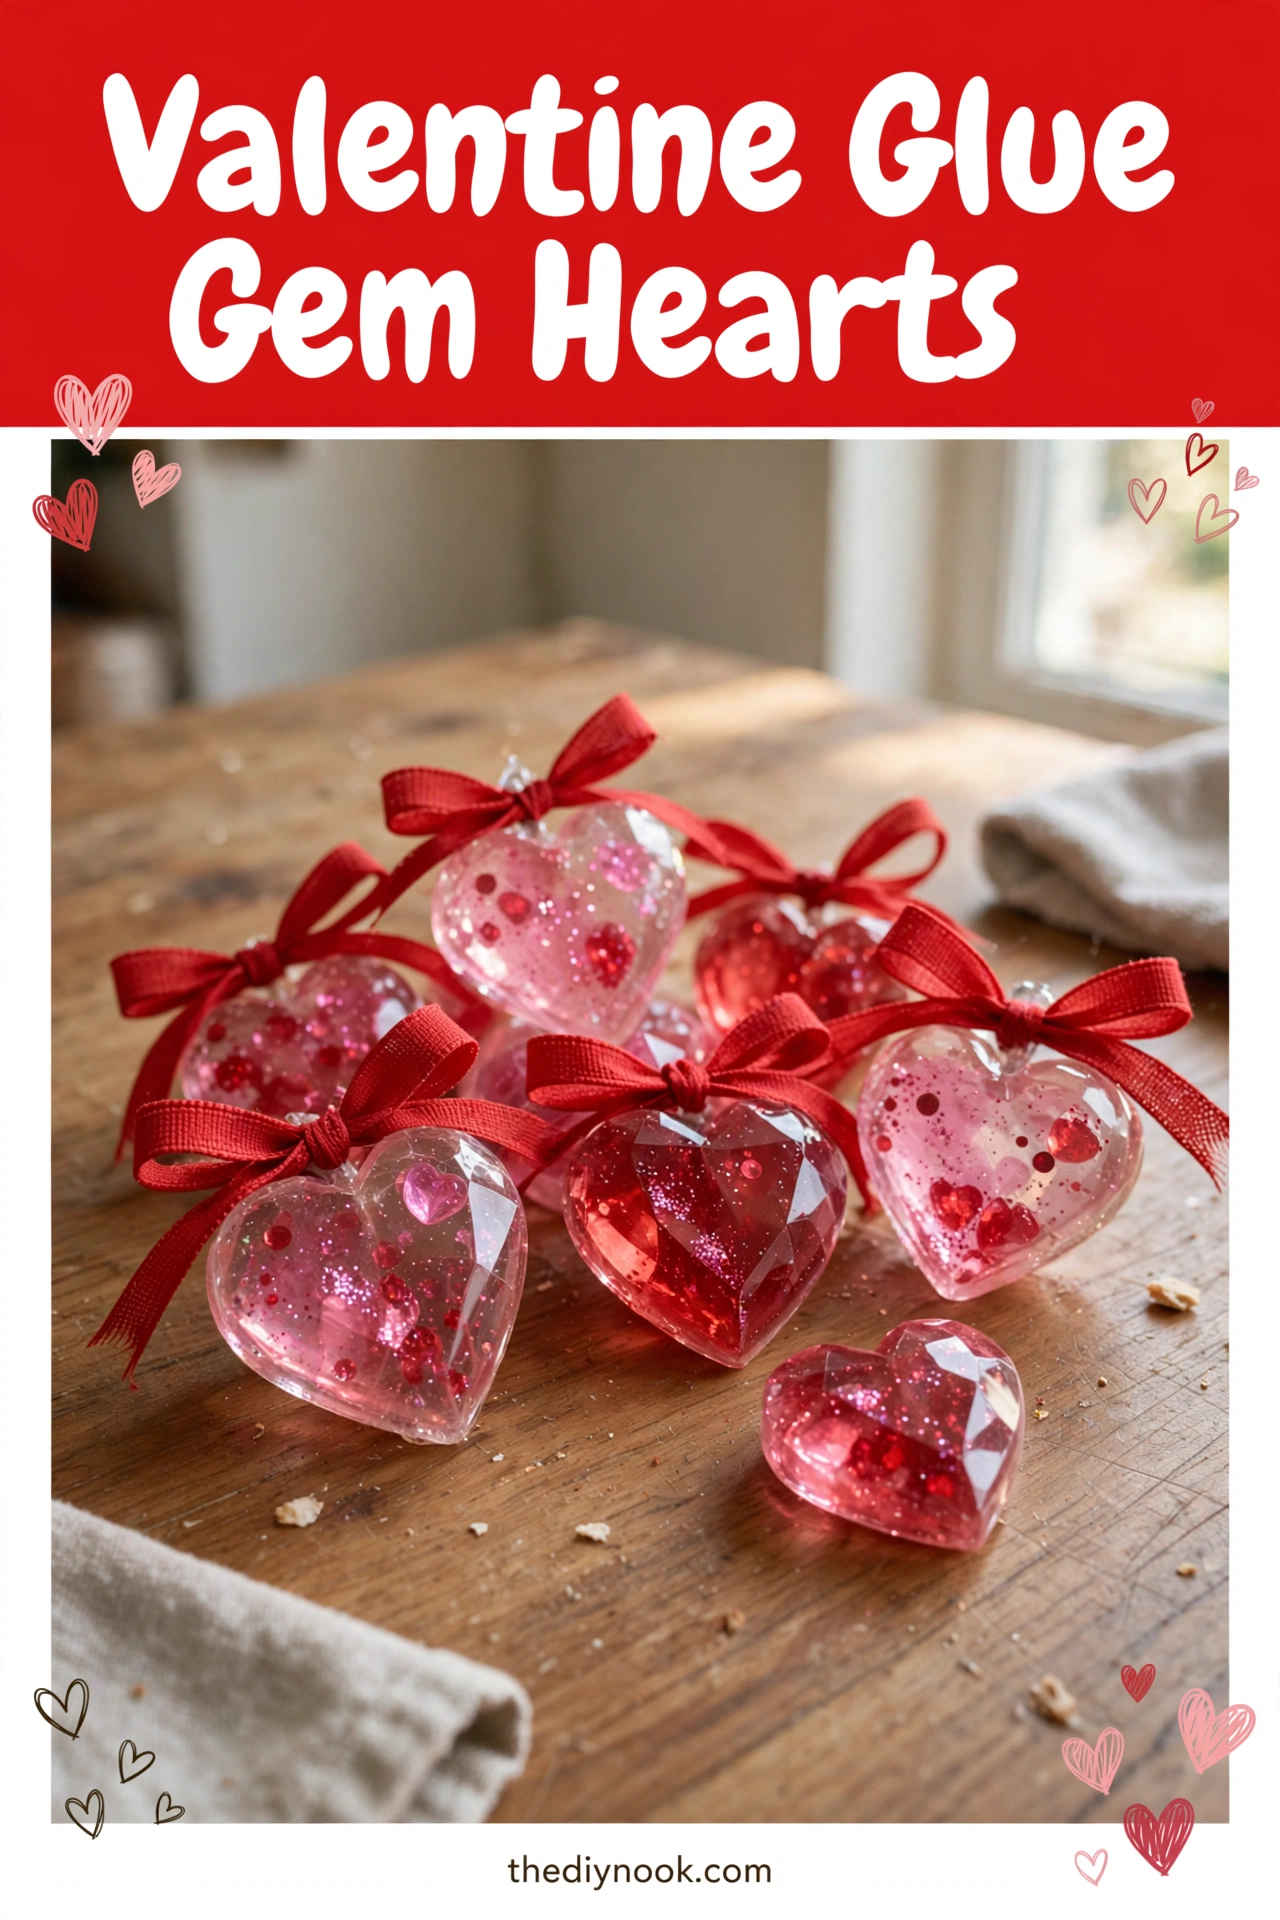
February has a way of sneaking up on me. One minute it's January and I'm still writing the wrong year on things, the next minute my daughter is asking what we're making for her class Valentine's party and I have exactly zero ideas. Enter these glue gem hearts: you pour colored clear glue into heart shapes, let it dry, and out come these gorgeous, gem-like hearts that look like they belong in a fancy boutique — but were made by a seven-year-old on a Tuesday.
Last year we made thirty of these. THIRTY. My kitchen counter looked like a tiny heart factory, and you know what? It was the calmest craft week of my life. No cutting, no gluing things together, no pieces. Just pour, wait, peel, admire.
Why You'll Love Making These
This is the lowest-effort, highest-reward craft in my whole arsenal. Clear glue plus food coloring plus patience equals translucent, gem-like hearts that look genuinely expensive. Kids can do the pouring and the glitter, you handle nothing dangerous, and the drying time means you get to do it in small bursts instead of one chaotic session.
They're also endlessly giftable — gift tags, garlands, Valentine's cards, little treasures for grandparents. My son gave one to his teacher and she still has it on her desk. I know because he checks.
Materials You'll Need
- Clear glue (the regular school kind — a few bottles)
- Food coloring in red, pink, and whatever colors you love
- Wax paper or parchment paper
- A heart-shaped cookie cutter (optional but helpful)
- Small bowls or cups for mixing
- Toothpicks or popsicle sticks for stirring
- Glitter (optional — but is it really optional?)
- Ribbon if you want to hang them
<img src="https://thediynook.com/wp-content/uploads/2026/09/pin-v1-37.webp" alt="Valentine Glue Gem Hearts" />
Step-by-Step Directions
- Cover your work surface with wax paper. This is non-negotiable — dried glue peels off wax paper beautifully and off your tabletop not at all.
- Pour a generous amount of clear glue into each small bowl — one bowl per color.
- Add a few drops of food coloring to each bowl and stir with a toothpick or popsicle stick until you have vibrant, even shades. Pink, red, purple — go wild.
- Place a heart-shaped cookie cutter on the wax paper and gently pour or spoon the colored glue inside, filling it to the top. No cutter? Just squeeze or pour freehand heart shapes — wobbly hearts have charm.
- If you're using glitter, sprinkle it on now while the glue is wet. This is the moment kids have been waiting for. Let them have it.
- Walk away. Let the hearts dry completely — several hours to overnight, depending on thickness. Resist the urge to poke them. (I poked one. It had a fingerprint forever. We called it "signed by the artist.")
- Once fully dry, carefully peel the hearts off the wax paper. They should come up as flexible, gem-like hearts.
- Use them as decorations, gift tags, garland pieces, or little Valentine treasures.
The Learning Behind This Craft
Pouring glue into shapes is sneaky-good for fine motor control and hand-eye coordination — all that careful squeezing and filling builds the same skills as handwriting practice. Mixing the colors is color theory without the lecture: red plus a little blue makes the purple they'll fight over.
And the waiting? That's patience practice disguised as crafting. My kids now understand "it needs to dry" as a law of nature, which has made every subsequent craft go smoother.
Tips If Things Go Sideways
Hearts won't peel off? They weren't dry yet. Give them more time — thick ones can take a full day. If you used a surface that isn't wax paper, well, lesson learned. (Wax paper. Always.)
Bubbles in the glue? Tap the cutter gently after pouring and they'll rise and pop. A few bubbles are fine — they catch the light and look intentional.
Colors too pale? Add more food coloring. You want them vibrant — they'll lighten slightly as they dry.
One of ours had a lopsided heart — we called it "abstract" and my daughter's friend specifically requested it. Imperfection is a feature.
Fun Variations to Try
- Press tiny dried flowers or small charms into the wet glue for keepsake hearts.
- Try different shapes — stars, circles, flowers — with other cookie cutters.
- String several hearts together with ribbon for a Valentine garland.
- Use them as gift tags by punching a small hole before they're fully dry.
- Layer two colors in one heart for a marbled, gem-like swirl — just don't overmix.
- Make a set in your family's favorite colors and keep them in a little dish as year-round decor.
FAQs
How long do the glue hearts take to dry?
Several hours to overnight, depending on thickness. Thicker hearts take longer. Patience, friends.
Can I use regular white glue instead of clear?
You can, but clear glue gives that gorgeous gem-like, translucent finish. White glue dries opaque — still pretty, just a different look.
What if my hearts don't come out perfect?
Embrace it! Every one is unique, and the wobbly ones have the most character. My kids' favorites are the "weird" ones.
How do I store them?
Keep them in a cool, dry place — a box or a little display dish works perfectly. They last for ages.
Can kids do this alone?
The pouring and glittering are great for kids with supervision. The only real rule is: don't touch until dry. Which is, admittedly, the hardest part.

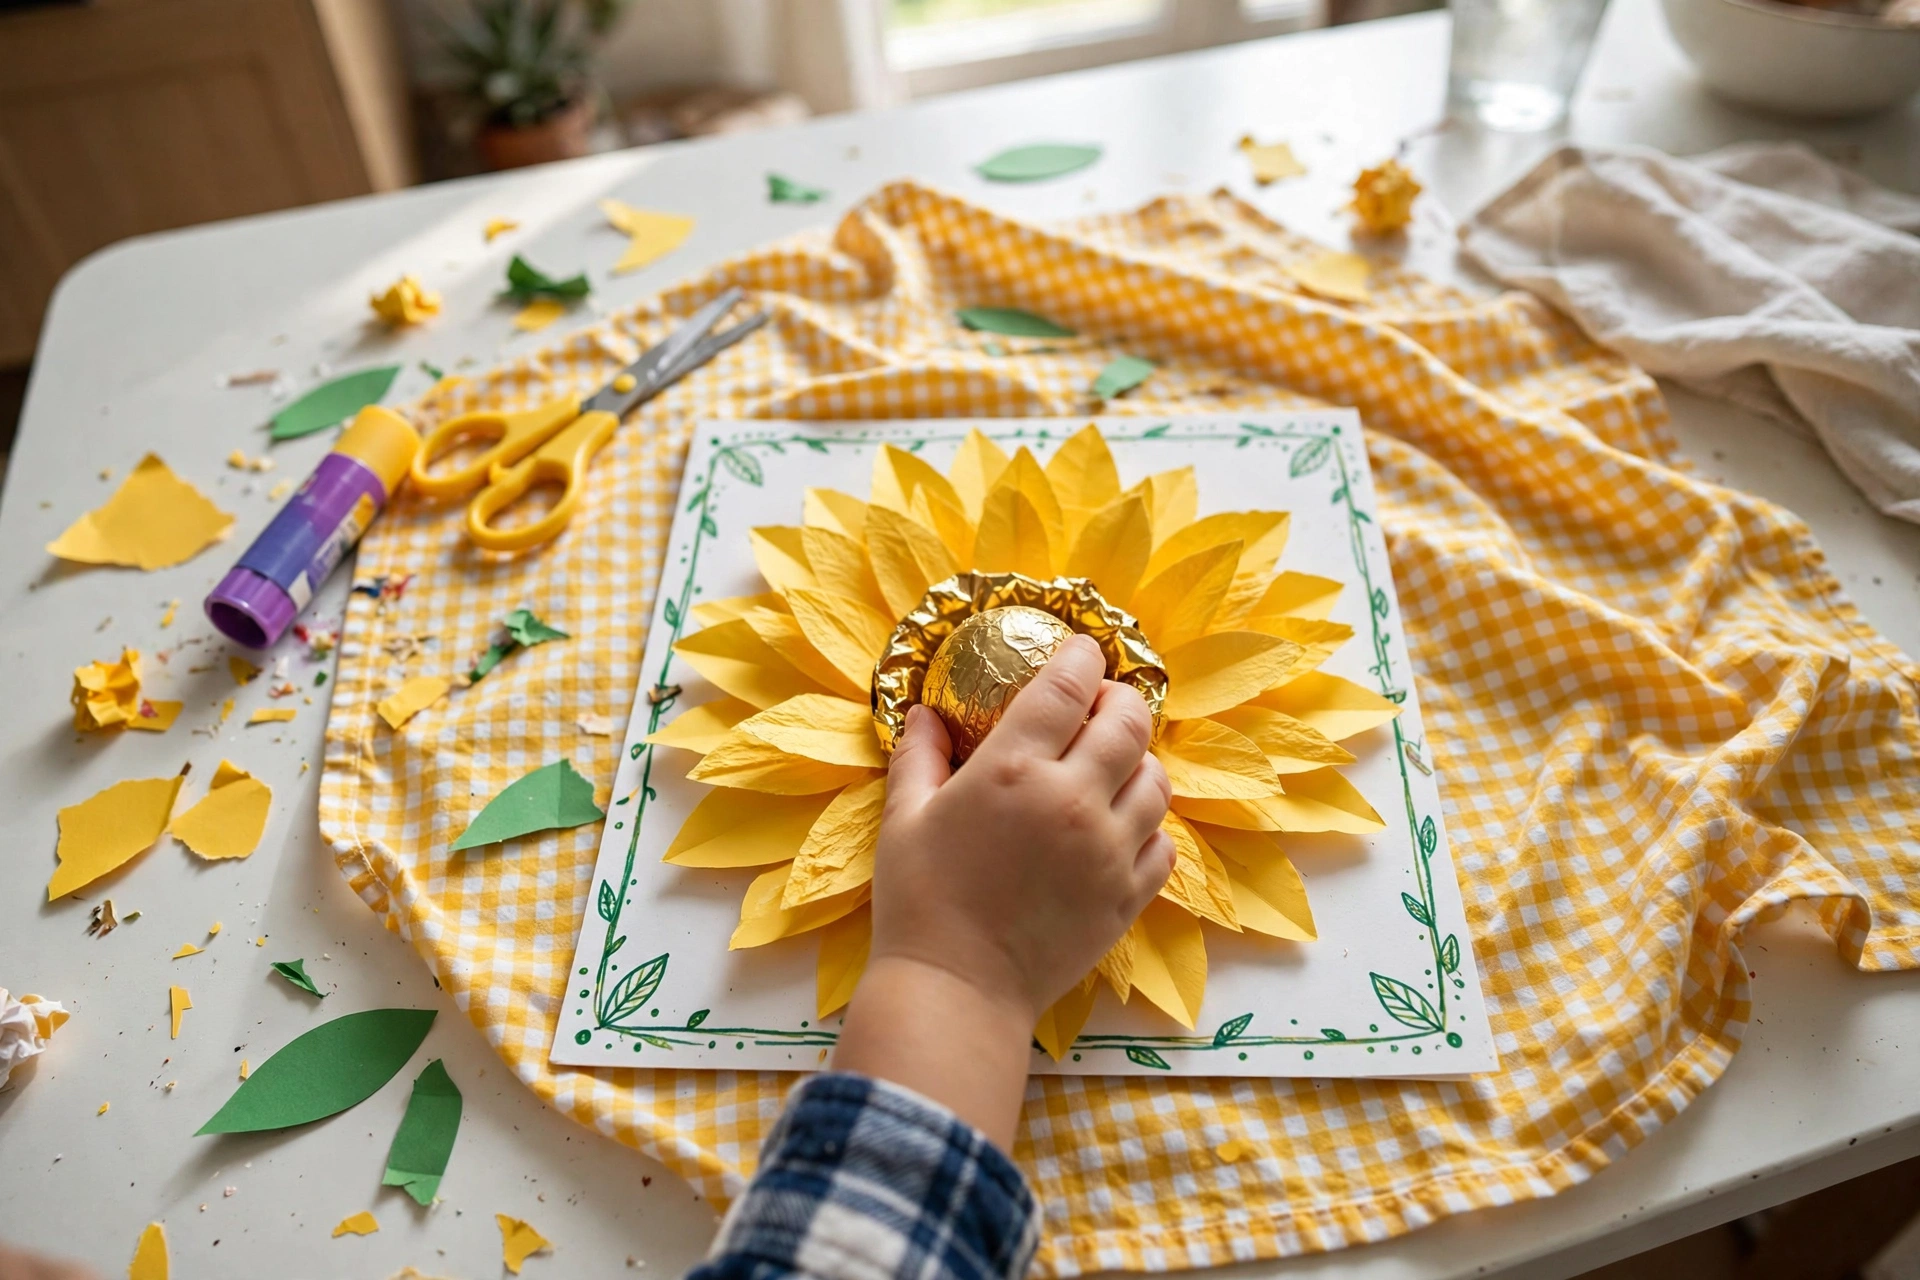 Sunflower Chocolate Mother’s Day Card
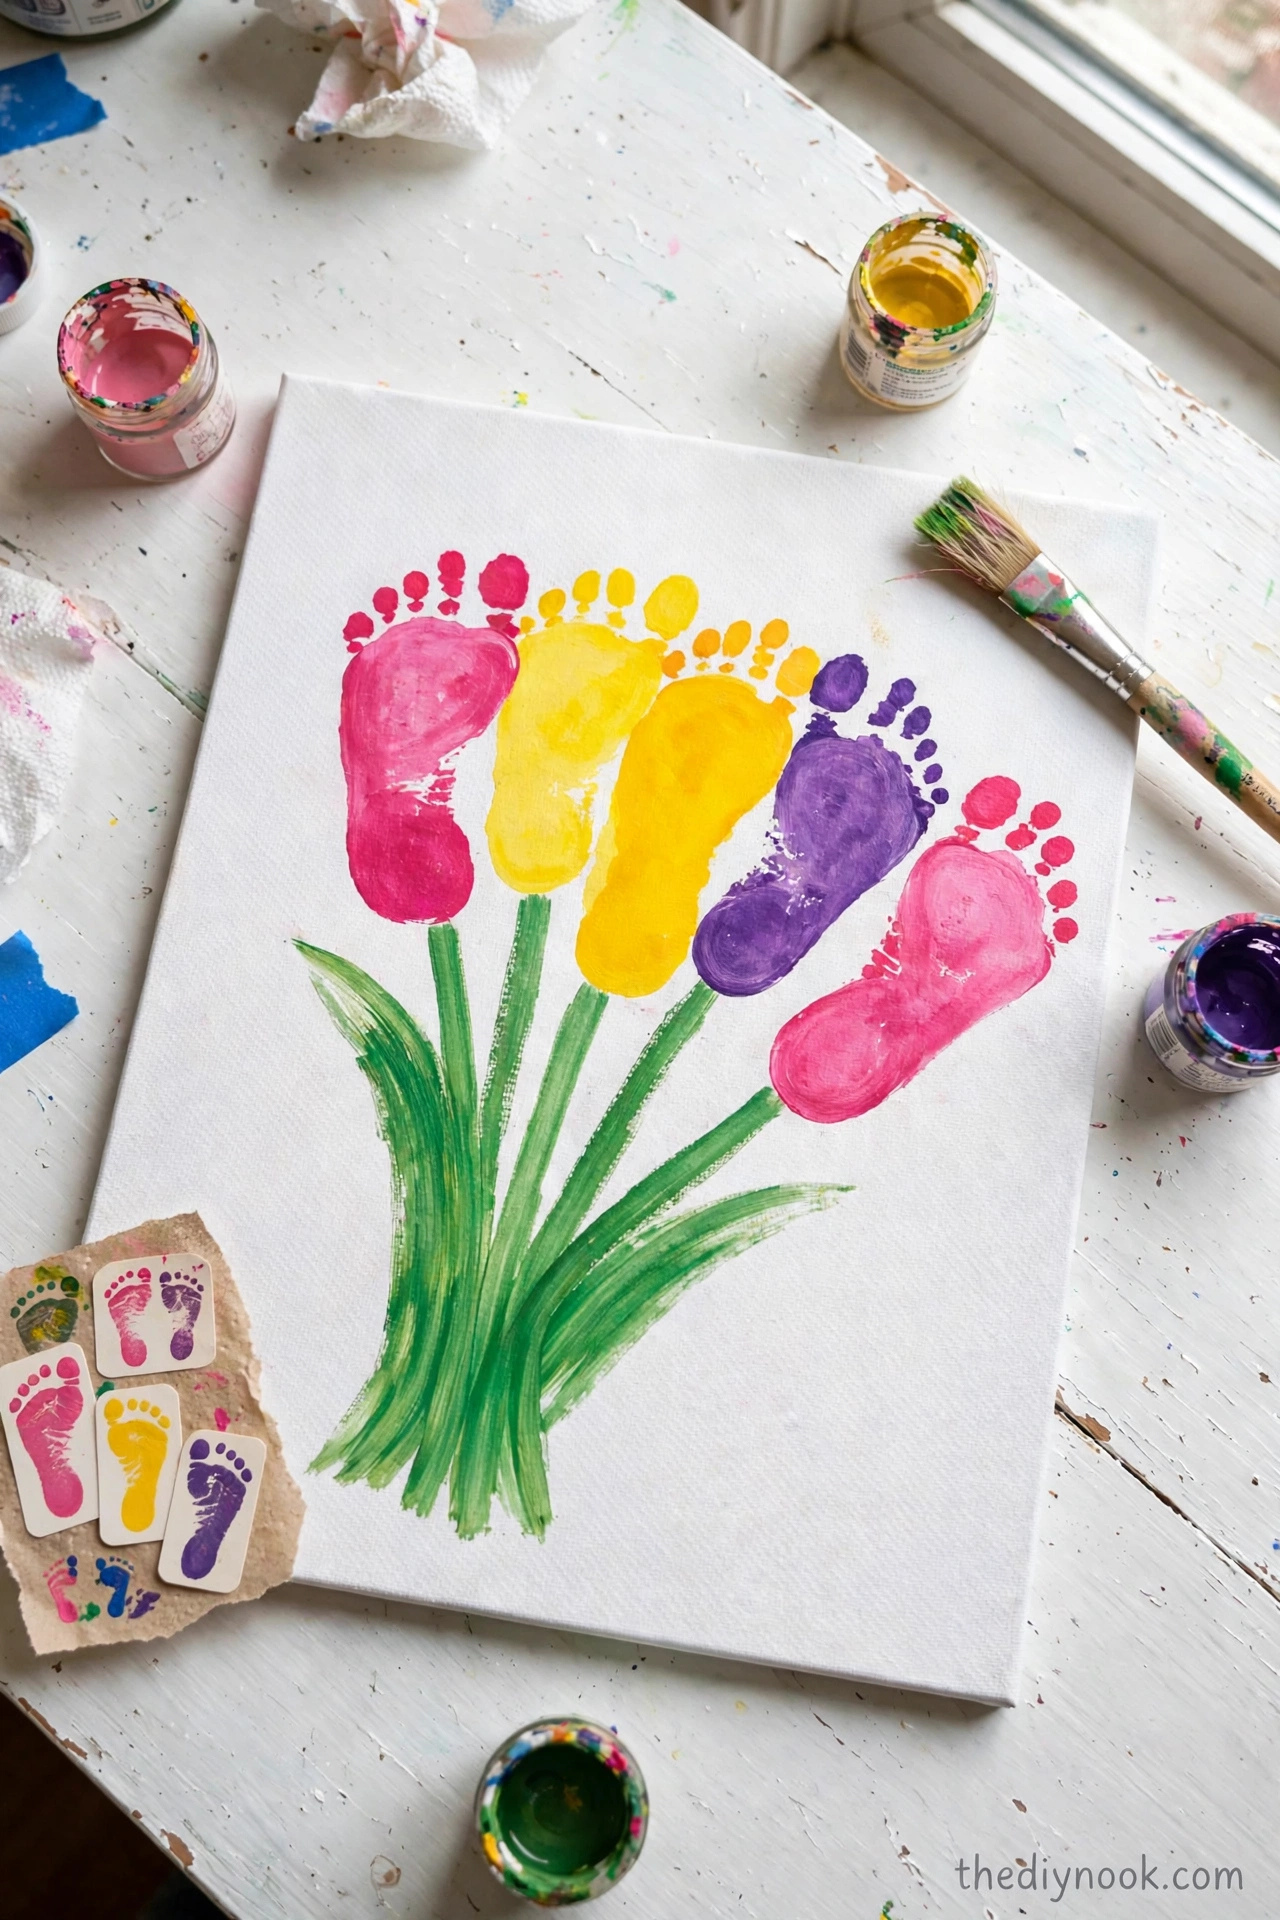 Easter Footprint Keepsakes: Easy Toddler Craft
 DIY Ghost Costume for Kids: Easy No-Sew Halloween Costume
 Easy Rainbow Glow Ghost Mason Jar Lanterns for Kids
Leave a Reply