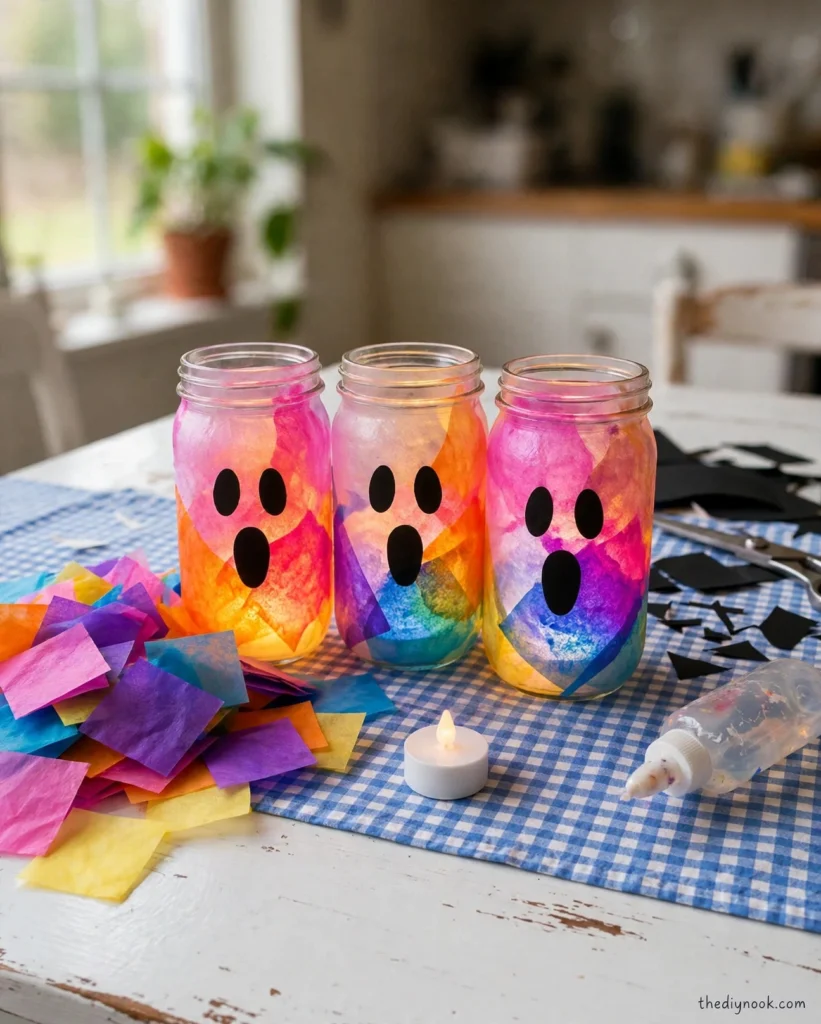
Okay, full confession: last October my kitchen counter looked like a craft store had sneezed all over it, and these little lanterns were the reason. My kids had announced — at approximately 4 p.m. on a school day — that our porch "wasn't spooky enough," and I needed a project that was fast, cheap, and basically impossible to mess up. Enter: rainbow tissue paper, some old mason jars, and a very sticky bottle of Mod Podge.
The result? Little ghost-faced lanterns glowing in every color of the rainbow, lined up along our windowsill. My neighbor asked if I'd bought them. (I have never been prouder.) They take about an hour start to finish, the mess is honestly minimal, and the glow they give off once the LED tealights kick on is pure cozy Halloween magic.
Why You'll Love Making These
This is one of those rare crafts where the effort-to-wow ratio is wildly in your favor. Tissue paper plus glue is a combination any kid can handle, and the ghost faces make it feel properly Halloween without tipping into scary — my youngest is easily spooked and she adored these.
It's also a genuine calm-down craft. There's something about laying little squares of color onto a jar, one by one, that slows everybody down. By the end, my two were quieter than they'd been all week. Miracles happen.
Materials You'll Need
- Clear glass mason jars (any size — I used pint jars)
- Tissue paper in rainbow colors: red, orange, yellow, green, blue, purple
- Mod Podge or any clear-drying craft glue
- A paintbrush or foam brush
- LED tealight candles (flameless, always — please)
- Scissors
- Black construction paper or a black marker (for the ghost faces)
That's the whole list. If you have a craft drawer and a recycling bin, you're probably already halfway there.
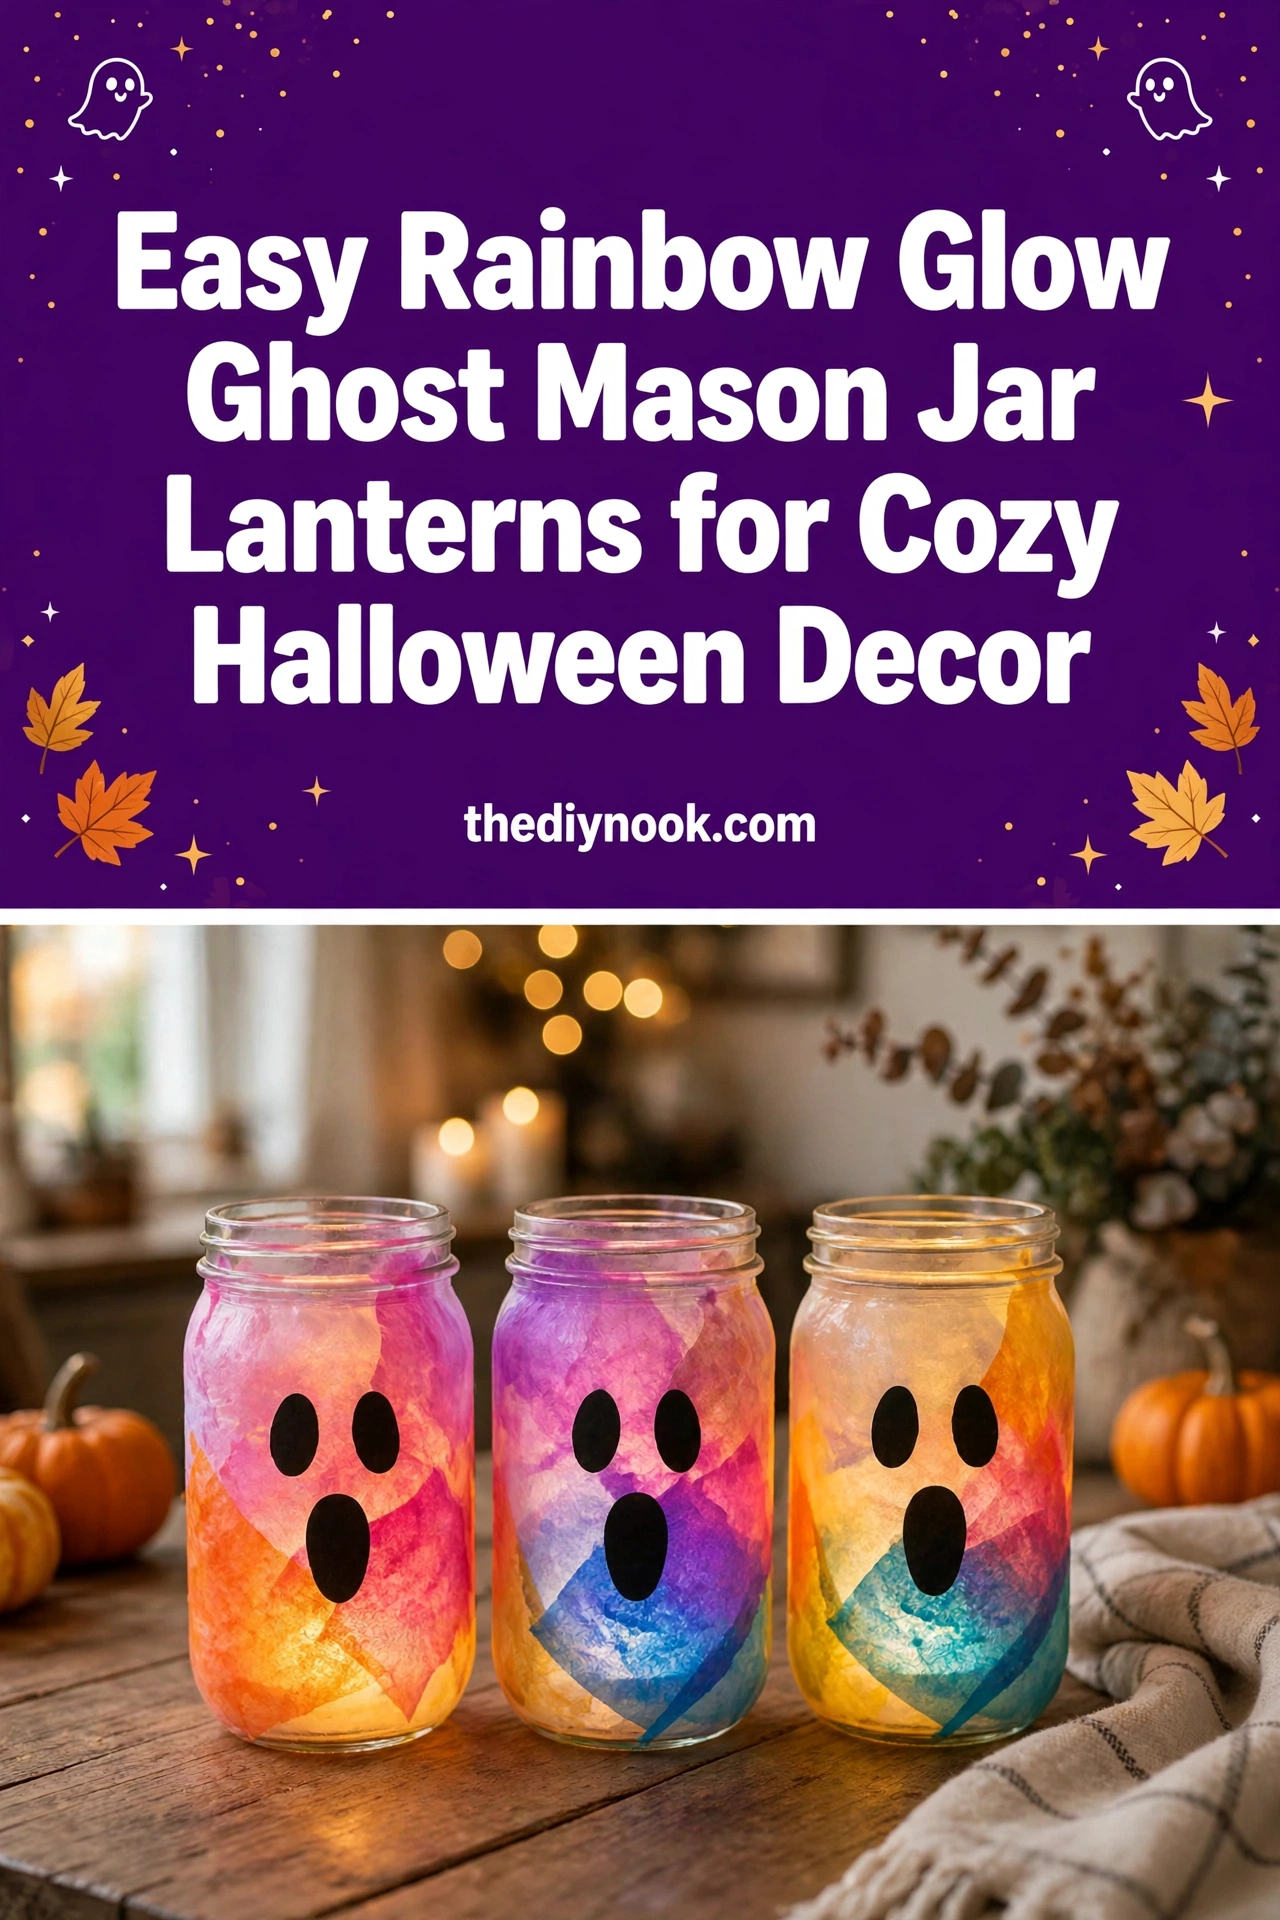
<img src="https://thediynook.com/wp-content/uploads/2026/09/pin-v1-38.webp" alt="Easy Rainbow Glow Ghost Mason Jar Lanterns for Cozy Halloween Decor" />
Step-by-Step Directions
- Cover your table and lay out everything. Mod Podge is sticky, and sticky plus excited kids is a combination you plan for, not one you improvise around.
- Snip the tissue paper into small squares, roughly 2 inches. They don't need to be neat — ragged edges actually blend together more nicely.
- Brush a thin layer of Mod Podge onto the outside of a mason jar, working on one small section at a time so the glue doesn't dry before you place the paper.
- Lay tissue squares onto the glued section, overlapping the edges to build a rainbow patchwork. Let the kids mix the colors however they like — there is no wrong rainbow.
- Brush another layer of Mod Podge over the top of the tissue to seal it down. Yes, it will look milky and suspicious. Yes, it dries clear. Trust the process.
- Repeat with the other jars, then let everything dry completely, about 30 minutes.
- Cut two oval eyes and one oval mouth from the black paper and glue them on for the ghost face — or just draw the face on with a black marker once the jar is dry. Mine drew theirs slightly lopsided, which honestly made them cuter.
- Drop an LED tealight inside each jar, switch it on, and dim the lights. This is the good part.
The Learning Behind This Craft
While nobody is watching the clock, the kids are getting a surprising workout. Cutting tissue squares and brushing glue builds fine motor control and hand-eye coordination. Layering rainbow colors is a low-stakes lesson in color theory — my daughter spent a full ten minutes deciding whether pink goes next to purple (it does, obviously).
There's also a lovely cause-and-effect moment when the tealight goes in and the milky, matte jar suddenly glows like stained glass. Watching light interact with color is science wearing a Halloween costume, and the kids don't even notice they're learning.
Tips If Things Go Sideways
Tissue paper tearing as you brush? You're pressing too hard or the brush is too dry — dip a little more glue and let the brush glide instead of scrub.
Glue drying before you finish layering? Just brush a fresh thin coat over the spot and keep going. Mod Podge is forgiving like that.
Ghost face sliding off? Either wait until the jar is fully dry before gluing the face, or switch to drawing it with a marker. Both look great; marker is faster if patience is running low.
Fun Variations to Try
- Go full Halloween: black and orange tissue only, with triangle eyes and jagged mouths for proper jack-o-lantern vibes.
- Christmas version: red and green squares with a star cutout — these make the prettiest December windowsills.
- Cut the tissue into stars or hearts instead of squares for a more deliberate pattern.
- Try a coat of glow-in-the-dark paint over the dried Mod Podge for lanterns that keep glowing after the tealight is off.
- Make a set of mini jars (the little jelly-jar size) as party favors or table decorations for a Halloween dinner.
FAQs
Are these safe for little kids?
With LED tealights instead of real candles, yes — there's no heat and no flame. Just supervise the scissors and the glue steps, and you're golden.
Can I use real candles instead of LED ones?
Please don't. Tissue paper plus an open flame is a bad combination. LED tealights give the same glow with zero risk.
I don't have Mod Podge — what else works?
Any clear-drying craft glue or even thinned-out white school glue works. Mod Podge gives the nicest glossy finish, but don't skip the craft over it.
How long do they last?
Ours lived on the windowsill for a whole season with no fading. Stored carefully (a little tissue padding in a box), they'll come back out next October good as new.
The Mod Podge looks milky — did I do it wrong?
Nope, that's completely normal. It goes on white and dries clear and glossy. Give it the full 30 minutes before judging.

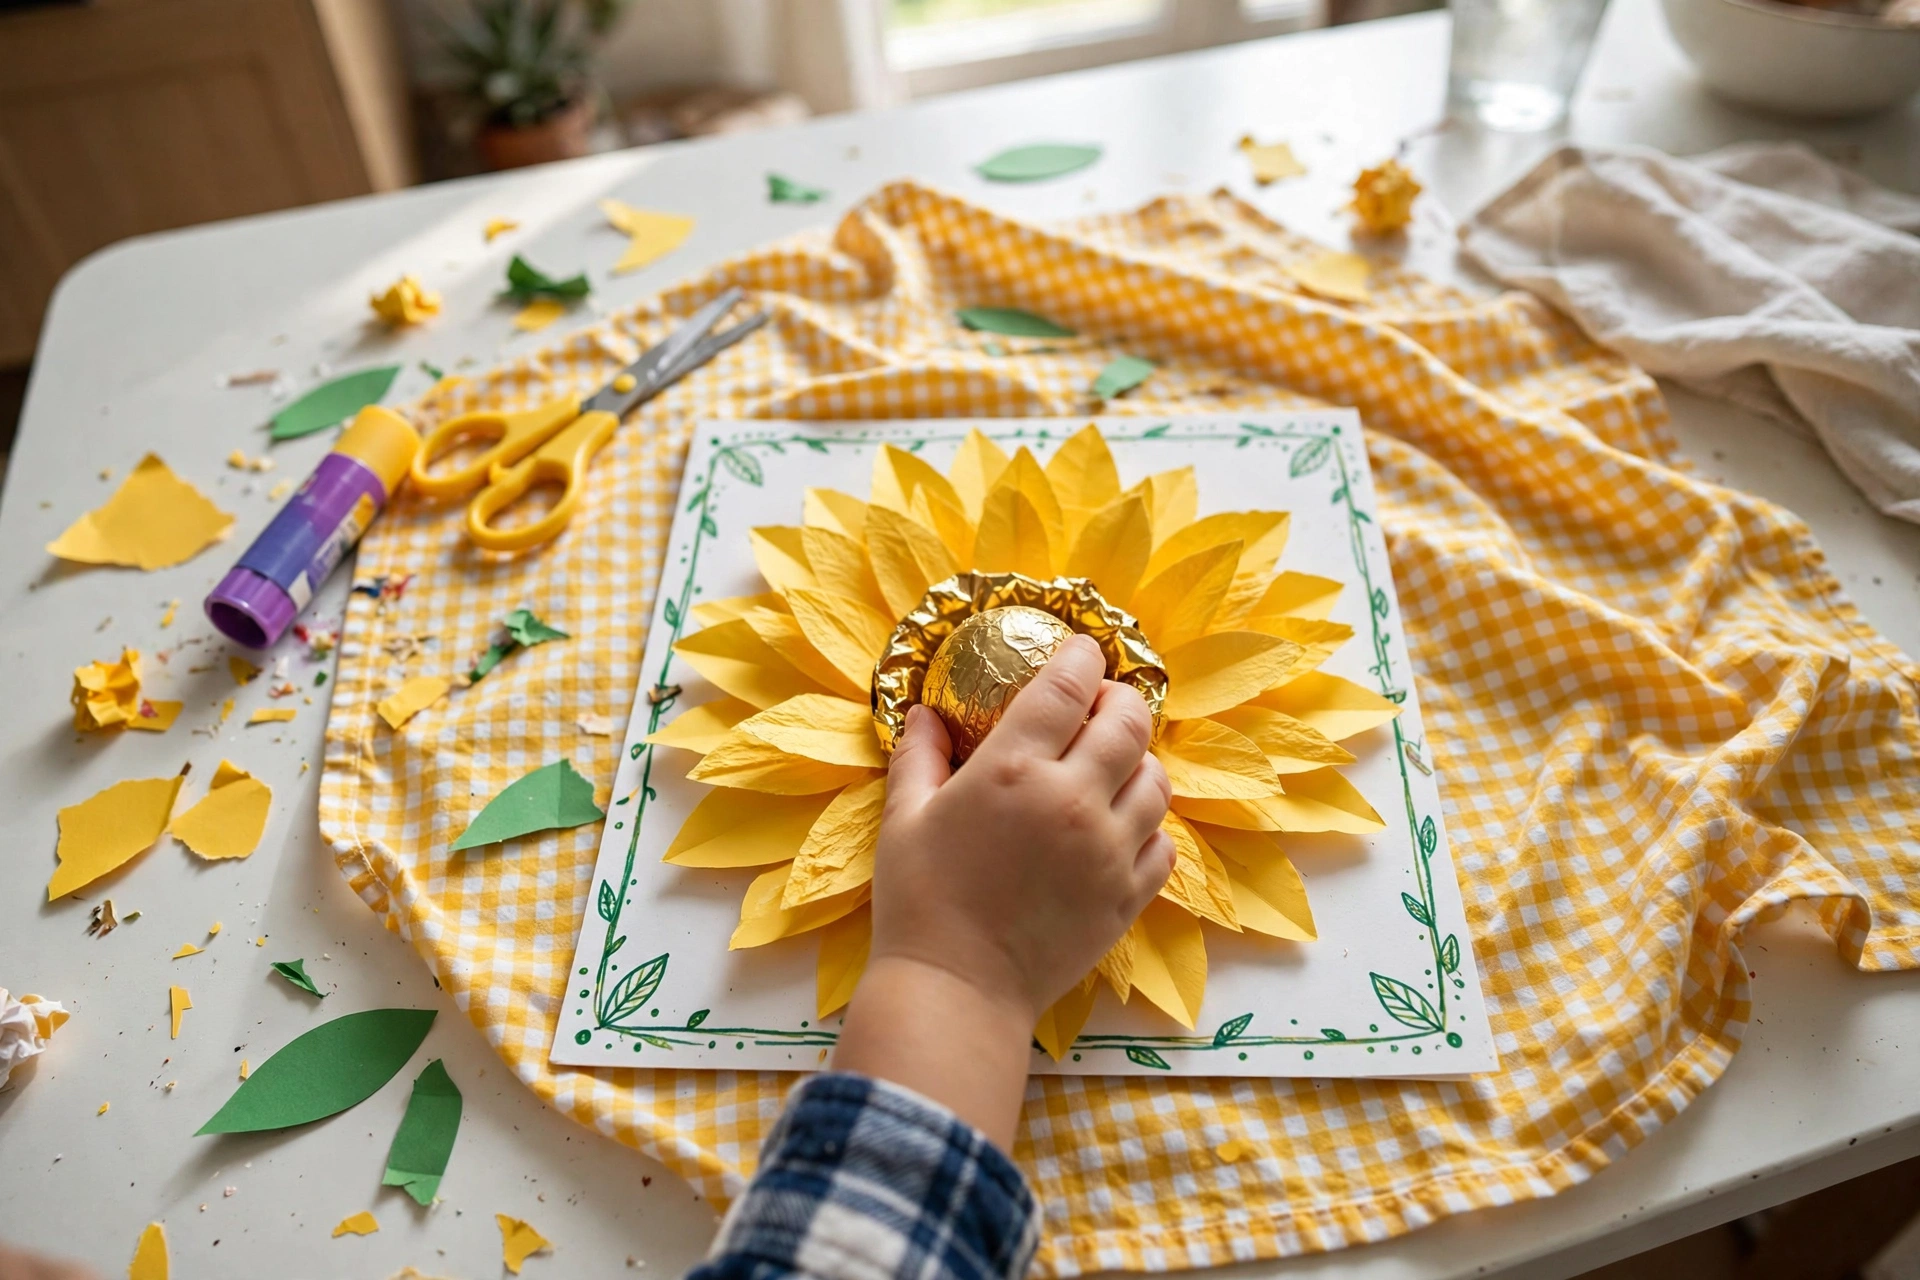 Sunflower Chocolate Mother’s Day Card
 Easter Footprint Keepsakes: Easy Toddler Craft
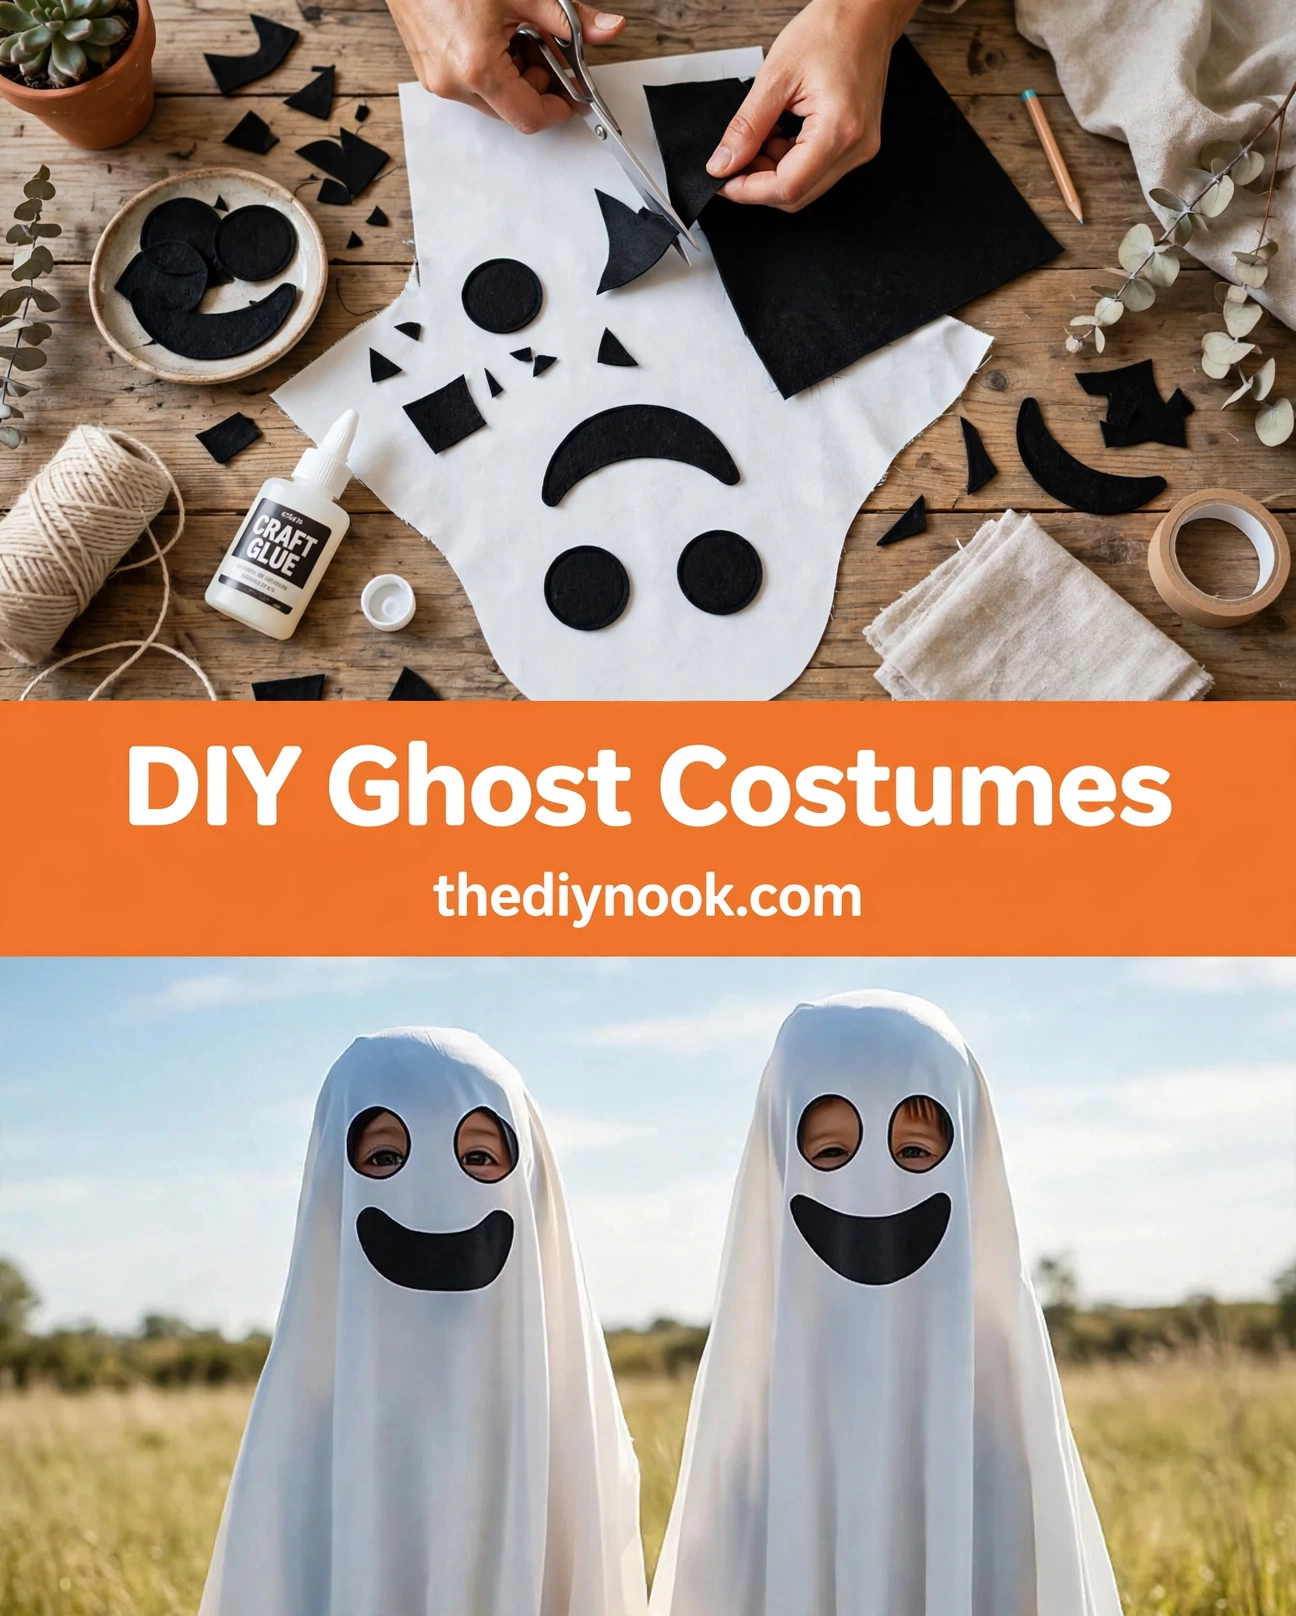 DIY Ghost Costume for Kids: Easy No-Sew Halloween Costume
 Valentine Glue Gem Hearts: Easy Craft for Kids
Leave a Reply