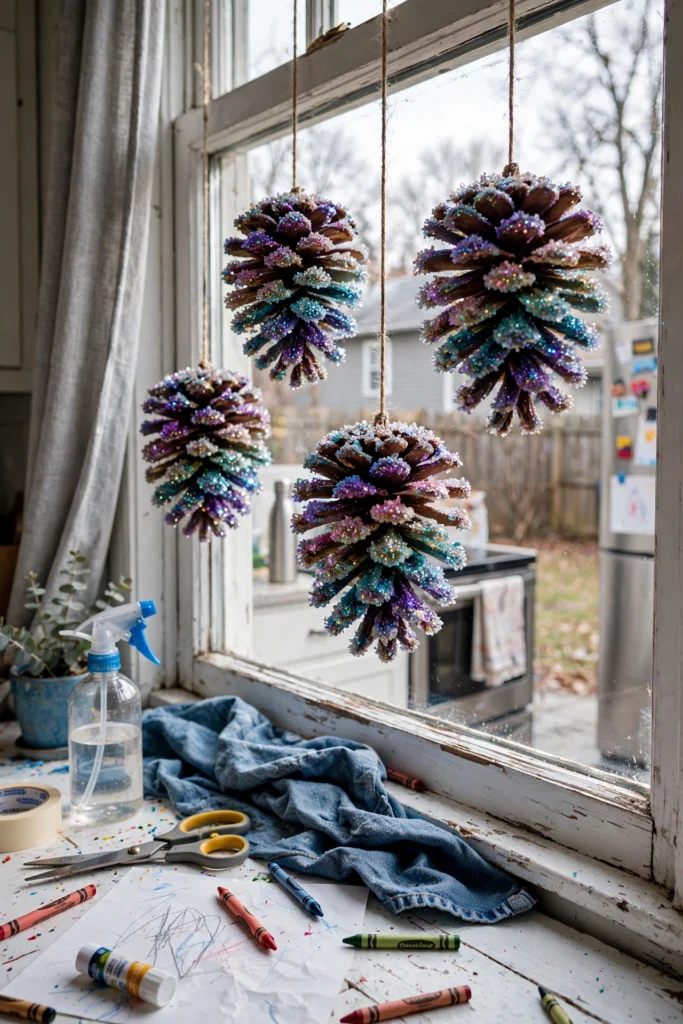
You know those February afternoons where it's freezing outside, the kids are bouncing off the furniture, and you need a project that buys you at least an hour of peace? This is that project. I found this idea on a day when cabin fever had fully set in, and honestly, the crystals growing on the pinecones kept my two mesmerized for the whole drying wait.
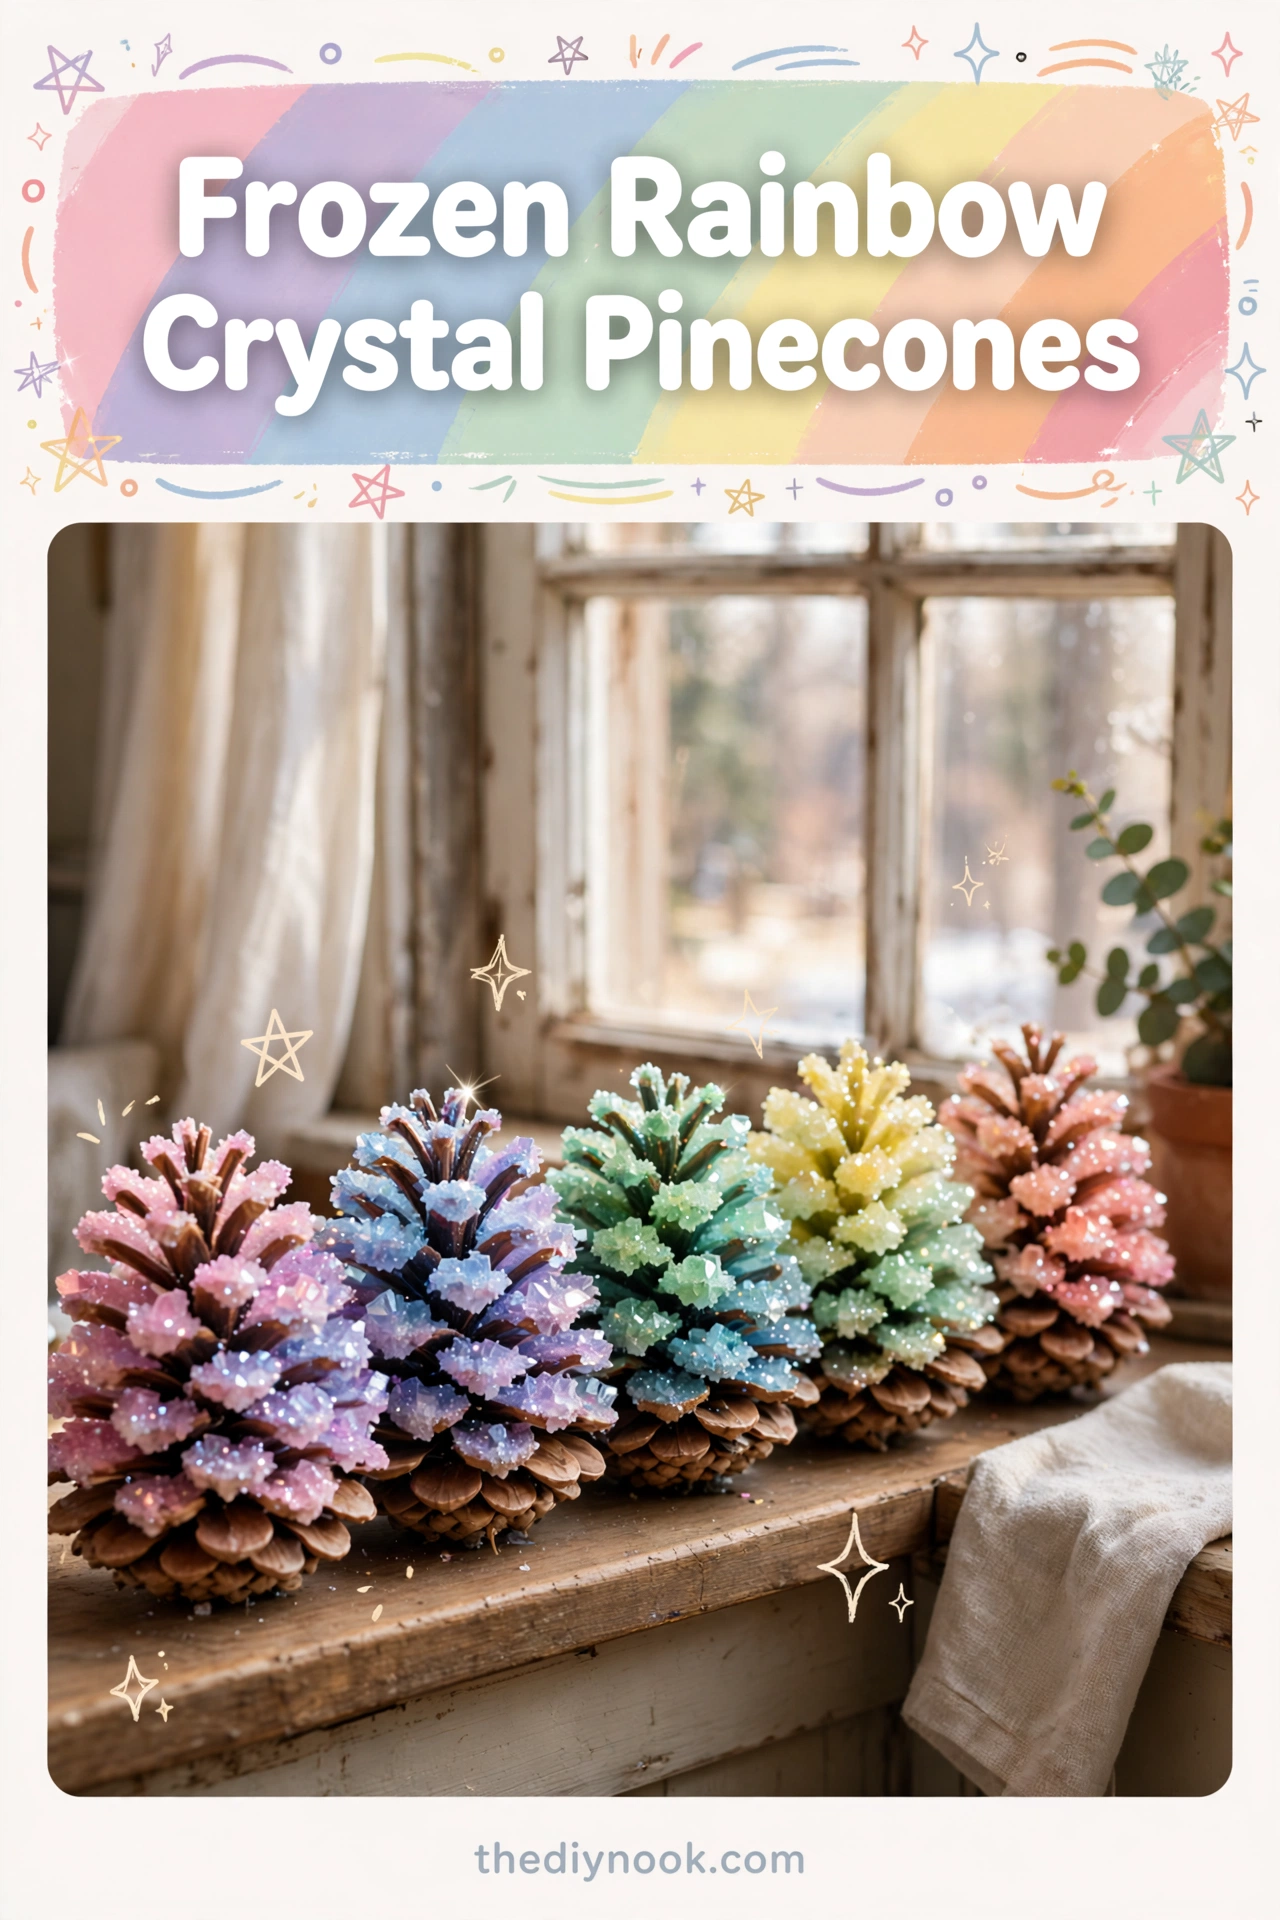
The trick is a simple baking-soda dip dyed with food coloring. It fizzes a little when you mix it (instant kid magnet), the pinecones come out in the prettiest colors, and after a day of drying they're covered in a sparkly frost that shimmers like a rainbow in the sun. My daughter named hers "the rainbow babies." They're still on our windowsill.
Why You'll Love Making These
Ten minutes of actual work, one day of waiting, and the result looks like something you'd pay $20 for at a craft fair. The dipping is fast and fun, the waiting builds anticipation, and the reveal the next morning genuinely delights kids. Ours got their own shelf in the living room, which is high praise in this house.
It's also the perfect low-mess winter craft. Everything happens in a bowl over a protected surface, there are no paints to spill, and the only cleanup is rinsing the bowl. In February, that's worth its weight in gold.
Materials You'll Need
- Natural pinecones (a walk in the park = free supplies)
- 1 cup water per bowl
- 1/2 cup baking soda per bowl
- Food coloring in your favorite colors
- Small mixing bowls
- A baking sheet
- Wax paper to protect your surface
Scale the bowls to how many pinecones you want — one bowl per color works great for a rainbow set.
<img src="https://thediynook.com/wp-content/uploads/2026/09/pin-v1-19.webp" alt="Gentle Crystal Pinecones That Look Like Frozen Rainbows for Cozy Winter Days" />
Step-by-Step Directions
- Protect your surface with wax paper and set out your materials.
- In a small bowl, stir together 1 cup of water and 1/2 cup of baking soda until it fully dissolves. Enjoy the little fizz — that's the kids' favorite part.
- Add a few drops of food coloring and stir gently to blend. More drops = bolder color.
- Hold a pinecone by its tip and dip it right into the solution, turning it so every side gets coated.
- Set each dipped pinecone on the baking sheet.
- Let them dry for a full 24 hours in a warm, dry spot. Resist the urge to poke them — the crystals need time to form.
- Once dry, admire the sparkly crystalline coating. Then display them in a bowl, on the mantel, or hang them in a sunny window.
The Learning Behind This Craft
This is crystallization kids can actually watch happen. As the water evaporates off the pinecone, the baking soda recrystallizes into sparkly deposits — the same process that makes rock candy and frost patterns on windows. My son asked "how do the sparkles get there?" and got a real answer he could understand.
Mixing colors in the bowls sneaks in color theory (red + yellow = orange, discovered with great ceremony), and the dipping and holding builds grip strength and hand control.
Tips If Things Go Sideways
Crystals look thin or spotty? The mixture was probably too watery. Add more baking soda until the solution feels properly saturated, then dip again.
Color too faint? Be generous with the food coloring. These pinecones drink it up, and pale colors barely show after drying.
Kids can't wait 24 hours? Honestly, same. Set them somewhere warm with good airflow to help a little, but the overnight wait really gives the best frost.
Everything dyed blue, including fingers? Soak hands in warm soapy water and laugh it off. Aprons help next time. (We never learn.)
Fun Variations to Try
- One color per pinecone, arranged as a rainbow on the windowsill — gorgeous.
- Try a snowy white version with no coloring for a frosted, elegant look.
- Add glitter to the solution before dipping for extra shimmer.
- Tie on ribbon loops and hang them as ornaments or from a winter branch in a vase.
- Collect different sizes of pinecones for a varied display — tiny ones are adorable.
FAQs
Can I use pinecones from outside? Yes! Just make sure they're clean and fully opened. Let fresh ones dry in a warm spot for a day or two first.
How long does the sparkle last? Months, if you keep them dry and out of direct sun. Ours still look great weeks later.
Is the mixture safe? Baking soda and food coloring are kitchen staples — totally kid-safe. Just supervise around the dye unless you want a rainbow kitchen.
Can toddlers help? Yes — the dipping is perfect for little hands. An adult handles the mixing and the waiting (the hardest part for everyone).
What if the pinecone tips are closed? Closed scales mean the pinecone is damp or fresh. Let it dry out fully first — the scales open as it dries, and that gives the crystals more surface to cling to.
How do I store them? Cool, dry place, wrapped gently so the crystals stay put. They'll be ready to bring out again next winter.

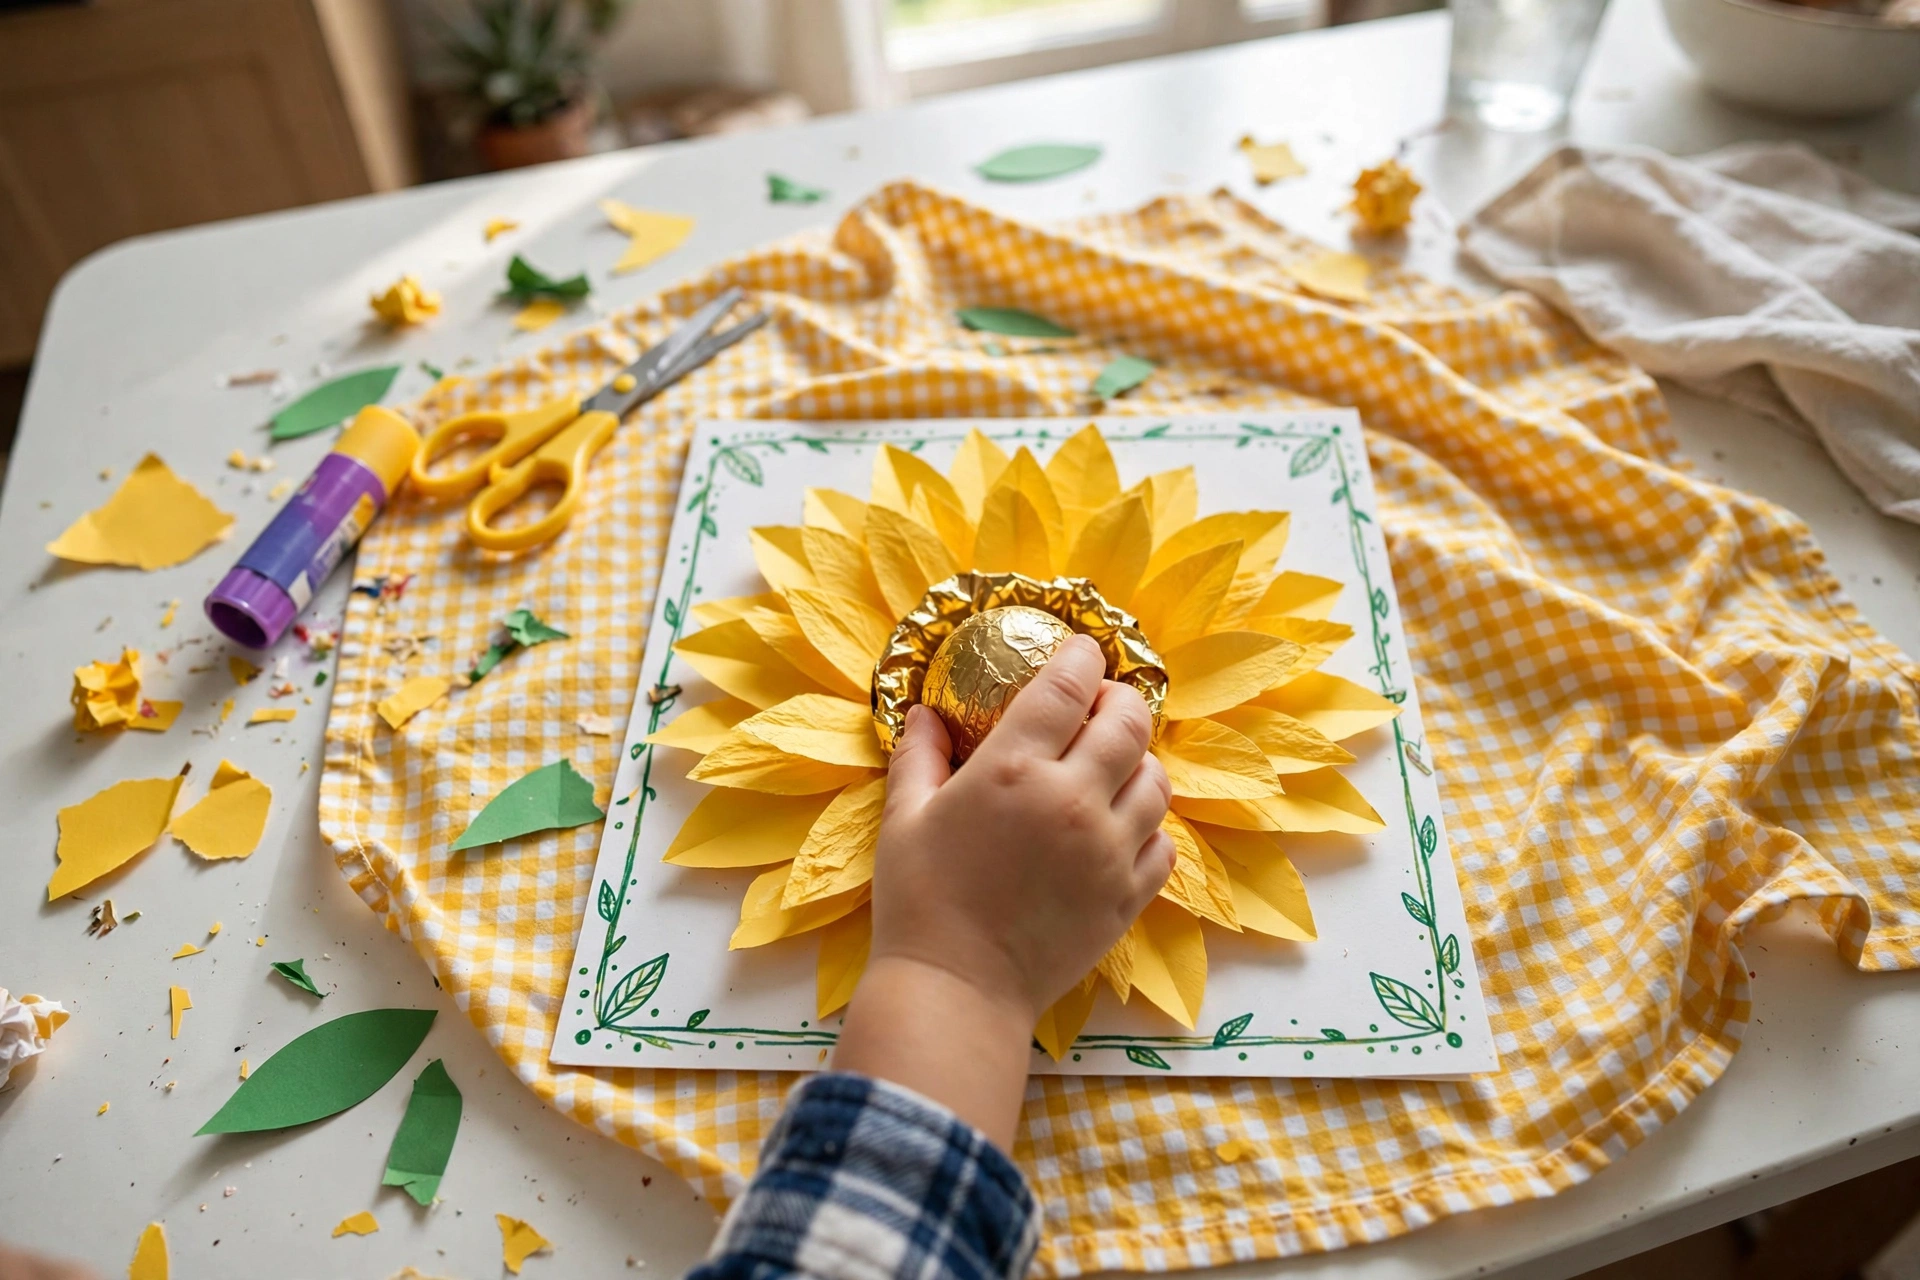 Sunflower Chocolate Mother’s Day Card
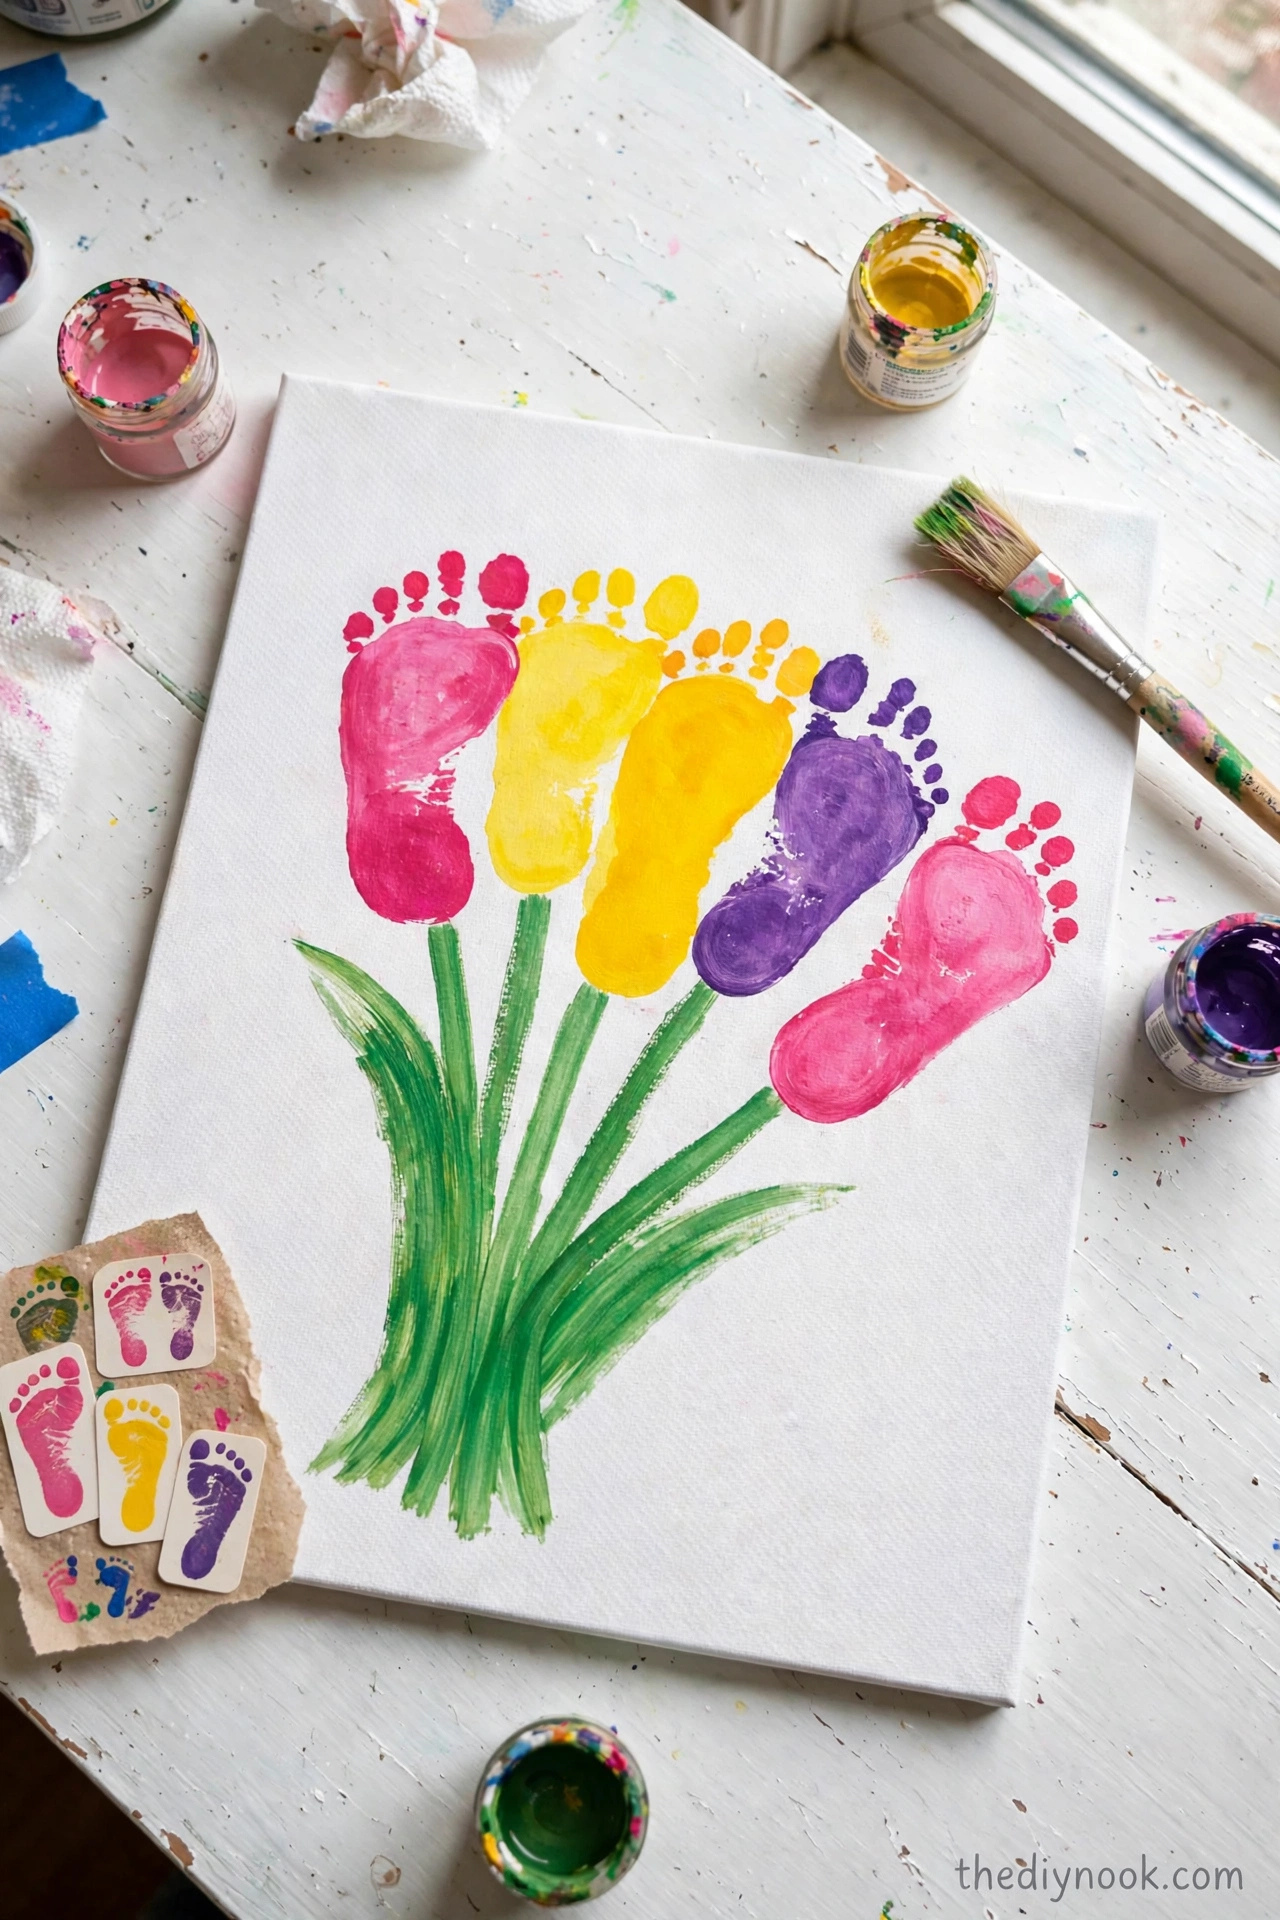 Easter Footprint Keepsakes: Easy Toddler Craft
 DIY Ghost Costume for Kids: Easy No-Sew Halloween Costume
 Easy Rainbow Glow Ghost Mason Jar Lanterns for Kids
Leave a Reply