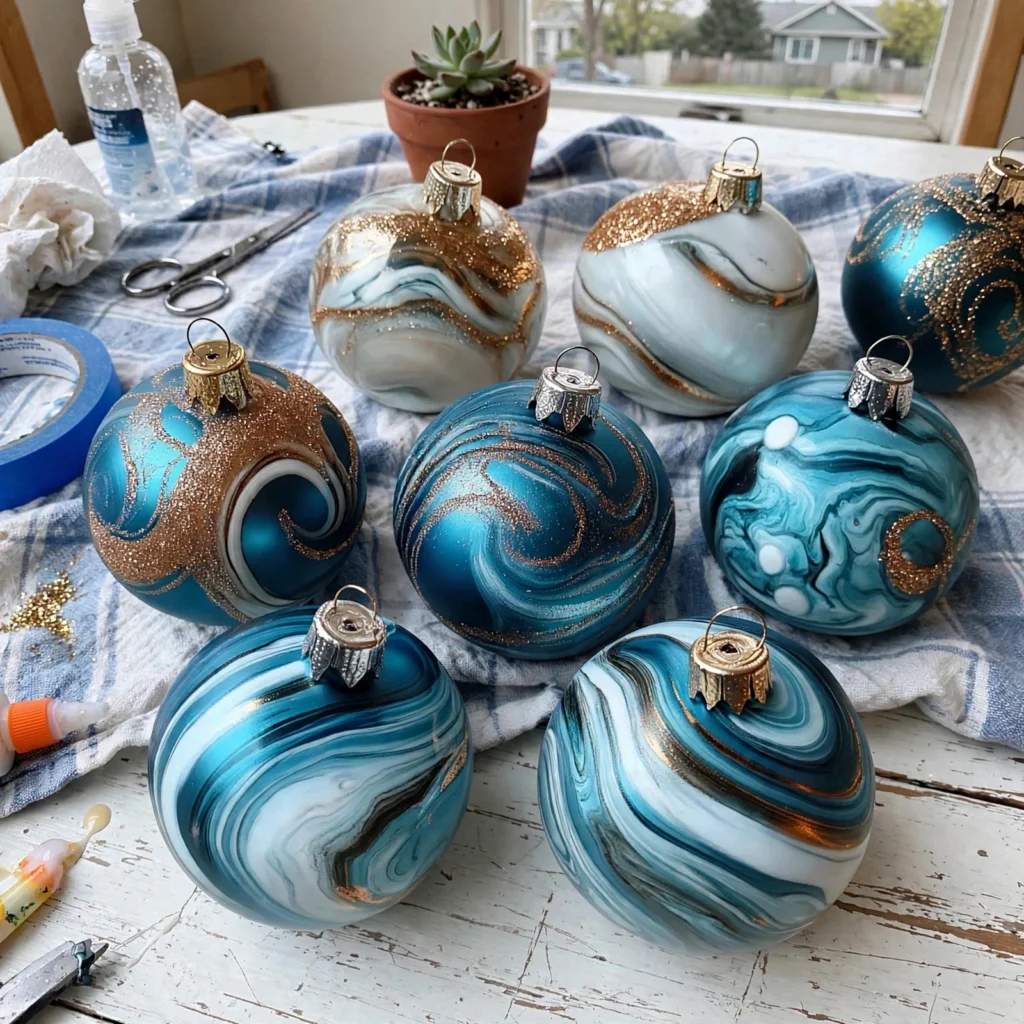
If you've never tried paint marbling, let me warn you: it is weirdly addictive. You drip paint onto water, swirl it with a toothpick, dip an ornament in — and every single one comes out looking like a tiny planet or a marble cake or something from a fancy boutique. My kids and I did "just one more" about fourteen times.
This is one of those crafts where the process is as fun as the result. The swirling paint on water is hypnotic, the reveal when you lift the ornament out is always a surprise, and no two ornaments ever look alike. Perfect for gifts, because each one is genuinely one of a kind.
Why You'll Love Making These
Zero drawing skill required. I mean that as the highest compliment — if you can drip paint and swirl a toothpick, you can make ornaments that look professionally made. My five-year-old's ornaments are hanging right next to mine on the tree and honestly? You can't tell which is which.
It's also fast. Once your water tray is set up, each ornament takes about two minutes. Great for making a whole matching set in one sitting.
Materials You'll Need
- Plain ornaments (white or light-colored plastic or glass ones show the marbling best)
- Acrylic craft paint or marbling paint in 2 to 4 colors
- A shallow dish or tray wider than your ornaments, filled with room-temperature water
- Toothpicks or wooden skewers for swirling
- Gloves (unless you want marbled hands for a week)
- Newspaper or a disposable tablecloth
- A drying rack, or a cardboard box with holes poked in it to hold ornaments upright
Color tip: pick colors that look good together — blues and whites, red and gold, purples and teal. Avoid mixing too many or everything turns muddy.
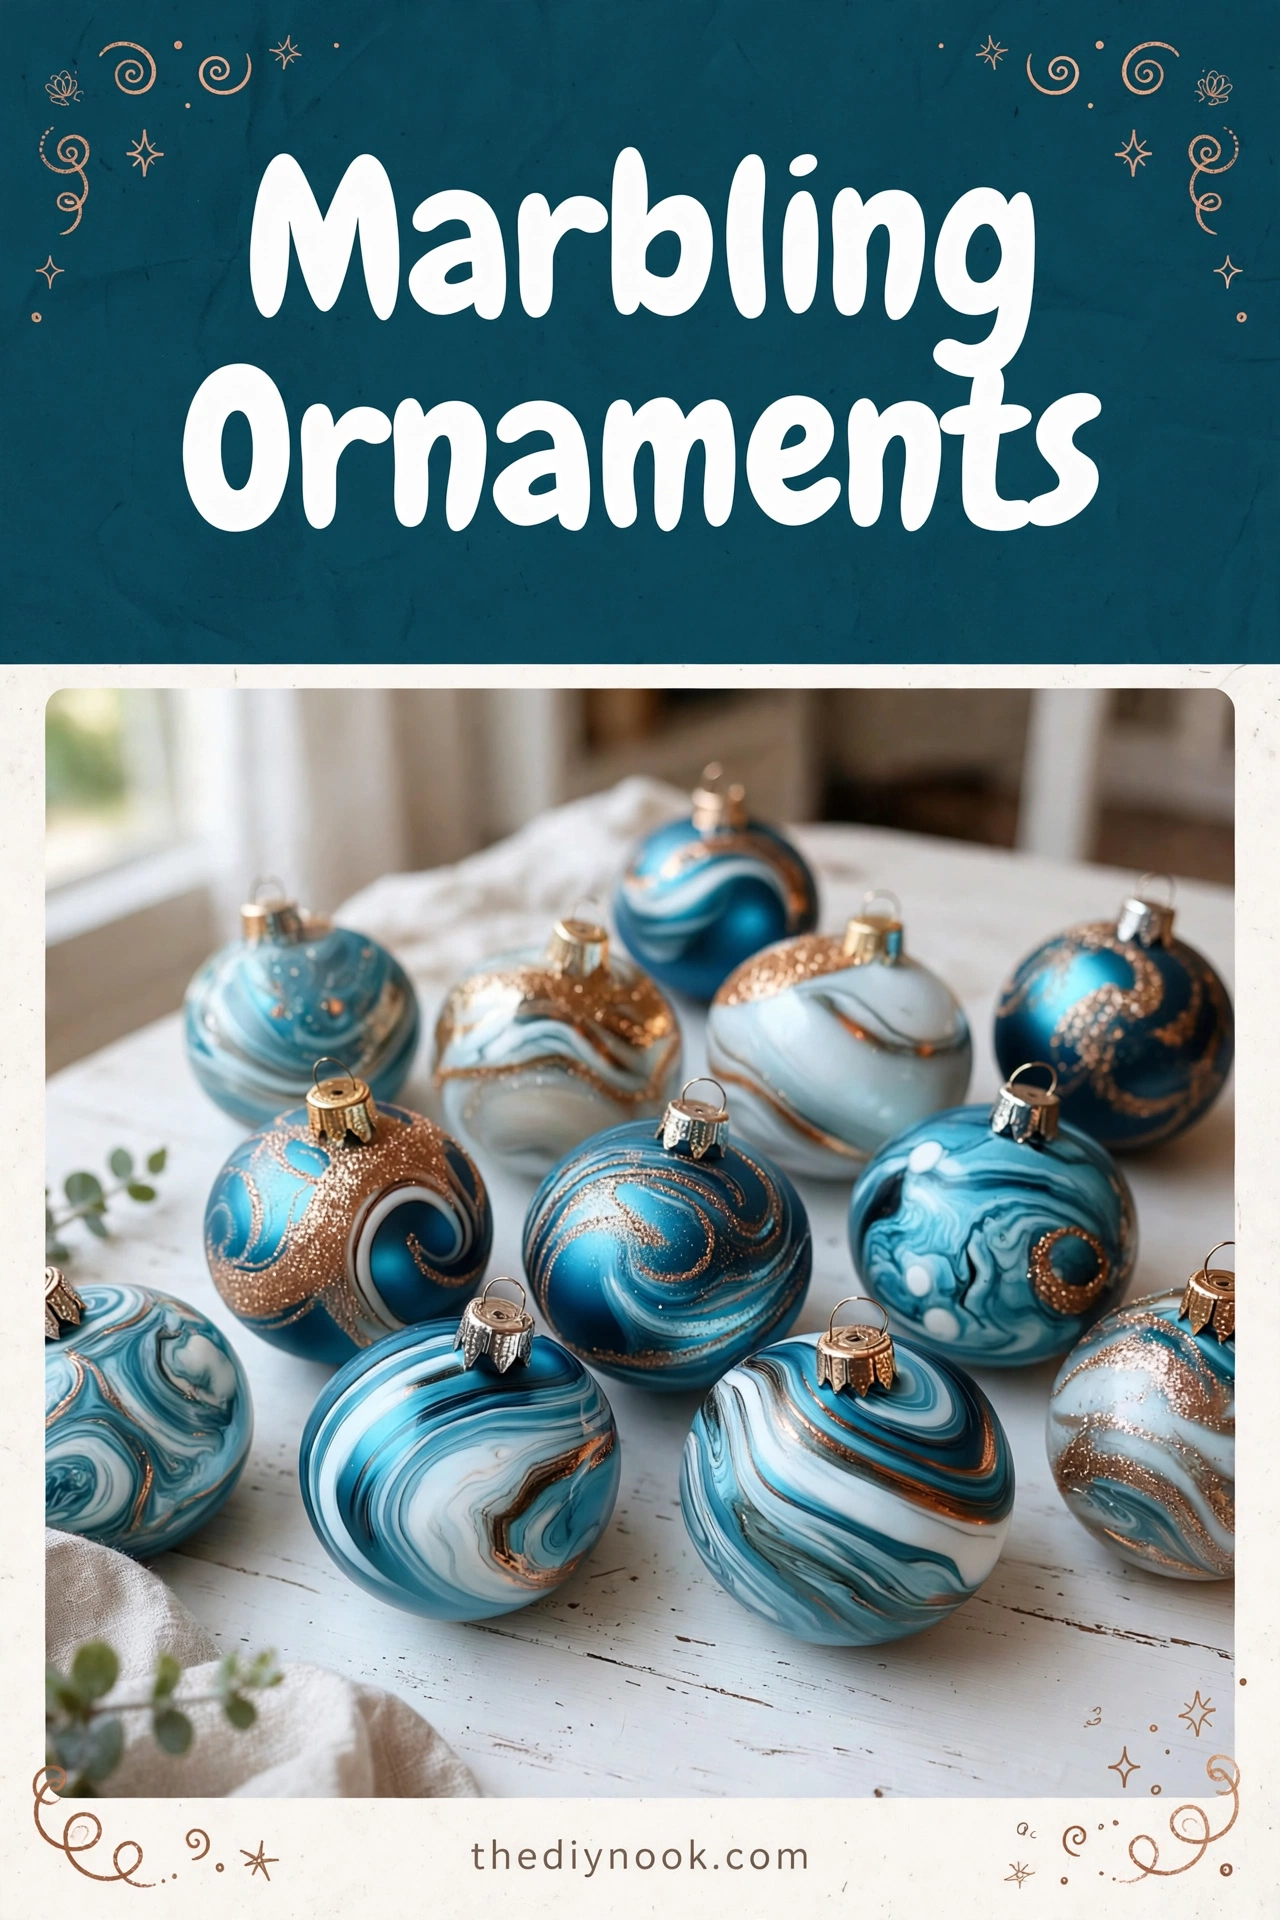
<img src="https://thediynook.com/wp-content/uploads/2026/09/pin-v1-32.webp" alt="Marbling Ornaments" />
Step-by-Step Directions
- Cover your work surface with newspaper. Paint + water + kids = plan accordingly.
- Fill the shallow dish with a few inches of room-temperature water — deep enough to roll the ornament in.
- Put on gloves. (Learn from my mistakes.)
- Drip several drops of paint onto the water's surface — a few drops of each color, scattered around. Don't overcrowd it.
- Drag a toothpick lightly through the paint to swirl it into marbled patterns. Less is more here — a few gentle swirls, then stop.
- Wearing gloves, pick up an ornament and slowly roll or dip it through the paint layer on the water's surface.
- Lift it straight out and let the excess water drip back into the dish for a few seconds.
- Set the ornament on the drying rack or in the box to dry completely — usually a few hours.
- Between ornaments, skim the leftover paint off the water with a piece of newspaper so the next dip starts fresh.
- Once dry, admire your tiny works of art and try very hard not to immediately make more.
The Learning Behind This Craft
Marbling is a beautiful intro to how liquids behave — paint floats because of surface tension, and kids can see it happen in real time. Choosing and combining colors is art-class fundamentals, and the whole process rewards experimentation: what happens if I swirl more? Less? Different colors? That's the scientific method, paint-splattered edition.
Tips If Things Go Sideways
Paint sinking instead of floating? Your paint might be too thick — thin it with a drop of water first, or try paint made for marbling. Room-temperature water works better than cold.
Everything turning brown or gray? Too many colors, or over-swirling. Stick to 2 or 3 colors and swirl just a few times.
Paint not sticking to the ornament? Wipe the ornament with rubbing alcohol first to remove any slick factory residue.
Smudged design? Let each ornament dry completely before handling — at least a few hours. Patience, my friend.
Leftover paint skin on the water? Skim it off with newspaper between dips. Fresh water surface, fresh design.
Fun Variations to Try
- Add a sprinkle of glitter onto the wet paint for sparkle.
- Marble wooden stars, hearts, or flat wooden discs instead of round ornaments.
- Try metallic paints (gold, copper, silver) for a luxe look.
- Marble in your tree's color scheme for a perfectly coordinated set.
- Dip half the ornament for a two-tone effect.
FAQs
What kind of paint works best?
Acrylic craft paint thinned slightly with water works great. Paints made specifically for marbling float even better if you want to invest.
Can I marble glass ornaments?
Yes — glass, plastic, wood, even ceramic. Light-colored bases show the marbling best.
How do I clean up the paint water?
Let the paint dry on the water's surface, skim it off, and pour the water down the drain. Wipe the dish with a paper towel.
How long do the ornaments take to dry?
A few hours in a well-ventilated spot. Don't stack them or lay them on newspaper while wet — they'll stick.

 Sunflower Chocolate Mother’s Day Card
 Easter Footprint Keepsakes: Easy Toddler Craft
 DIY Ghost Costume for Kids: Easy No-Sew Halloween Costume
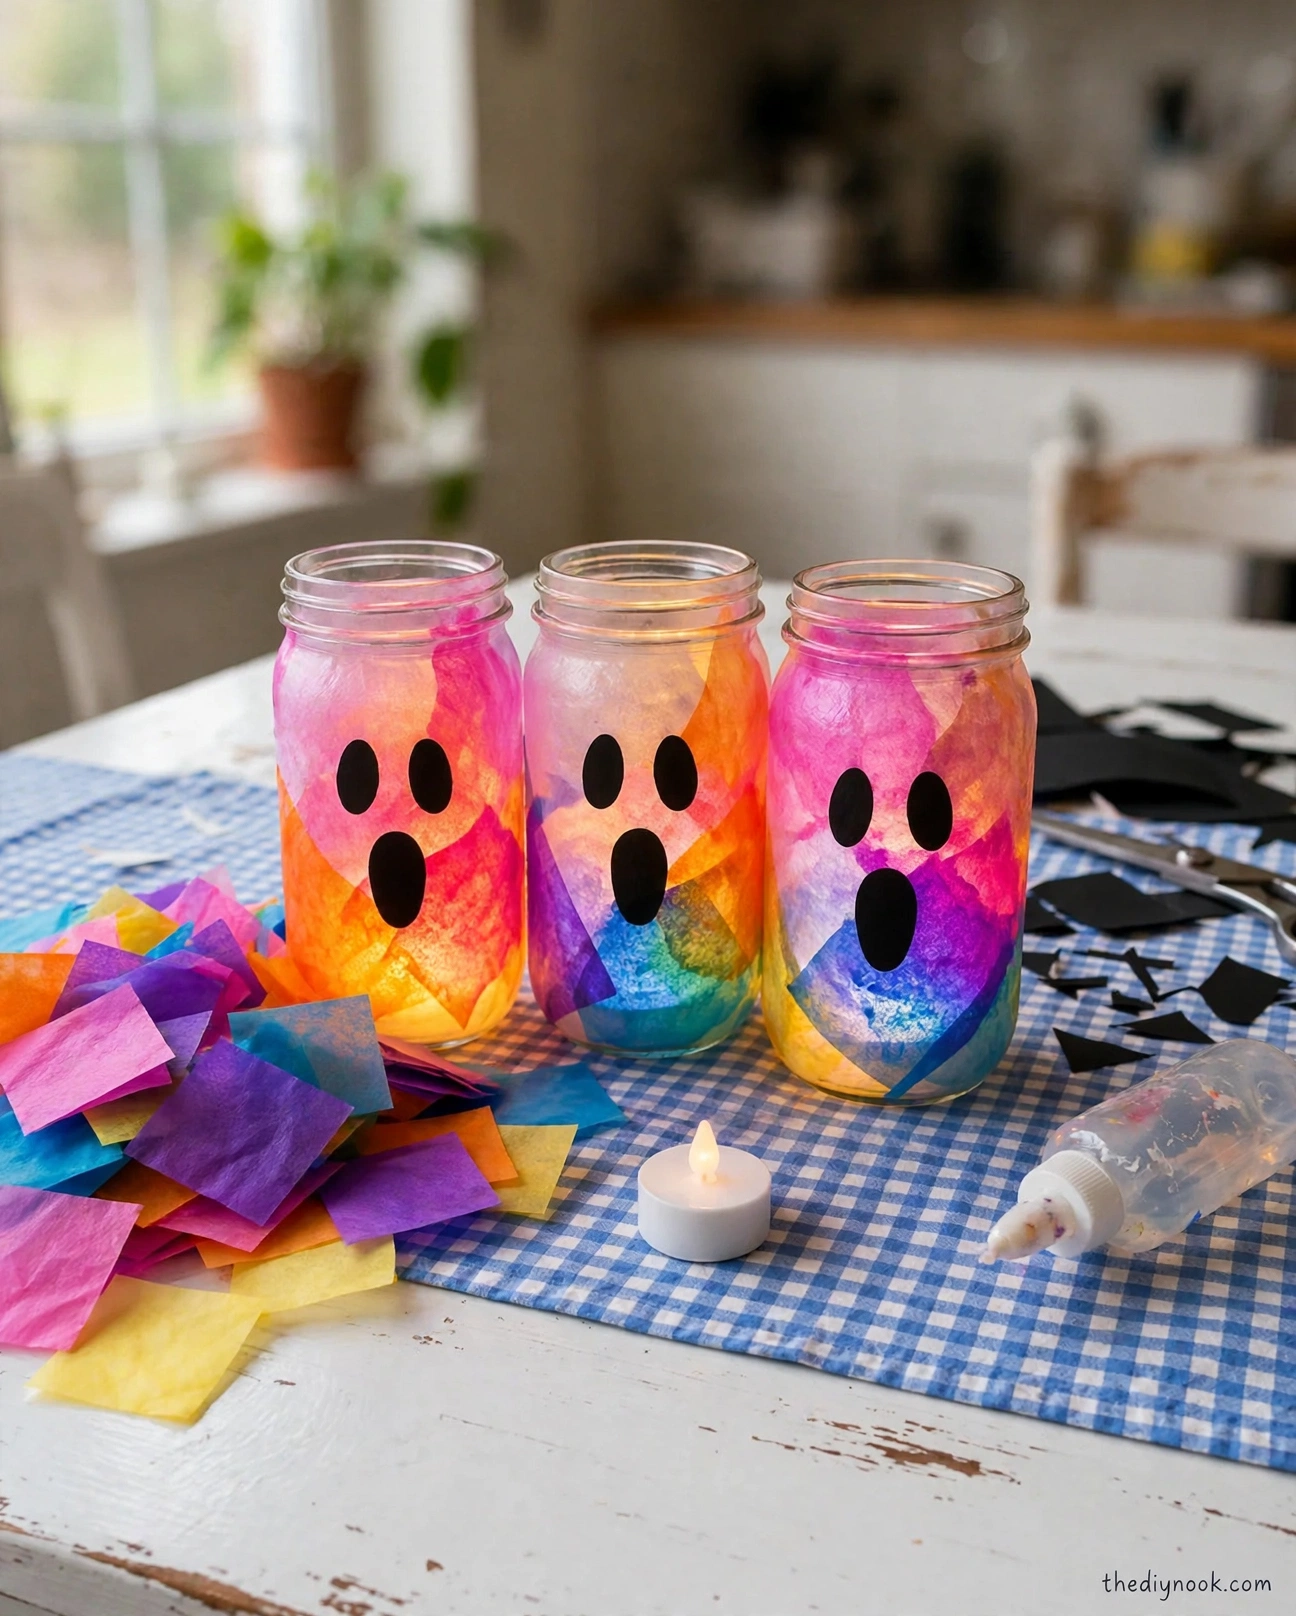 Easy Rainbow Glow Ghost Mason Jar Lanterns for Kids
Leave a Reply