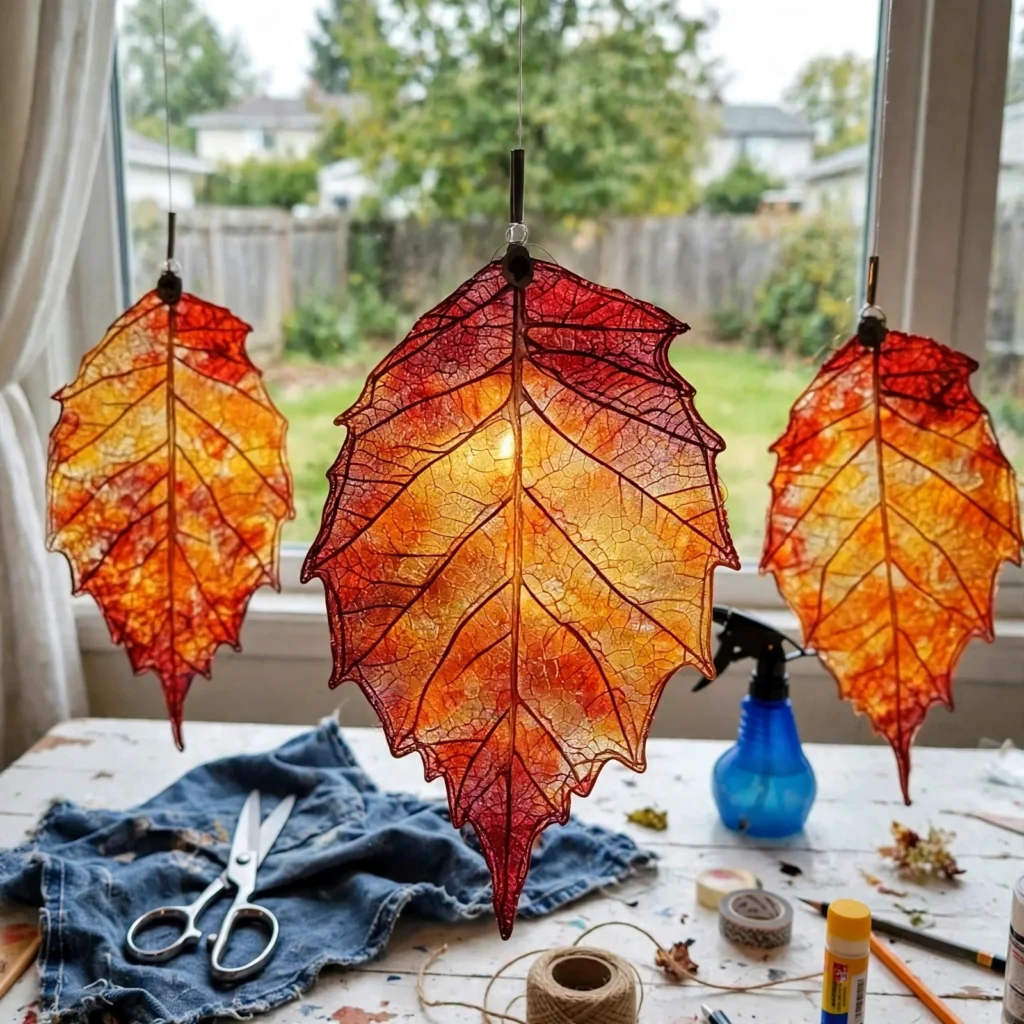
I am not a "bring nature inside" kind of mom by default — I'm more of a "let's color at the kitchen table" mom. But this craft somehow managed to be both, and my kids were completely mesmerized.
You take real leaves, scatter broken crayon bits around them, iron the whole thing between wax paper, and end up with these glowing stained-glass leaves that light up in a sunny window. The first time we hung ours up, my son just stood there staring at them for a full minute. That's a rave review in my house.
Why You'll Love Making These
First, the materials list is basically "go outside and then raid the crayon box." Free leaves, broken crayons you were going to throw away, wax paper. I love a craft that costs nothing and still looks like something from a gift shop.
Second, there's a genuinely magical moment when you lift the iron and see the melted crayon swirling around the leaf. My kids gasped. I gasped. It never stops being satisfying.
Materials You'll Need
- Fresh, flat leaves (maple, oak, whatever's in your yard — intact ones work best)
- Old wax crayons in fall colors (peel them, break into small pieces)
- Wax paper or parchment paper
- An iron (grown-ups only on this part)
- Scissors
- String or tape for hanging
- A flat surface and something to protect the table
One note: this is a two-person craft. Kids do the arranging, grown-ups do the ironing. Everybody's happy.
<img src="https://thediynook.com/wp-content/uploads/2026/09/pin-v1-25.webp" alt="Crayon Leaf Suncatchers" />
Step-by-Step Directions
- Go outside together and collect flat, intact leaves. My kids treat this like a treasure hunt, which buys you a good twenty minutes.
- Cover your ironing surface with a layer of wax paper (shiny side up) to protect everything.
- Peel the paper off old crayons and break them into pea-sized pieces. The uglier the broken-crayon pile, the better the results.
- Lay a leaf on the wax paper. Scatter crayon pieces around and on top of it — red, orange, yellow, a little purple for drama.
- Cover everything with a second sheet of wax paper.
- Grown-up step: press the iron on a low setting and move it in slow circles for 20 to 30 seconds. Peek underneath — when the crayon has melted into colorful puddles, you're done.
- Let it cool for a few minutes. Seriously, let it cool — I know you're excited, but melted crayon is hot.
- Cut around the leaf shape, leaving a little border of the wax paper.
- Tape or string them up in a sunny window and watch the light do its thing.
The Learning Behind This Craft
This one sneaks in a whole science lesson. Kids watch a solid (crayon wax) turn to liquid and back to solid — that's states of matter, right there on the kitchen table. The leaf hunt gets them looking closely at nature and noticing shapes and veins, and arranging the crayon pieces is pure color theory practice.
Tips If Things Go Sideways
Crayon pieces not melting? Your iron is probably too cool or you're moving too fast. Slow down, low heat, small circles.
Colors blending into muddy brown? That's from over-mixing. Tell the kids to spread the pieces out instead of piling them up — a little space between colors keeps them distinct.
Leaf curling up? Press it under a heavy book for a day before you start, or just embrace the curl — it still looks great.
Wax sticking to the iron? Always iron through the top sheet of wax paper, never directly on the crayon. And wipe the iron plate with a damp cloth while it's still warm.
Fun Variations to Try
- Skip the leaf hunt and cut leaf shapes from cardstock to use as the base instead.
- Try spring colors (pink, purple, mint) for an Easter-window version.
- Use a hole punch to hang them with ribbon instead of tape.
- Let kids sign their leaves with permanent marker for keepsakes.
- Layer two small leaves on one sheet for a "double leaf" suncatcher.
FAQs
Can I use colored pencils instead of wax crayons?
Stick with wax crayons — they actually melt. Colored pencils won't give you the stained-glass effect.
What if I don't have an iron?
A hair straightener on low works in a pinch, or borrow a neighbor's iron. Just don't skip the heat step.
Will they survive a rainy day on the window?
Keep them indoors. Moisture makes the wax cloudy and the leaves sad. They last for months in a dry sunny window.
What ages can do this?
Toddlers can scatter crayon pieces with help; preschoolers and up can do everything except the ironing. The ironing is always a grown-up job.

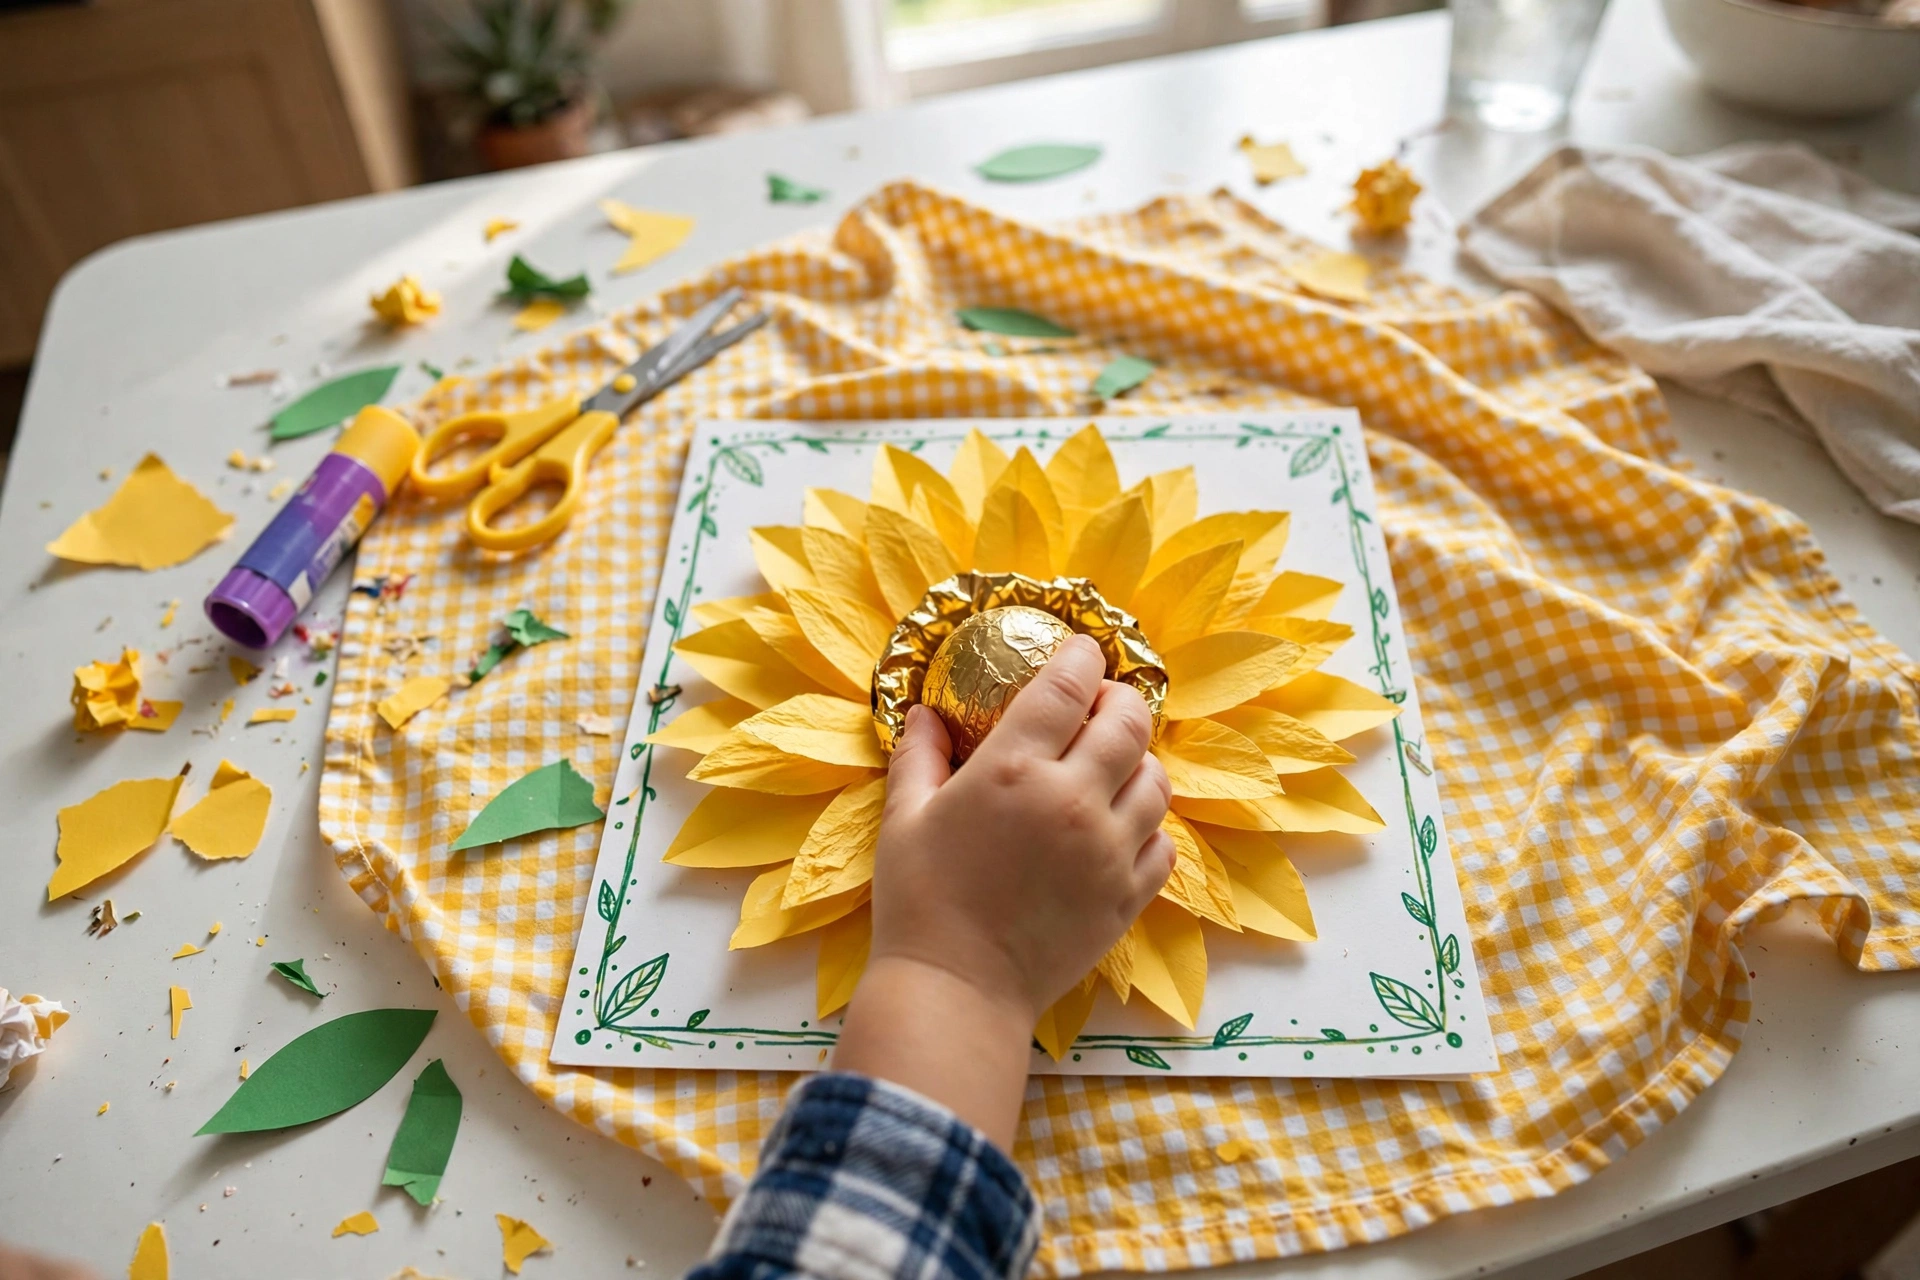 Sunflower Chocolate Mother’s Day Card
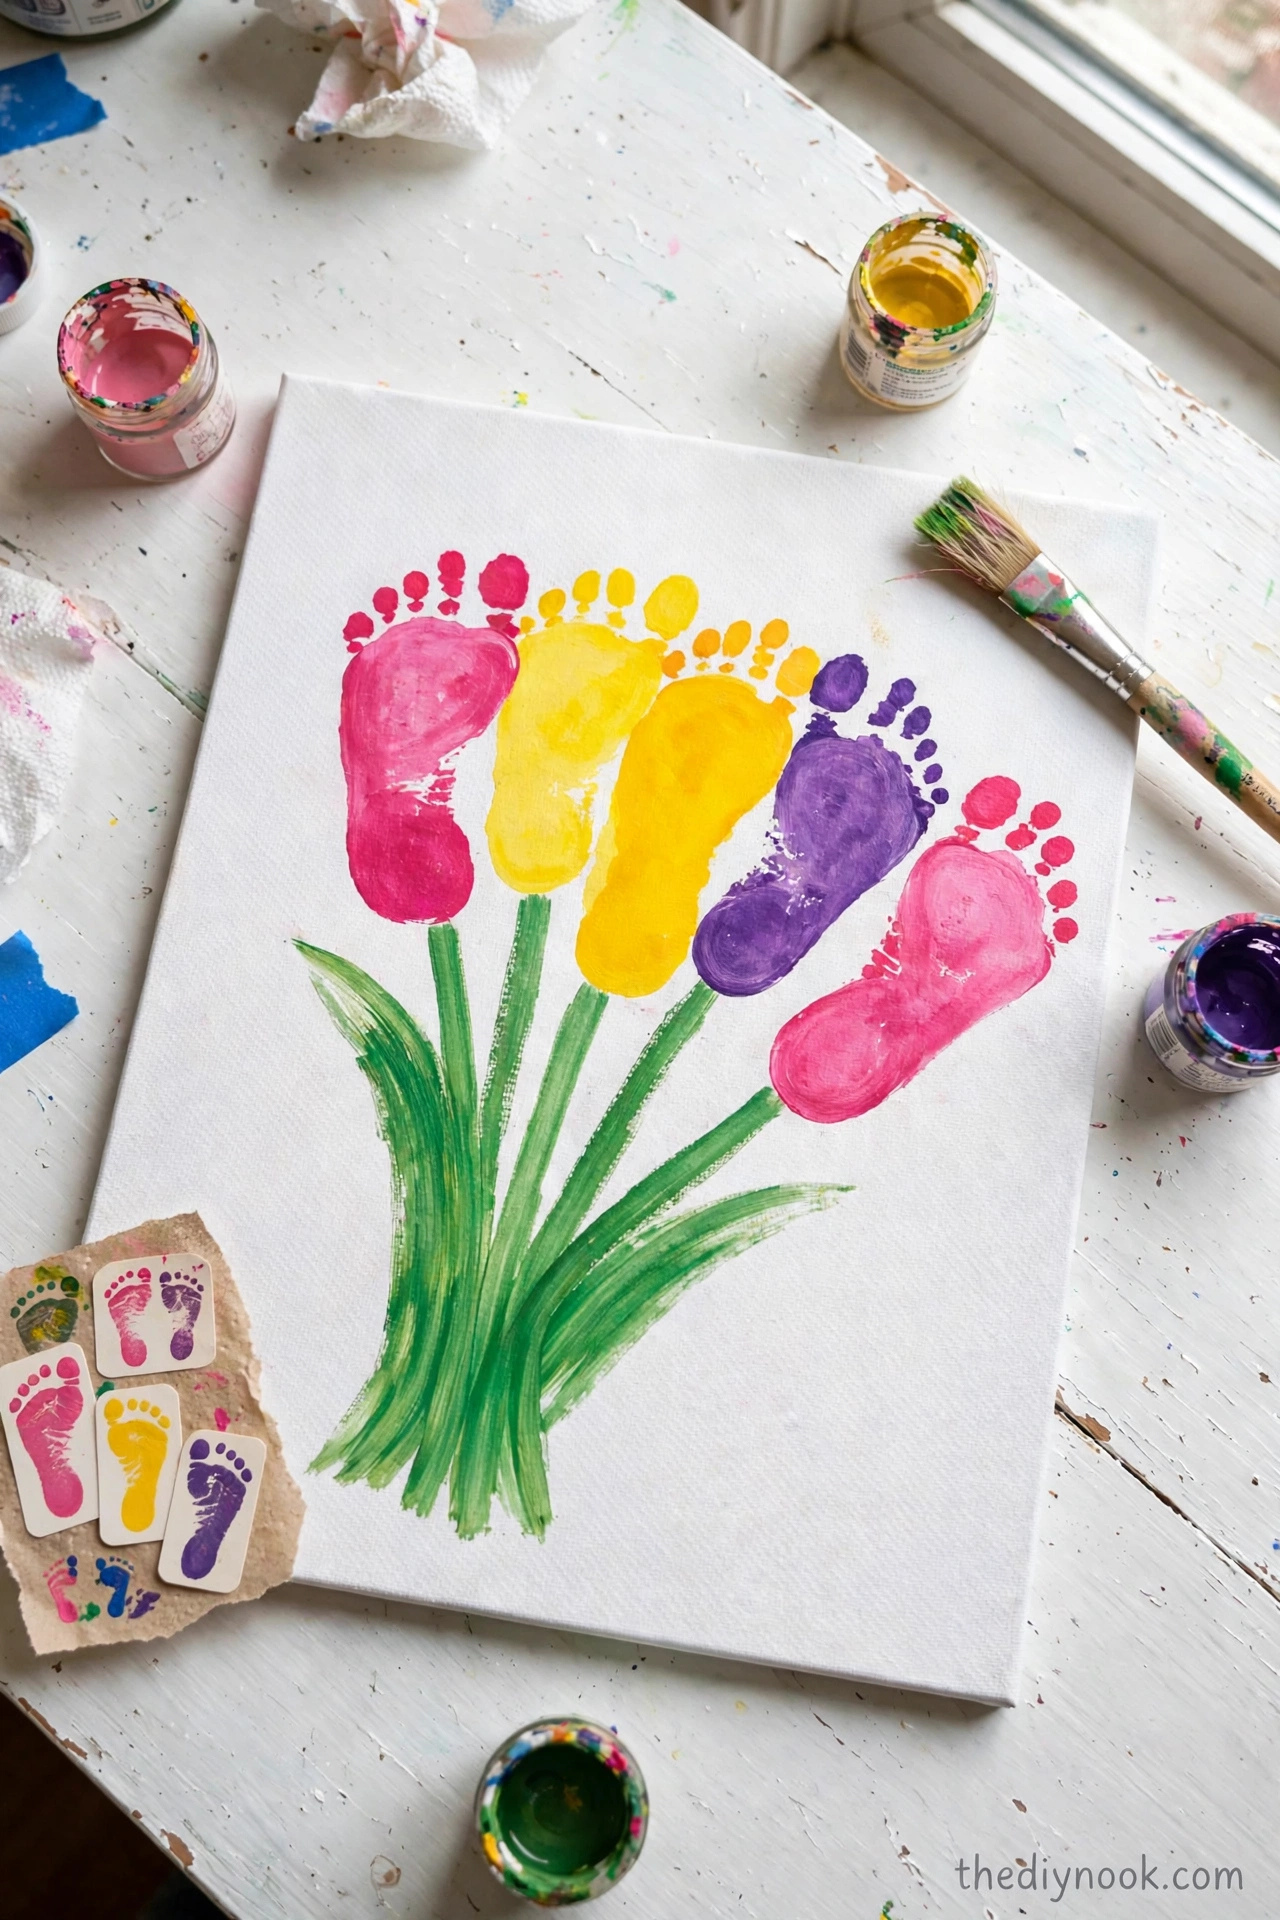 Easter Footprint Keepsakes: Easy Toddler Craft
 DIY Ghost Costume for Kids: Easy No-Sew Halloween Costume
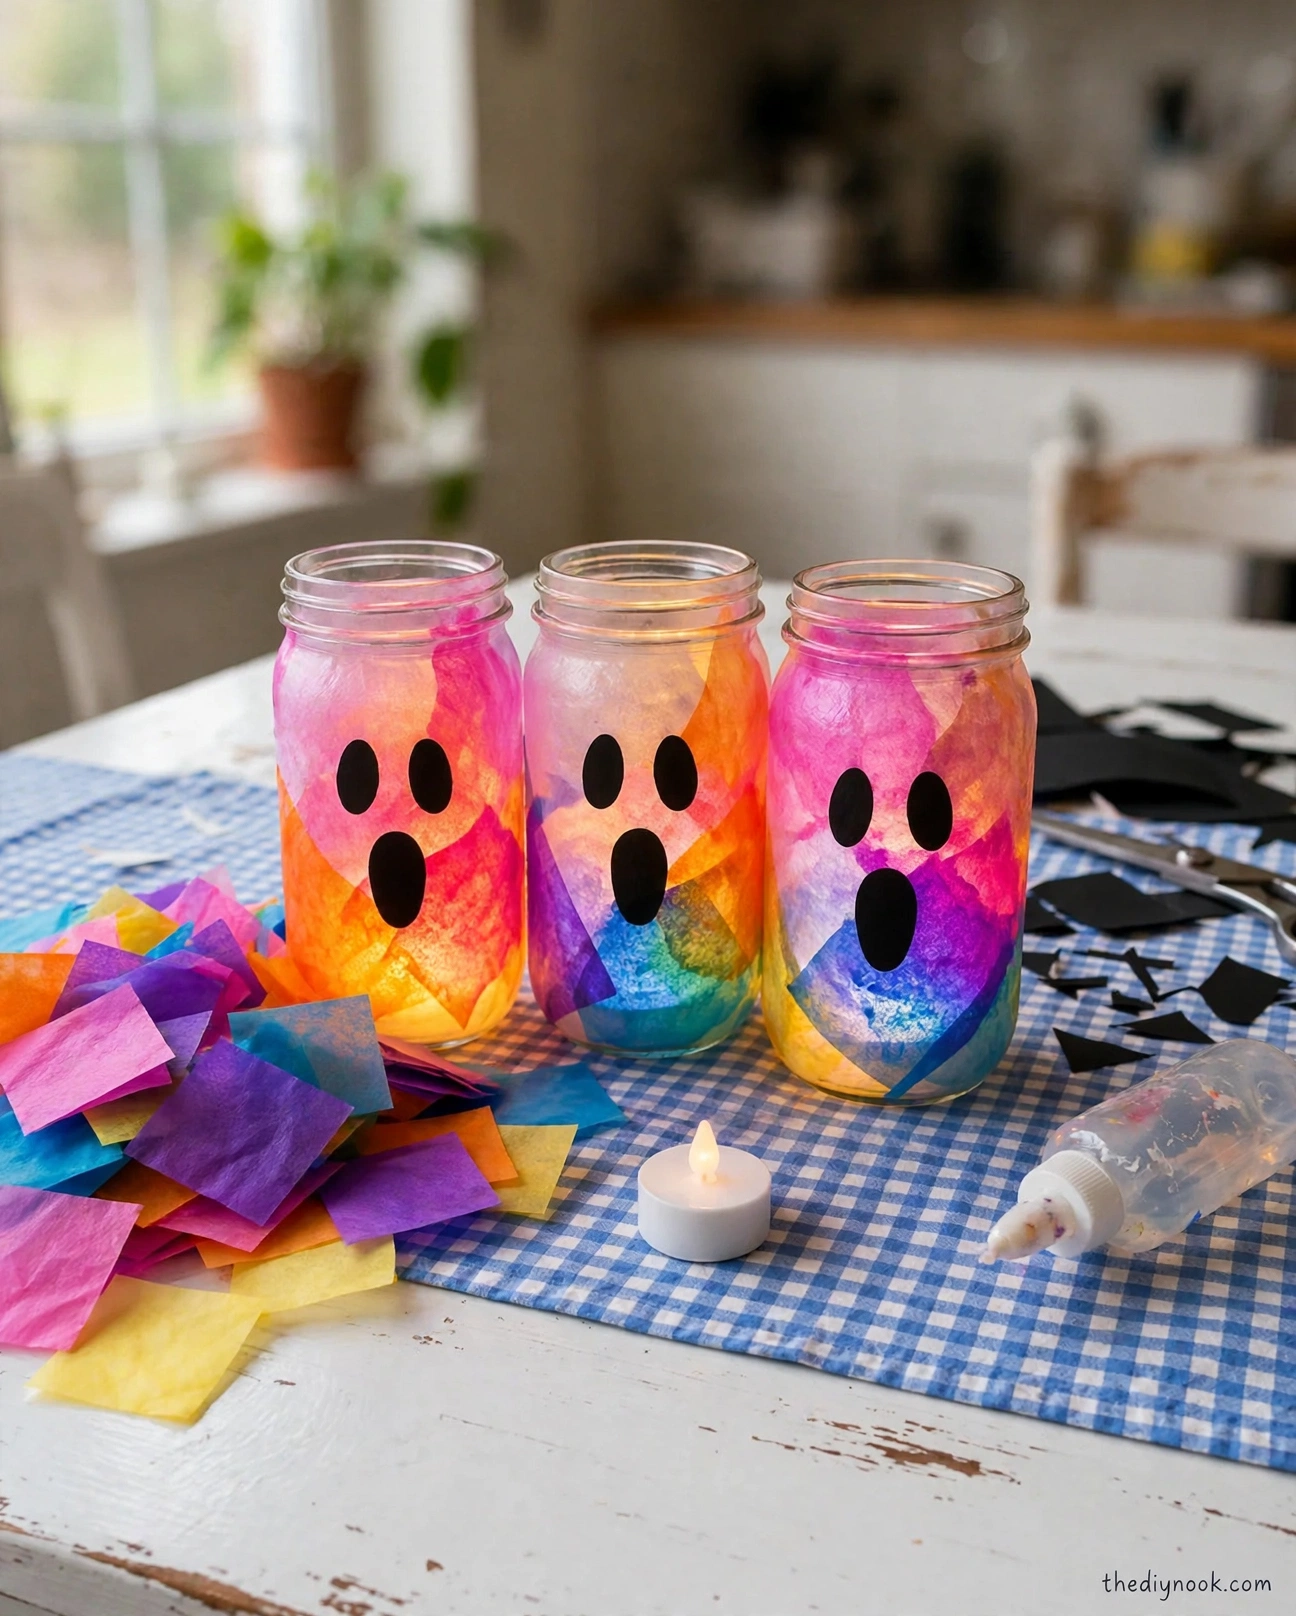 Easy Rainbow Glow Ghost Mason Jar Lanterns for Kids
Leave a Reply