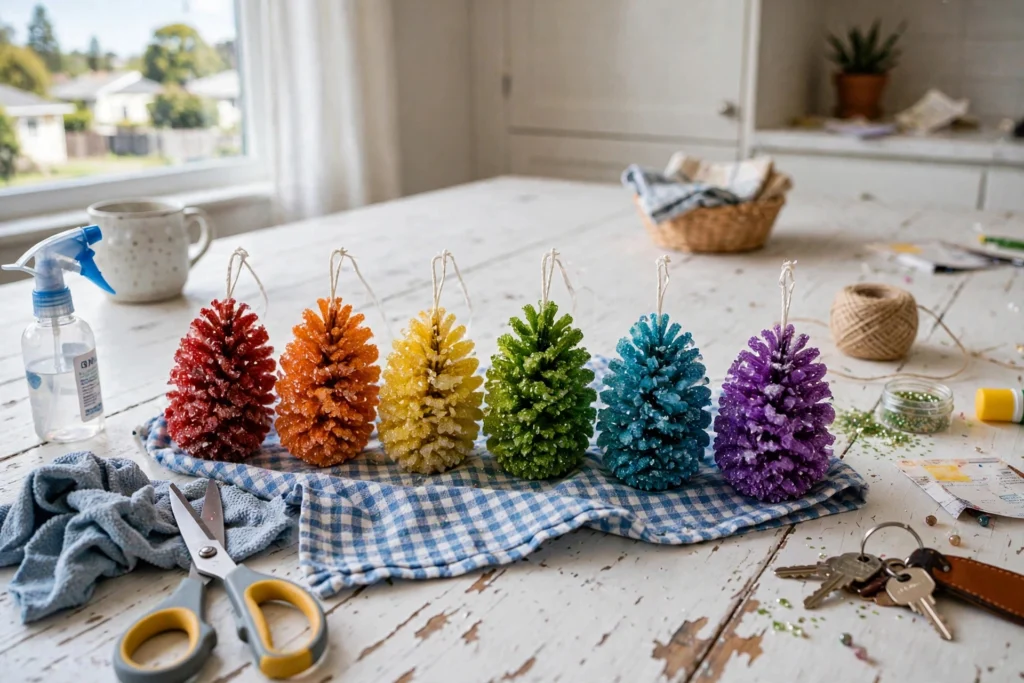
Last winter my daughter came home from school with a pocket full of pinecones — because apparently pockets are for nature treasures now — and asked if we could make them "sparkly like the ice in the parking lot." I had no idea what that meant, but I also had a box of baking soda and a vague memory of a science experiment, so we went for it. Twenty minutes of mixing, one overnight wait, and the next morning we had pinecones that looked like someone dipped a rainbow in frost. I have never seen two kids lose their minds this fast.
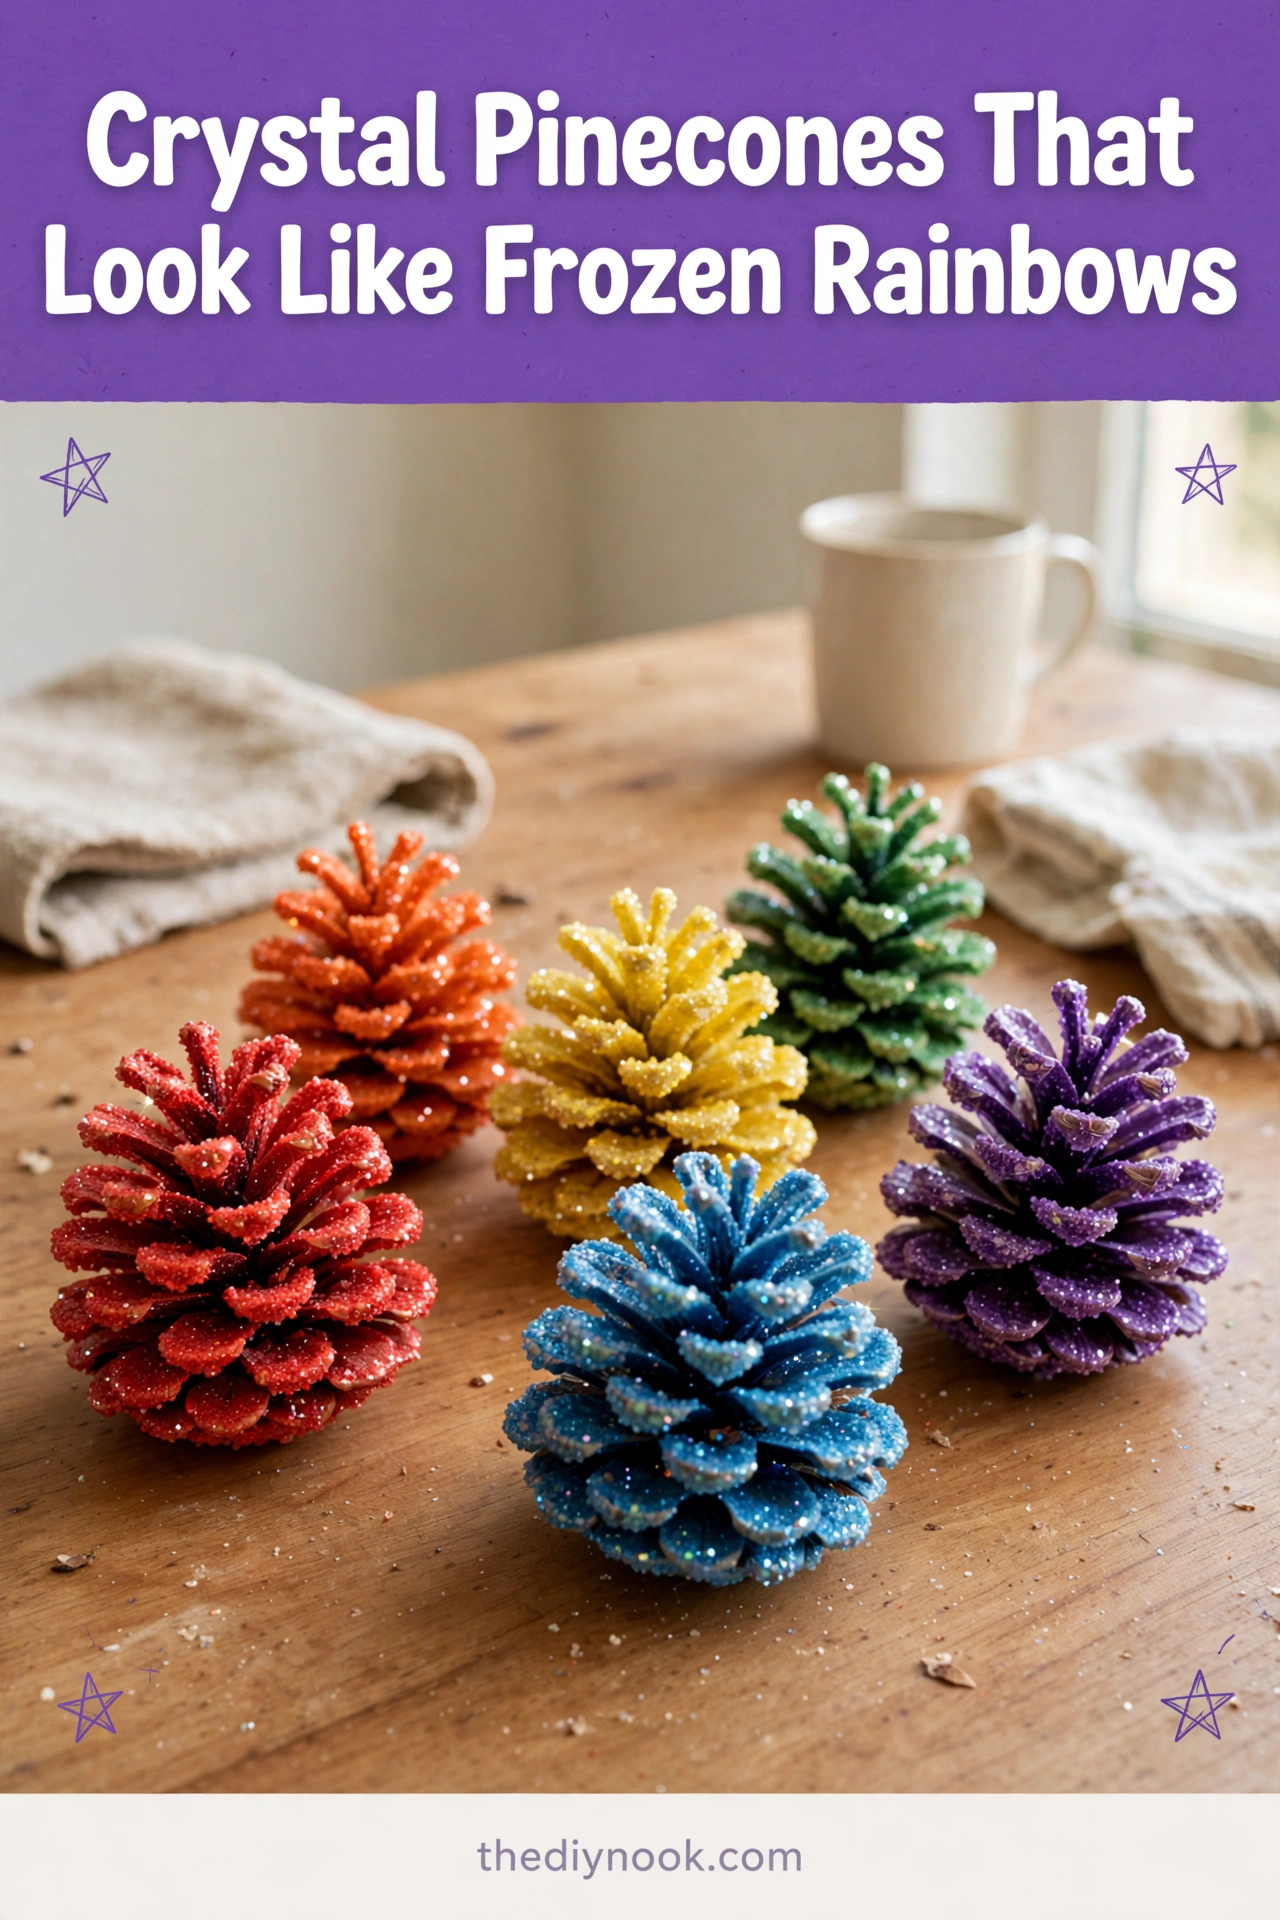
These crystal pinecones are one of those crafts that feel like real magic but are genuinely easy. You dip a pinecone in a baking-soda solution, let it dry, and it grows a coat of sparkly crystals. Food coloring turns them into frozen rainbows — red, orange, yellow, green, blue, purple, all on the mantel. My kids now make a batch every December like it's a family tradition, which honestly? It is.
Why You'll Love Making These
First, it's almost impossible to mess up. Baking soda plus water plus a pinecone — if you can stir, you can do this. My five-year-old handled the dipping all by herself (with a towel under everything, because I'm not a monster), and my older one got very intense about which pinecone got which color.
Second, it's a real science moment disguised as a craft. The crystals forming overnight feels like a tiny miracle, and the kids wake up asking to check them like it's Christmas morning. No batteries, no screens, no glitter glue stuck to the dog.
Materials You'll Need
- Pinecones — natural ones from the backyard or a craft store
- Baking soda, about 1/2 cup per batch
- Water, about 1 cup
- Food coloring in rainbow colors
- Small mixing bowls
- A baking sheet
- Wax paper to protect your surface
That's genuinely it. I love a craft where I don't have to do a craft-store run.
<img src="https://thediynook.com/wp-content/uploads/2026/09/pin-v1-26.webp" alt="Crystal Pinecones That Look Like Frozen Rainbows" />
Step-by-Step Directions
- Lay down wax paper to protect your surface and set your materials within reach.
- In a small bowl, mix 1 cup of water with 1/2 cup of baking soda. Stir until the baking soda fully dissolves — you'll hear a soft little fizz, which is the fun part.
- Add a few drops of food coloring and stir gently. Watch the colors swirl — my kids fight over who gets to pick the colors, and honestly I let them, because it's not worth it.
- Hold a pinecone by its tip and dip it into the solution, making sure it's fully submerged so the crystals cling all over.
- Place the dipped pinecones on a baking sheet and let them dry for 24 hours. Yes, it's an overnight wait, but the anticipation is half the magic.
- Once dry, admire them. Then place them around the house — bowl on the coffee table, scattered on the mantel, wherever needs a little sparkle.
The Learning Behind This Craft
While the kids are busy dipping, they're actually watching a science experiment in real time. As the water evaporates overnight, the baking soda is left behind as tiny crystals coating every scale of the pinecone — that's how real crystals form in nature, just sped up. My daughter now explains "evaporation" to anyone who will stand still long enough, which is both impressive and a little much.
There's also the waiting part, which I know sounds boring, but practicing patience and coming back to see a transformation is a great lesson in delayed gratification. Or so I tell myself while they ask "are they DONE yet?" every twenty minutes.
Tips If Things Go Sideways
Solution too runny? Add a bit more baking soda and stir until it feels right.
Crystals not sticking? Make sure the pinecone was fully submerged, and give it the full 24 hours — rushing the dry time is the number one reason this underwhelms.
One of ours looked lumpy instead of sparkly — we called it the "frost giant" pinecone and it's now everyone's favorite. Imperfect batches get the best names.
Fun Variations to Try
- Layer colors: dip in one color, let dry, dip halfway in another for a two-tone effect.
- Add a pinch of glitter to the solution for extra shimmer.
- Tie a ribbon to the top of each pinecone and hang them as ornaments.
- Make a whole rainbow set — red, orange, yellow, green, blue, purple — and line them up like we did. It looks amazing in photos.
- Use them as place cards: tuck a little name tag under each one at the holiday table.
FAQs
Can I use artificial pinecones?
Yes, as long as they can hold up to being dipped in the solution. Natural ones hold the crystals best, though.
How long do the crystals last?
Months, if you keep them dry. Store them in a cool, dry spot away from direct sunlight and don't put them anywhere damp.
Can little kids do this?
Absolutely — it's a great family activity. Just supervise the dipping part and protect the table, because food coloring has a way of finding its way everywhere.
Can I speed up the drying?
A warm, dry room helps a little, but honestly patience wins here. Overnight is the way.
What if my solution is too thin?
Stir in more baking soda until it feels right. There's no exact science — just aim for fully dissolved, not watery.

 Sunflower Chocolate Mother’s Day Card
 Easter Footprint Keepsakes: Easy Toddler Craft
 DIY Ghost Costume for Kids: Easy No-Sew Halloween Costume
 Easy Rainbow Glow Ghost Mason Jar Lanterns for Kids
Leave a Reply