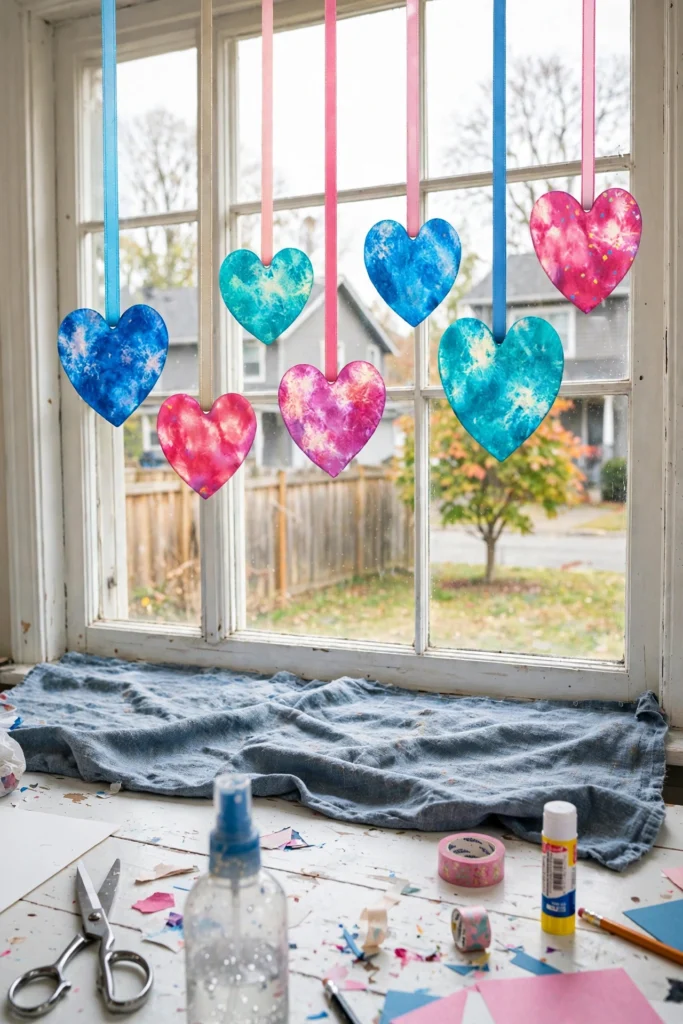
If you're a mom, you own approximately four hundred broken crayons. They live in the bottom of the art bin, they turn up in the couch cushions, one is definitely in the dryer right now. I finally found a use for them that isn't "throw them away and feel guilty": melted crayon sun-catchers.
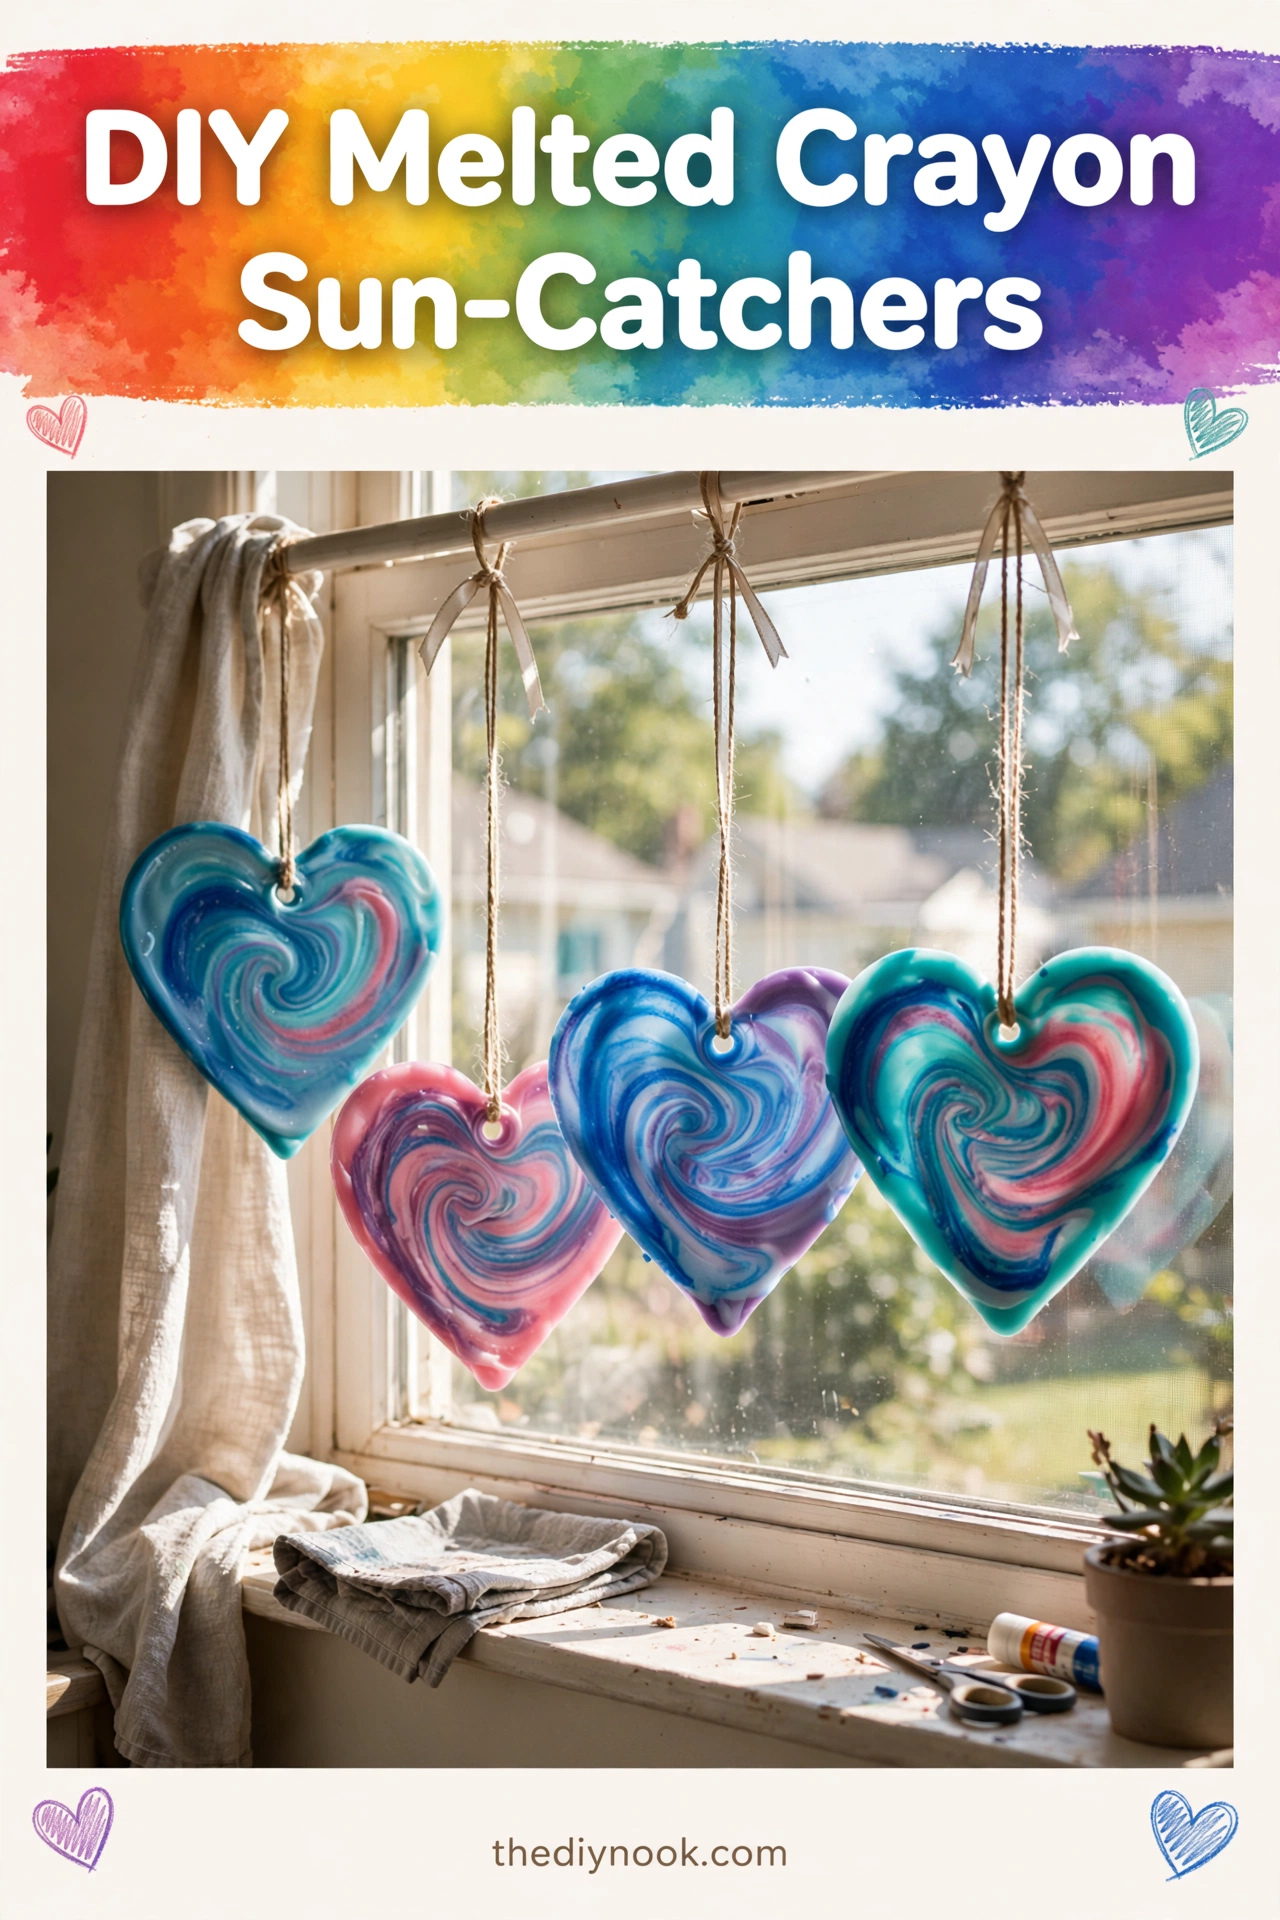
You shave or snap the crayons, sandwich them in wax paper, iron them into a melted "wax pancake," and cut out shapes. Hang them in a window and the sun does the rest — brilliant swirls of color that look like stained glass but cost you literally nothing. My kitchen window currently has eight hearts in it and I grin every single time I do the dishes.
Why You'll Love Making These
This is the craft equivalent of cleaning out the junk drawer and finding money. Zero cost, all that broken-crayon guilt gone, and the result is genuinely beautiful — colorful light dancing on your walls. My daughter's sun-catcher has been in her bedroom window for months and she still checks it every morning.
It's also the rare craft where the iron does the hard part. Kids handle the shaving and arranging; a grown-up handles the hot part; everyone gets the glory.
Materials You'll Need
- Broken or whole crayons (the broken ones finally have a purpose)
- Wax paper or parchment paper
- An iron
- Scissors
- A crayon sharpener or small grater (for making shavings)
- Ribbon or string for hanging
- A protective cloth or old towel (goes under the wax paper)
<img src="https://thediynook.com/wp-content/uploads/2026/09/pin-v1-28.webp" alt="DIY Melted Crayon Sun-Catchers" />
Step-by-Step Directions
- Choose your colors. Pick crayons that look good together — blues and teals, pinks and purples, whatever makes you happy.
- Peel the paper off the crayons. My kids fight over this job, which tells you everything about how fun it is.
- Make crayon shavings with a sharpener or small grater, or just snap the crayons into small pieces. Shavings melt faster and blend more beautifully.
- Lay a sheet of wax paper on a flat surface and sprinkle the shavings over one half in a design you like. Don't pile them too thick — a thin layer melts best.
- Fold the other half of the wax paper over the shavings.
- Place a protective cloth over the wax paper. Preheat your iron on LOW and gently iron over it. Watch the magic: the colors melt and swirl together. Don't overheat — low and slow wins.
- Let the melted sheet cool completely before touching it. This is hard for kids. I usually declare a snack break.
- Once cool, cut out shapes — hearts, snowflakes, stars, whatever. Cookie cutters make great stencils.
- Punch or tape a ribbon on top and hang in a sunny window.
The Learning Behind This Craft
Melting crayons is a front-row seat to solids becoming liquids — and back again. Kids watch the hard shavings turn soft and swirly under the iron, then harden into something new as they cool. That's states of matter in about five minutes, no textbook required.
There's also real color-mixing happening: blue and pink shavings melt into a purple they didn't plan, and suddenly your kid is an abstract artist. My son's sun-catcher is mostly "colors that accidentally happened" and it's my favorite one.
Tips If Things Go Sideways
Crayons not melting evenly? Your iron might be too cool, or the shavings are piled too thick. Thin layers, low heat, gentle pressure.
Wax sticking to the iron? You forgot the protective cloth. Always use it — cleaning melted crayon off an iron is a special kind of misery.
Colors look muddy? Too many dark colors mixed together will do that. Next time, stick to two or three colors that sit near each other, or embrace the swirl.
One of ours had a hole in the wax paper — we just layered another sheet and re-ironed. Good as new.
Fun Variations to Try
- Make seasonal shapes: snowflakes for winter, hearts for Valentine's, leaves for fall.
- Sprinkle a little glitter onto the shavings before ironing for extra sparkle.
- Layer two or three melted sheets together for deeper, richer colors.
- Use cookie cutters as stencils for perfect shapes.
- Cut tiny shapes and string several together as a window garland.
FAQs
I don't have an iron — can I still make these?
Yes! A hairdryer on low heat works, though it's slower. Keep it moving so the wax doesn't blow away.
Can I use candle wax instead of crayons?
Old candle wax works too — just make sure it's plain wax without added chemicals or heavy fragrance.
How do I clean up melted crayon spills?
Warm soapy water handles most spills. On fabric, lay a paper towel over it and iron on low — the wax melts into the towel. I wish I'd known this years ago.
Can I use colored pencils?
They won't melt like crayons do, so no. Save those for drawing your design first, if you like.
What ages is this good for?
Kids of all ages love the shaving and arranging. The ironing is a grown-up job, or an older-kid job with close supervision.

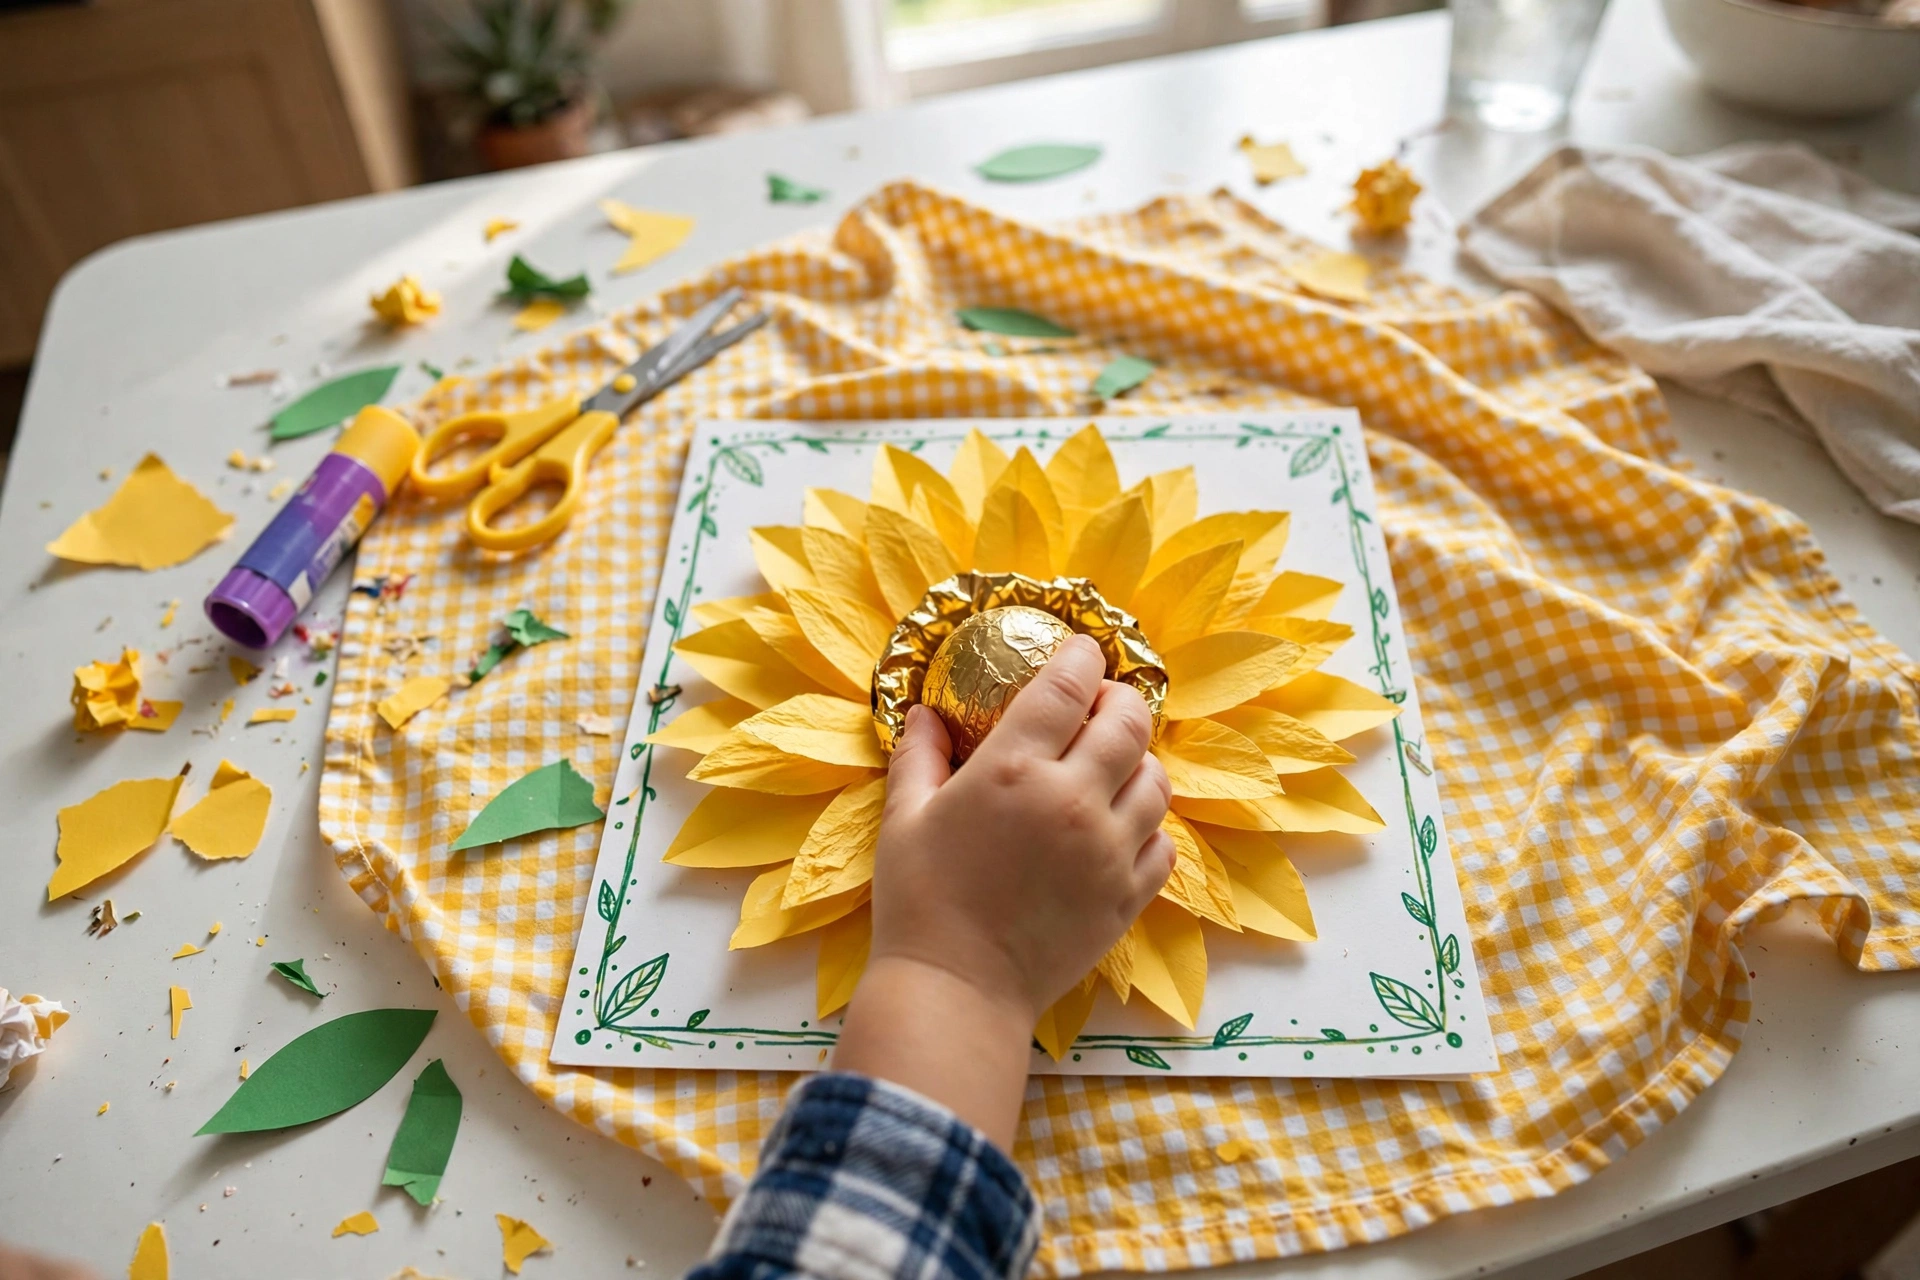 Sunflower Chocolate Mother’s Day Card
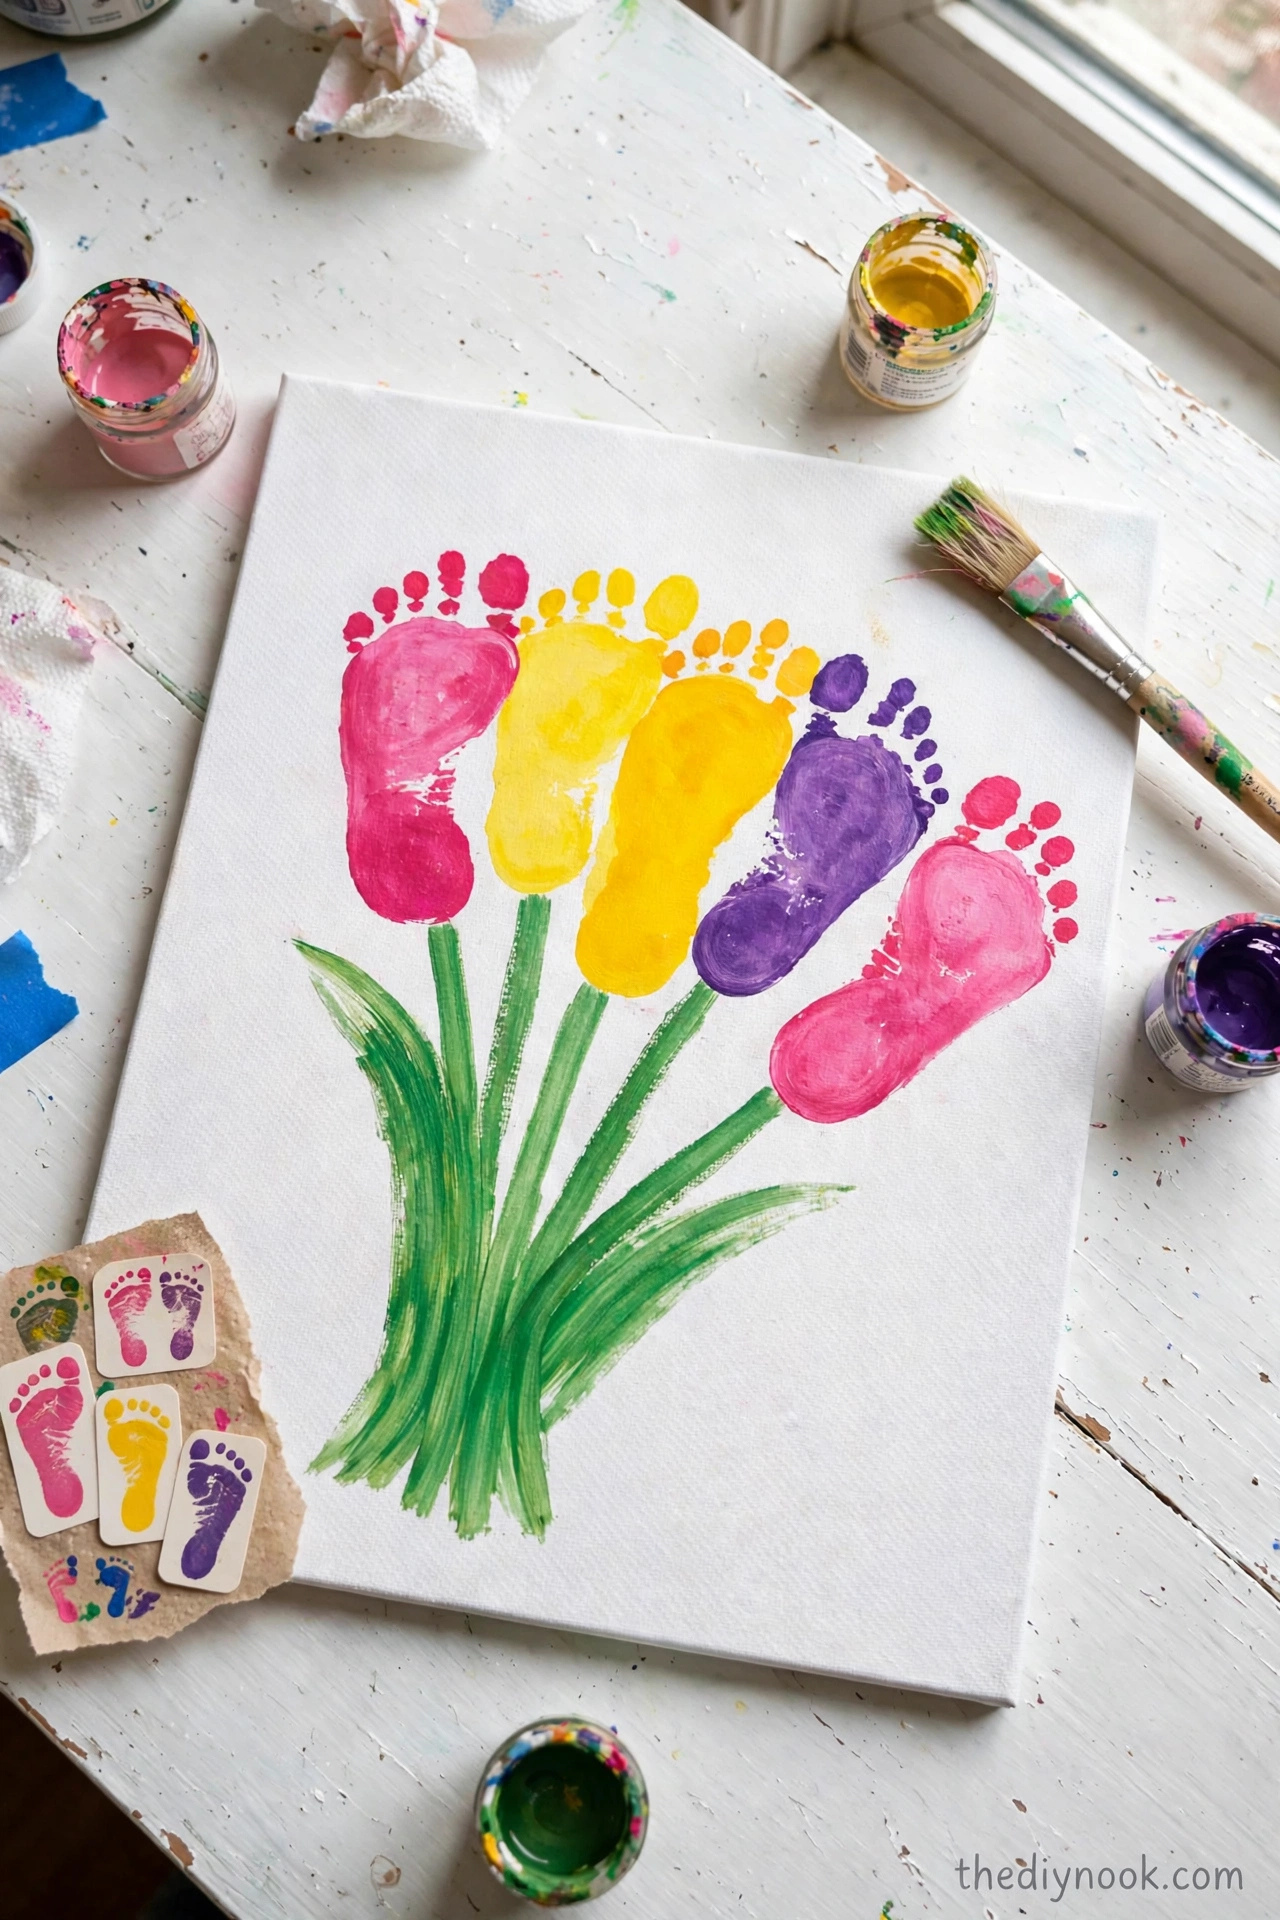 Easter Footprint Keepsakes: Easy Toddler Craft
 DIY Ghost Costume for Kids: Easy No-Sew Halloween Costume
 Easy Rainbow Glow Ghost Mason Jar Lanterns for Kids
Leave a Reply