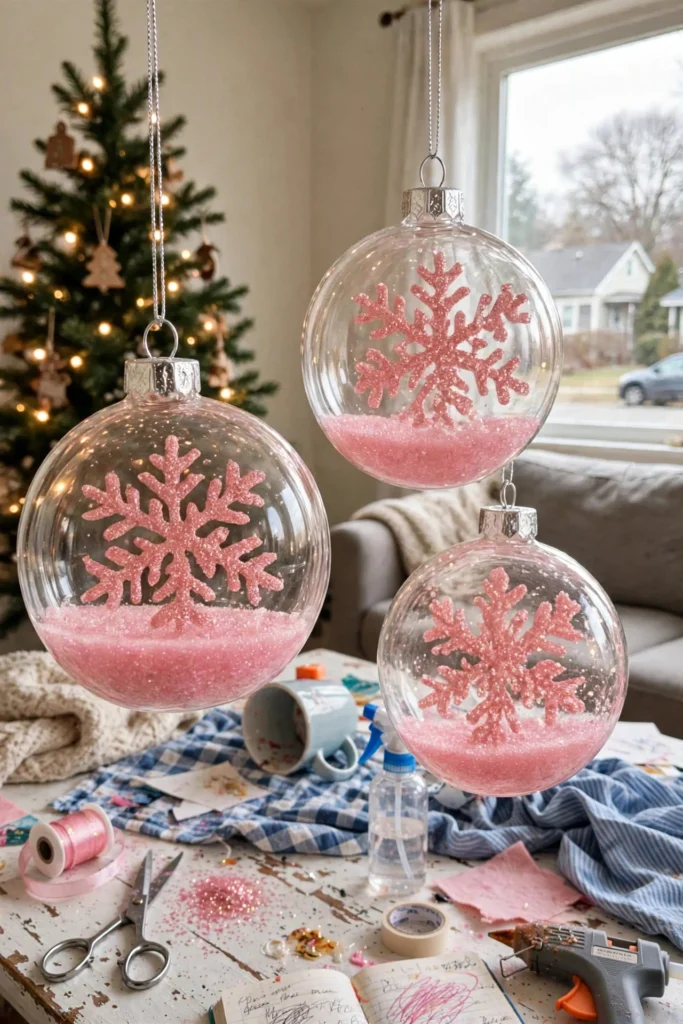
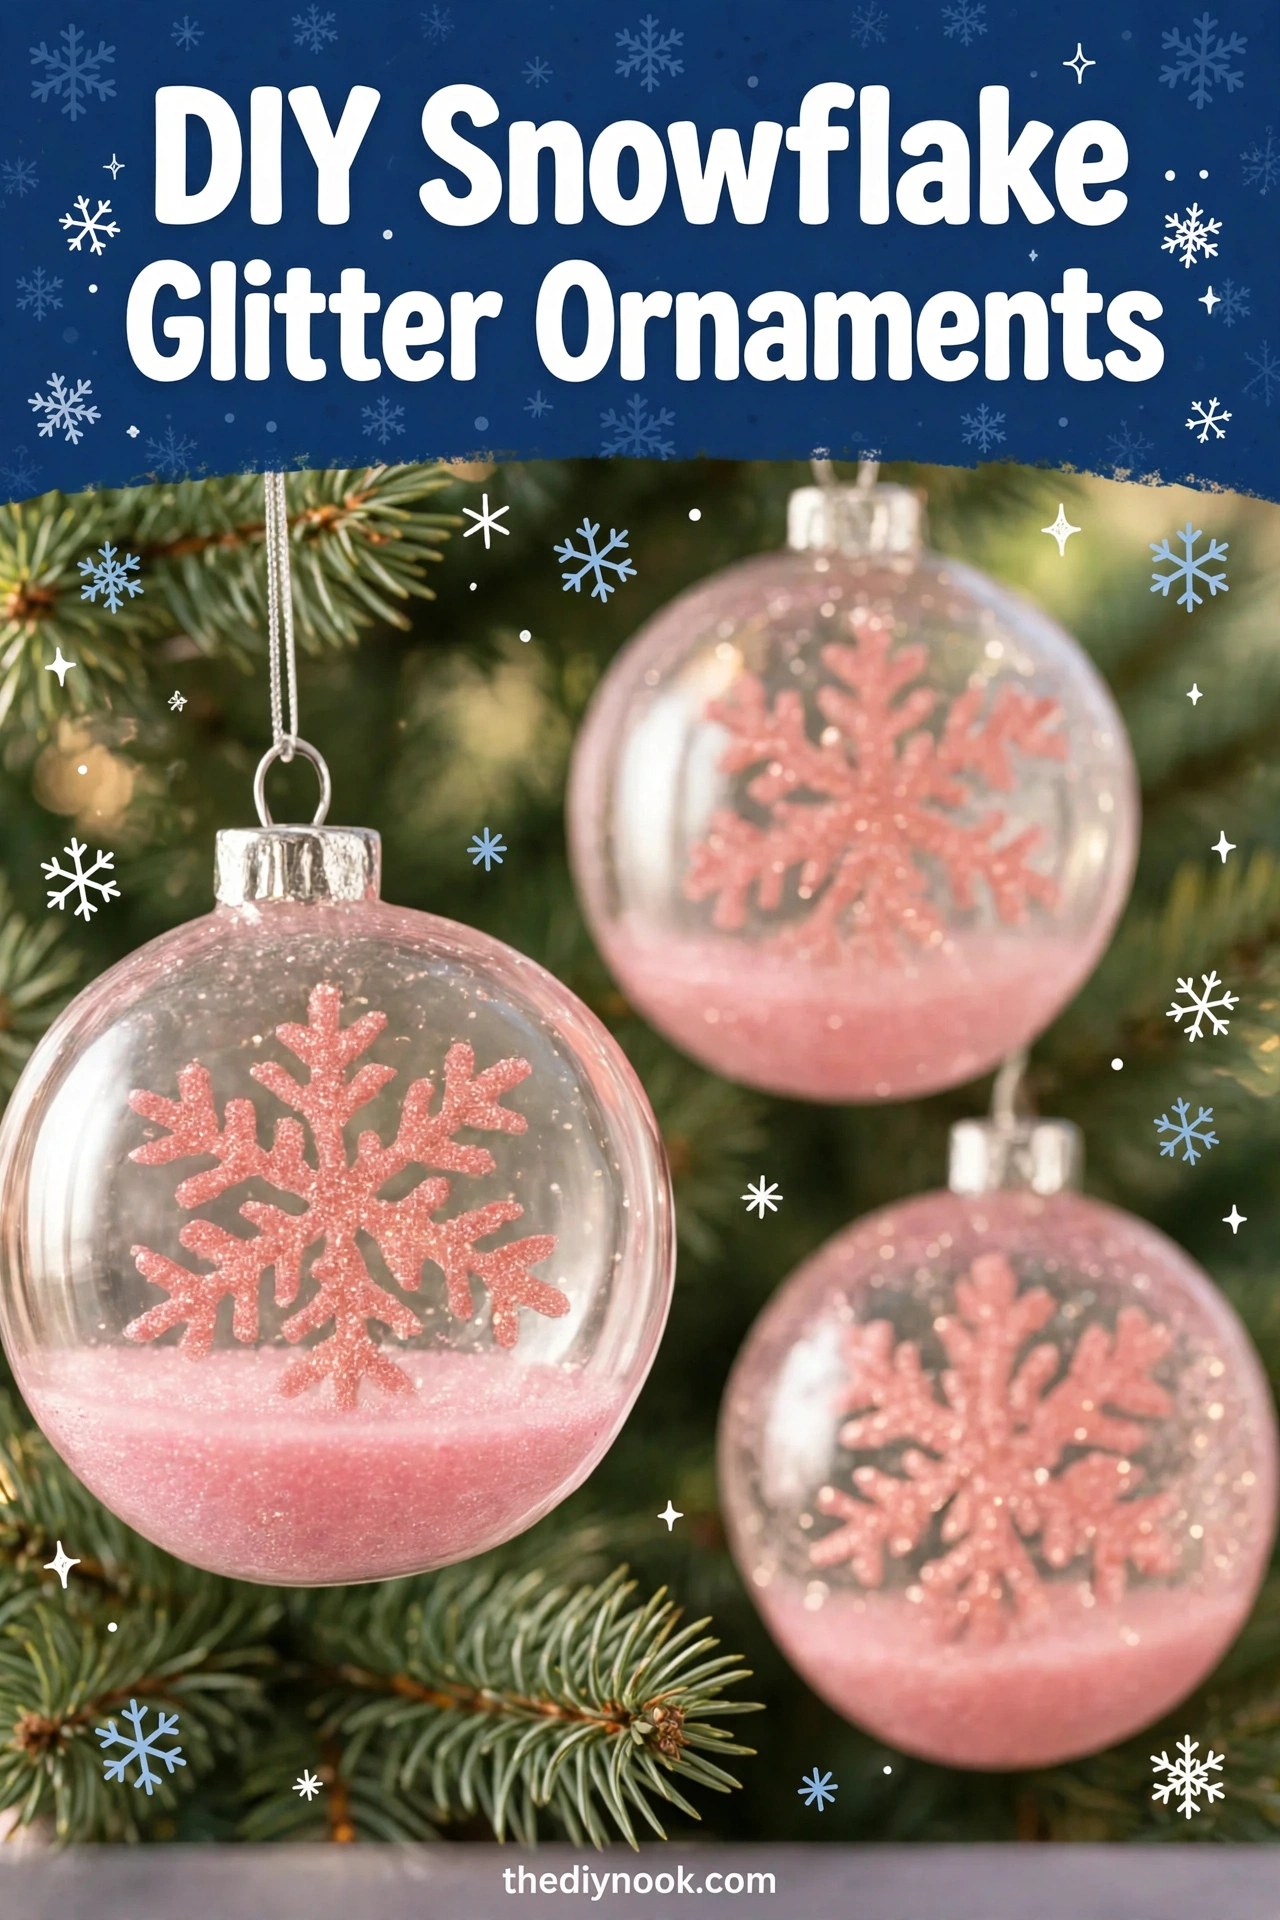
My kids have strong opinions about snowflakes. Strong. Opinions. So when we made these snowflake glitter ornaments — clear balls with pink glitter snowflakes sparkling inside and a swirl of glitter "snow" at the bottom — they each had to make approximately one million of them, all slightly different, all perfect.
These are made from those clear fillable ornaments you can get in bulk, and the effect is honestly magical. The glitter snowflake catches the light from every angle, the pink glitter snow settles at the bottom like a tiny winter scene, and they look like they cost ten times what they did. My tree is currently hosting a small blizzard of them and I have zero regrets.
Why You'll Love Making These
Fillable ornaments are the ultimate kid-friendly craft base. There's no way to mess them up — you pour glitter in, stick a snowflake inside, close the lid, done. My youngest (not known for her patience) finished three of these without a single meltdown, which might be a personal record.
They're also fast. We made a dozen in under half an hour, which means you can actually finish a whole tree's worth in one sitting — or make a big batch for classroom gifts without losing your mind.
Materials You'll Need
- Clear fillable ornaments
- Fine pink or white glitter
- Glitter glue pens or snowflake stickers/decals (for the snowflake design)
- A small funnel or rolled paper cone
- Ribbon or string for hanging
- Paper towels (glitter gets everywhere — this is just a fact of life now)
Step-by-Step Directions
- Pop the cap off a clear ornament and set it somewhere you won't lose it. (Voice of experience.)
- Use the funnel to pour a spoonful of glitter into the ornament. This becomes the sparkly "snow" that settles at the bottom.
- For the snowflake: if you're using glitter glue pens, draw a snowflake directly on the inside of the ornament through the opening. If you're using stickers or decals, press one onto the inside glass. No two snowflakes should be alike — nature's rule.
- Add a little more glitter on top for extra sparkle.
- Snap the cap back on firmly and thread ribbon through the loop.
- Give the ornament a gentle shake to settle the glitter snow, then hang it up and admire your tiny blizzard.
The Learning Behind This Craft
The "no two snowflakes are alike" thing isn't just a saying — it's real science, and making a dozen different snowflakes is a great way to talk about symmetry. Each of my kids' snowflakes had six points (like real ones), and we counted the branches together. My daughter is now the household's self-appointed snowflake symmetry inspector.
There's also a nice little lesson in static electricity: the glitter clings to the inside of the ornament all on its own, which fascinated both of mine far more than I expected.
Tips If Things Go Sideways
Glitter clumping instead of settling? A tiny bit of static is normal — a gentle shake redistributes it. Don't add water; it'll just make glitter soup.
Snowflake sticker won't stick inside? Make sure the inside of the ornament is completely dry first. A quick wipe with a dry cloth does the trick.
Cap won't snap closed? Check that no glitter is caught in the rim — wipe it clean and try again.
Fun Variations to Try
- Use blue and silver glitter for a frosty winter-night version.
- Add tiny star stickers alongside the snowflake for a night-sky scene.
- Layer two colors of glitter for a two-tone snow effect.
- Write names or the year on the ornament with a paint pen to make dated keepsakes.
FAQs
Where do I find clear fillable ornaments?
Craft stores carry them in bulk, especially around the holidays, and they're very affordable. Dollar stores often have them too.
Will the glitter leak out?
Not if the cap is snapped on firmly. For extra insurance, a tiny ring of clear glue around the rim seals them permanently.
Can I use regular glue to draw the snowflake?
Glitter glue pens work best because they come out of the tube already sparkly. Regular glue plus loose glitter works too, but it's messier.
What ages is this good for?
All ages, honestly. Toddlers can pour glitter with help (embrace the mess), and older kids can handle the snowflake designs independently.
How do I store them?
Wrap each one in tissue paper and store in a sturdy box. The glitter snow settles during storage — just give them a gentle shake when you hang them next year.

 Sunflower Chocolate Mother’s Day Card
 Easter Footprint Keepsakes: Easy Toddler Craft
 DIY Ghost Costume for Kids: Easy No-Sew Halloween Costume
 Easy Rainbow Glow Ghost Mason Jar Lanterns for Kids
Leave a Reply