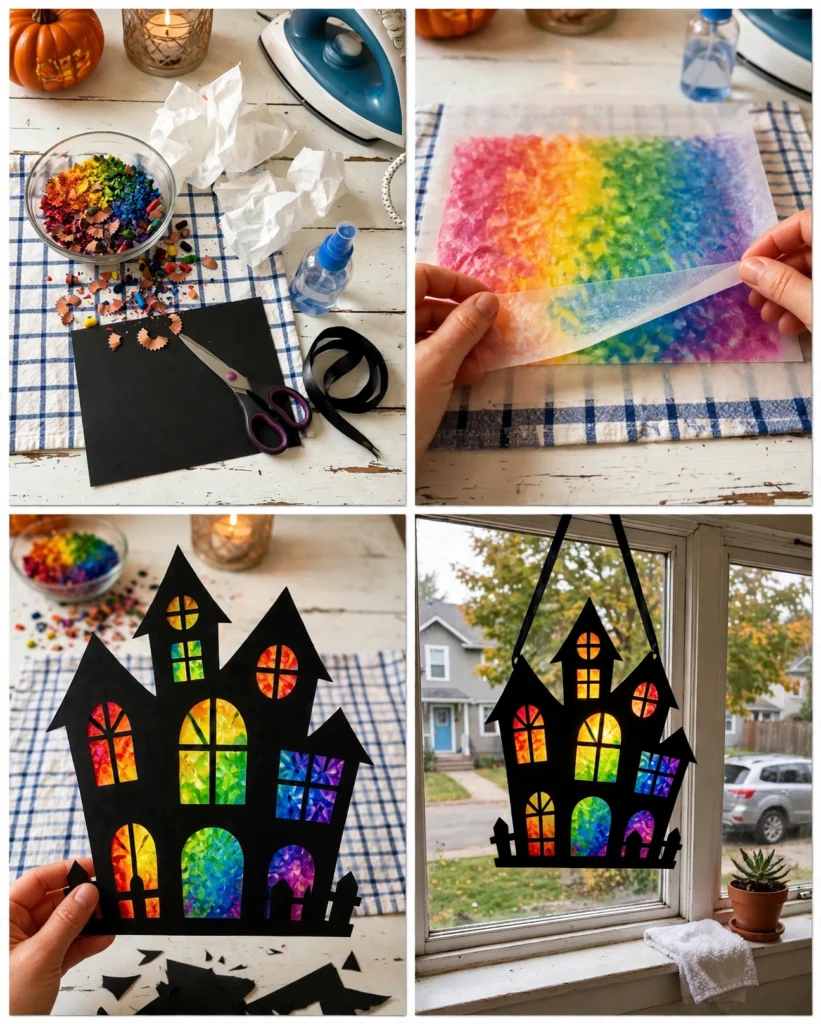
Every family has that box of broken crayons. You know the one — jammed in a drawer, full of nubs and sad little stubs nobody wants to color with anymore. Well, this is their redemption arc. We turned our broken-crayon graveyard into the prettiest Halloween window decoration I've ever made, and the kids are still bragging about it.
Here's the idea: melt rainbow crayon bits into a sheet, sandwich it inside a black haunted-house silhouette with the windows cut out, and hang it in the window. The light shines through the melted crayon like stained glass, and the black house frame makes the colors pop. It looks like something from a fancy craft boutique. It is, in fact, made of garbage crayons. I love that for us.
Why You'll Love Making These
This craft is basically three kid-favorite activities stacked in a trench coat: breaking things (the crayons), melting things (in the oven), and the big reveal (peeling back the paper to see the swirl). My kids were riveted at every single stage. And the finished piece genuinely stops people — our neighbor knocked to ask where we bought it. "The junk drawer," I told her.
It's also a sneaky science lesson wrapped in Halloween fun. Melting, cooling, color mixing — it's all happening right in front of them.
Materials You'll Need
- Old broken crayons in rainbow colors (peel the wrappers off first)
- Wax paper or parchment paper
- An iron (grown-ups only for this part)
- Black construction paper or black cardstock
- Scissors or a craft knife (grown-ups for the detailed cuts)
- A pencil (for tracing the house shape)
- Clear tape or a glue stick
- Ribbon or string for hanging
- An old towel (to protect your ironing surface)
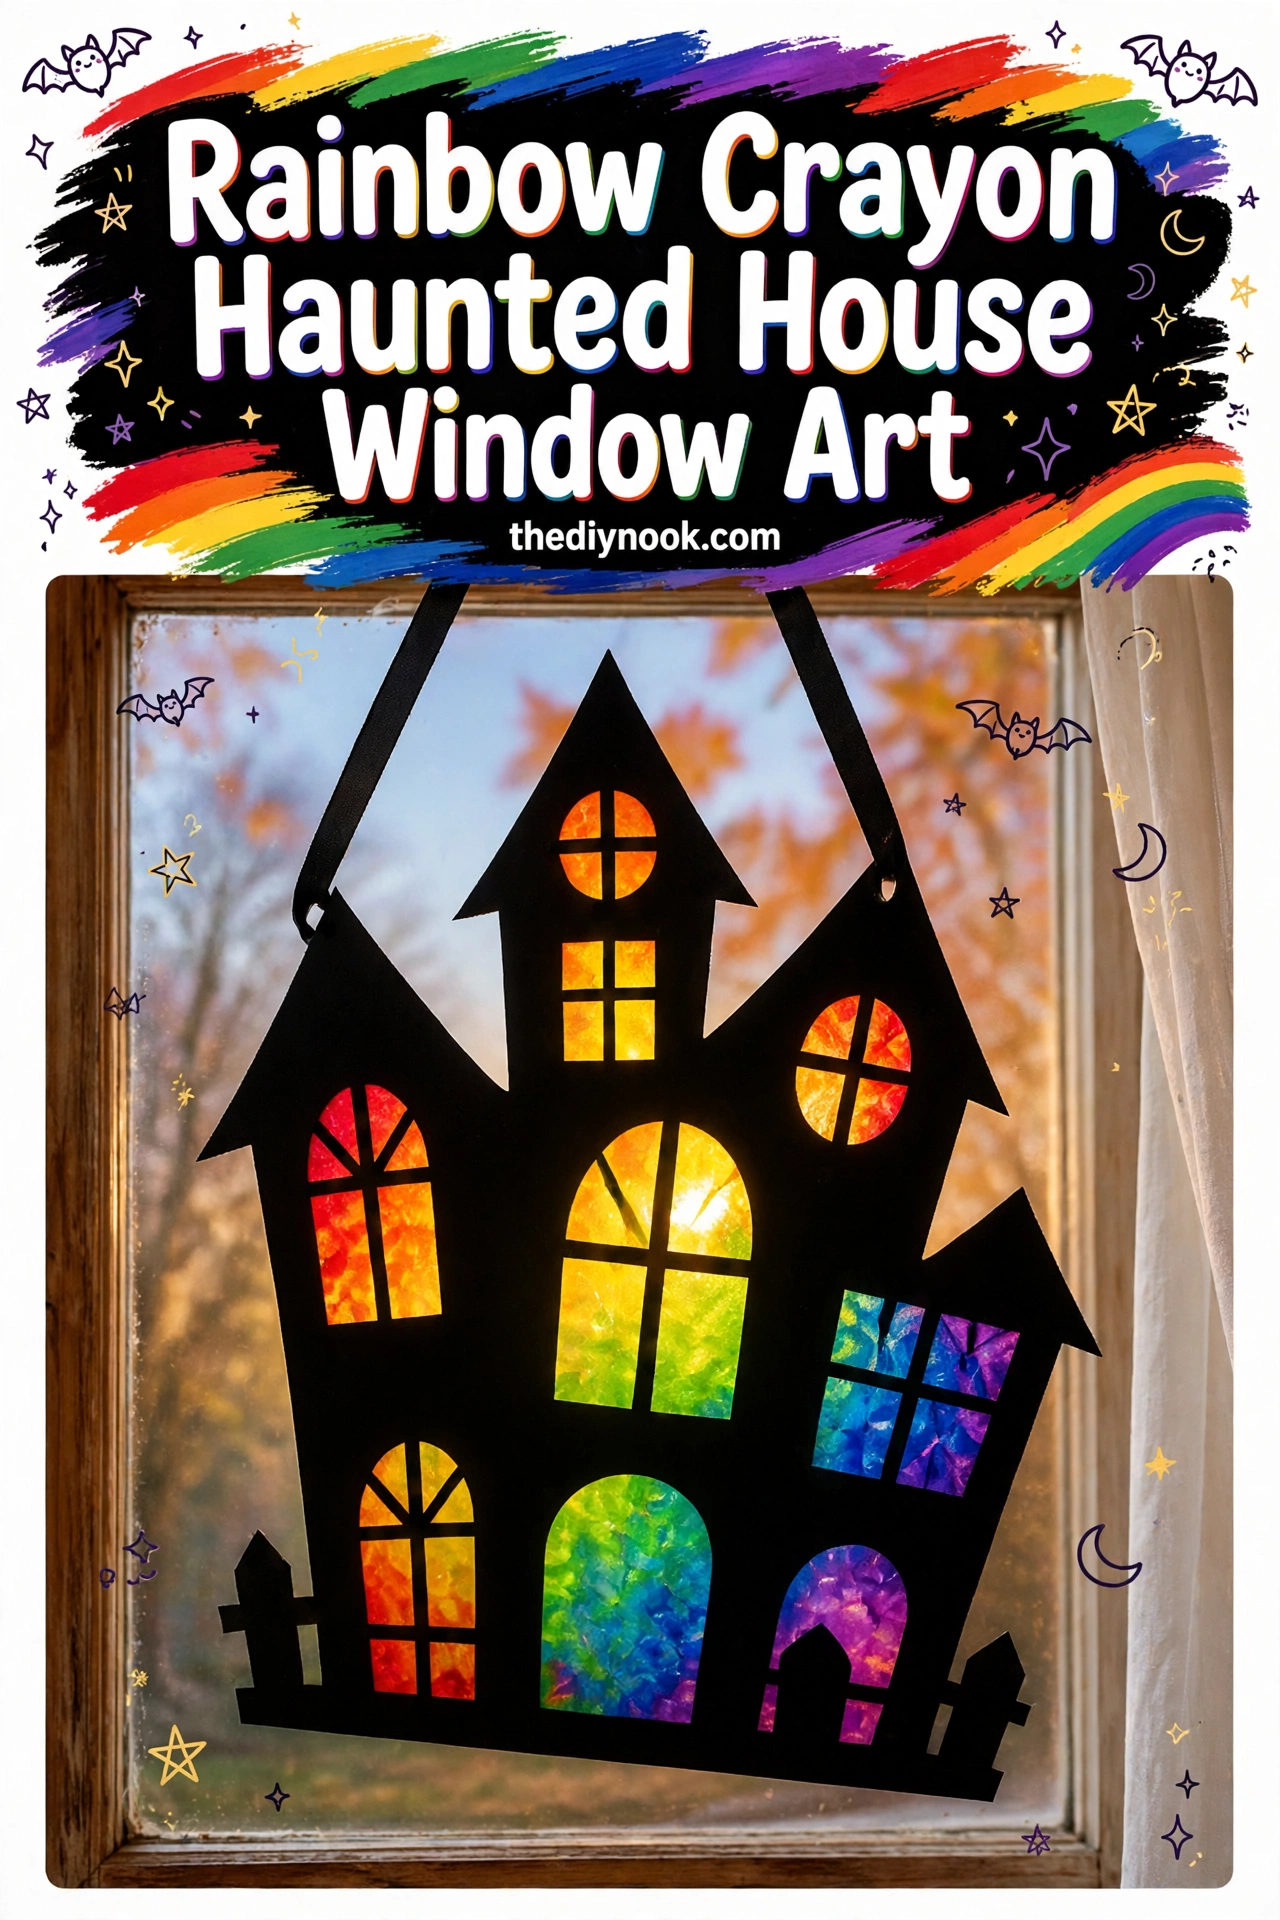
<img src="https://thediynook.com/wp-content/uploads/2026/09/pin-v1-14.webp" alt="Rainbow Crayon Haunted House Window Art That Glows Like Stained Glass" />
Step-by-Step Directions
- Peel the wrappers off your broken crayons and sort them by color. This sorting part is weirdly satisfying — let the kids do it.
- Shave or break the crayons into small bits. A pencil sharpener works great for making shavings (dedicate an old one — it won't be the same after).
- Lay a sheet of wax paper on an old towel. Sprinkle the crayon bits in a rainbow arrangement — reds on one side flowing to purples on the other, with the colors slightly overlapping.
- Cover with a second sheet of wax paper.
- With the iron on low heat (no steam!), press gently over the top sheet for a few seconds at a time. Peek underneath — the crayon bits will melt into swirly pools of color. Don't over-iron or the colors turn brown.
- Let the melted sheet cool completely, then peel it carefully off the wax paper. Admire your rainbow. Take a photo. You earned it.
- Draw a haunted house shape on the black construction paper — a simple house with a pointy roof, a crooked chimney, and window openings. Cut out the windows so the rainbow shows through.
- Tape or glue the rainbow sheet behind the black house silhouette, rainbow side facing out.
- Tape a ribbon loop to the top and hang it in a sunny window. When the light hits it — chef's kiss.
The Learning Behind This Craft
The melting step is pure science: solids becoming liquids, liquids cooling back into solids, colors blending where they meet. My kids now use the word "melt" correctly in sentences, which feels like a parenting win. Sorting crayons by color reinforces color recognition for little ones, and the whole project is a masterclass in patience — waiting for the iron, waiting for the cool-down, waiting for the big reveal. Delayed gratification, but make it Halloween.
Tips If Things Go Sideways
Colors turned muddy brown? The iron was too hot or you ironed too long. Low heat, quick presses, and check often. You can always add more heat — you can't un-brown the colors.
Wax paper stuck to the crayon sheet? Let it cool fully before peeling, and peel slowly. A little sticking at the edges is fine — just trim it off.
House silhouette looks wobbly? Cardstock is sturdier than construction paper and cuts cleaner. Or embrace the wobble — haunted houses are supposed to look crooked.
Kids impatient with the iron? Have them work on drawing the house shape while the grown-up handles the melting. Parallel crafting keeps everyone busy.
Fun Variations to Try
- Cut the black paper into a bat, pumpkin, or ghost shape instead of a house — same rainbow sheet, totally different vibe.
- Make a whole haunted village: several small houses on one long rainbow sheet.
- Add glitter to the crayon bits before melting for extra sparkle.
- Try autumn colors (red, orange, yellow, brown) for a fall version that works through Thanksgiving.
FAQs
Is the iron step safe to do with kids around?
An adult should handle the iron, full stop. Kids can do everything else — sorting, sprinkling, cutting, assembling. Set the ironing station up away from the main craft table.
What if I don't have enough broken crayons?
Dollar-store crayons work perfectly — this is a great use for those cheap packs. You need surprisingly few; a handful of bits covers a lot of area once melted.
Can I use a hair dryer instead of an iron?
It blows the bits around too much. The iron's flat press is what makes the smooth stained-glass effect. If you don't have an iron, try a warm baking sheet pressed on top.
Will it melt in a sunny window?
Crayon wax melts around 120°F+, so a normal sunny window is fine. Just don't hang it somewhere it gets direct blast-furnace afternoon sun against the glass in a heat wave.
How do I store it?
Lay it flat between sheets of paper in a folder or large book. It'll keep for years — ours from two Halloweens ago still looks perfect.

 Sunflower Chocolate Mother’s Day Card
 Easter Footprint Keepsakes: Easy Toddler Craft
 DIY Ghost Costume for Kids: Easy No-Sew Halloween Costume
 Easy Rainbow Glow Ghost Mason Jar Lanterns for Kids
Leave a Reply