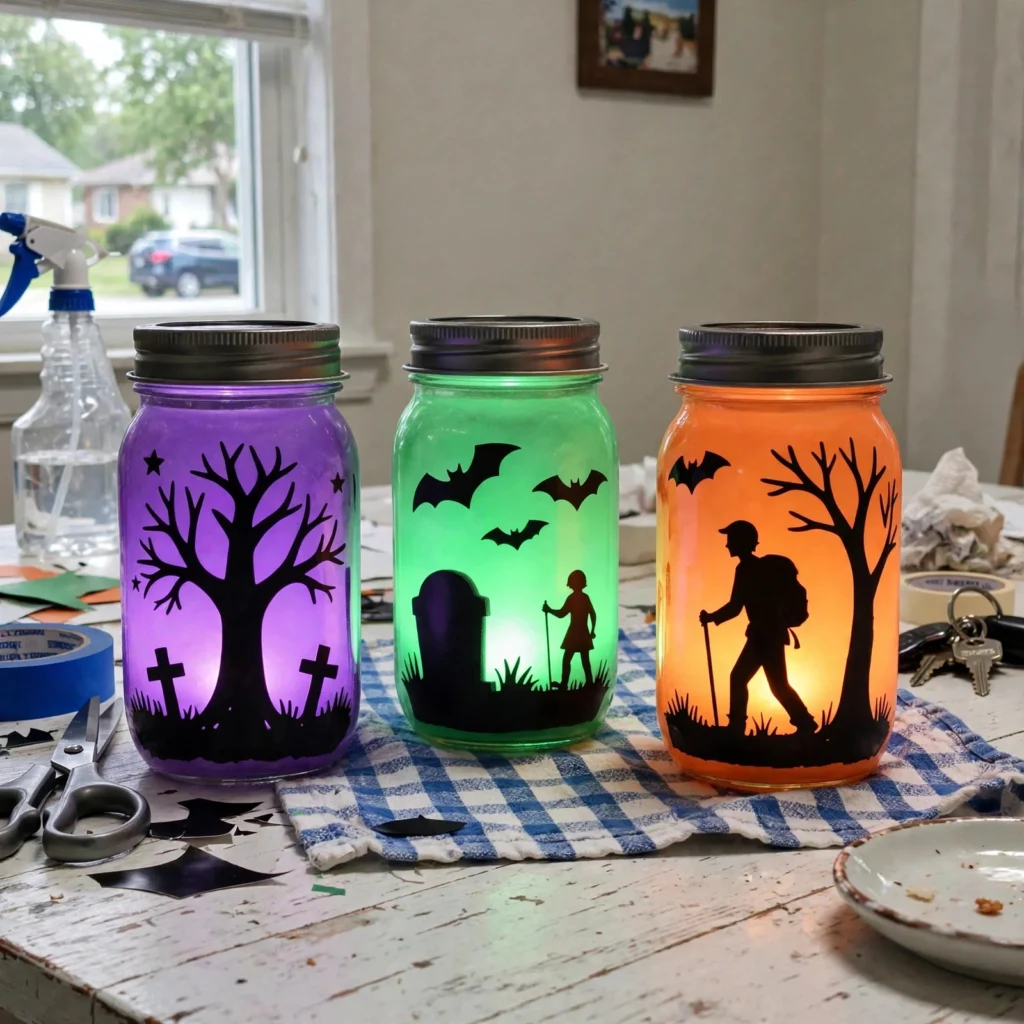
There's a particular kind of evening in October — the air goes crisp, dinner's done, the kids are in pajamas way too early — when the house just begs for candlelight. Last year I started making these silhouette lantern jars, and they've become our whole vibe. Mason jars painted in moody purples, greens, and oranges, with black Halloween silhouettes stuck on the front, glowing from a tealight inside.
The effect is honestly stunning for how easy it is. When you dim the overhead lights and these little jars start glowing on the windowsill, the whole room feels like the coziest haunted house on the block. My kids call them "the spooky lamps" and fight over which color goes in whose room.
Why You'll Love Making These
This is one of those rare crafts that looks genuinely sophisticated — like something you'd pay too much for at a home decor store — but takes about twenty minutes of actual effort. The silhouettes do all the visual heavy lifting. You don't need to be artistic at all; you just cut out shapes and stick them on.
They're also endlessly reusable. We bring ours out every October, and the kids get so excited when the box comes down from the attic. It feels like a tradition now, which was absolutely not my plan but I'll take it.
Materials You'll Need
- Clean mason jars (pint or quart — a mix of sizes looks great)
- Acrylic craft paint in Halloween colors (purple, green, orange — or any colors you love)
- A foam brush or sponge brush (for smooth coverage)
- Black construction paper or black adhesive vinyl
- Scissors
- Mod Podge or white craft glue (to attach the silhouettes)
- Battery-operated tealights (one per jar)
- Painter's tape (optional, for clean paint lines)
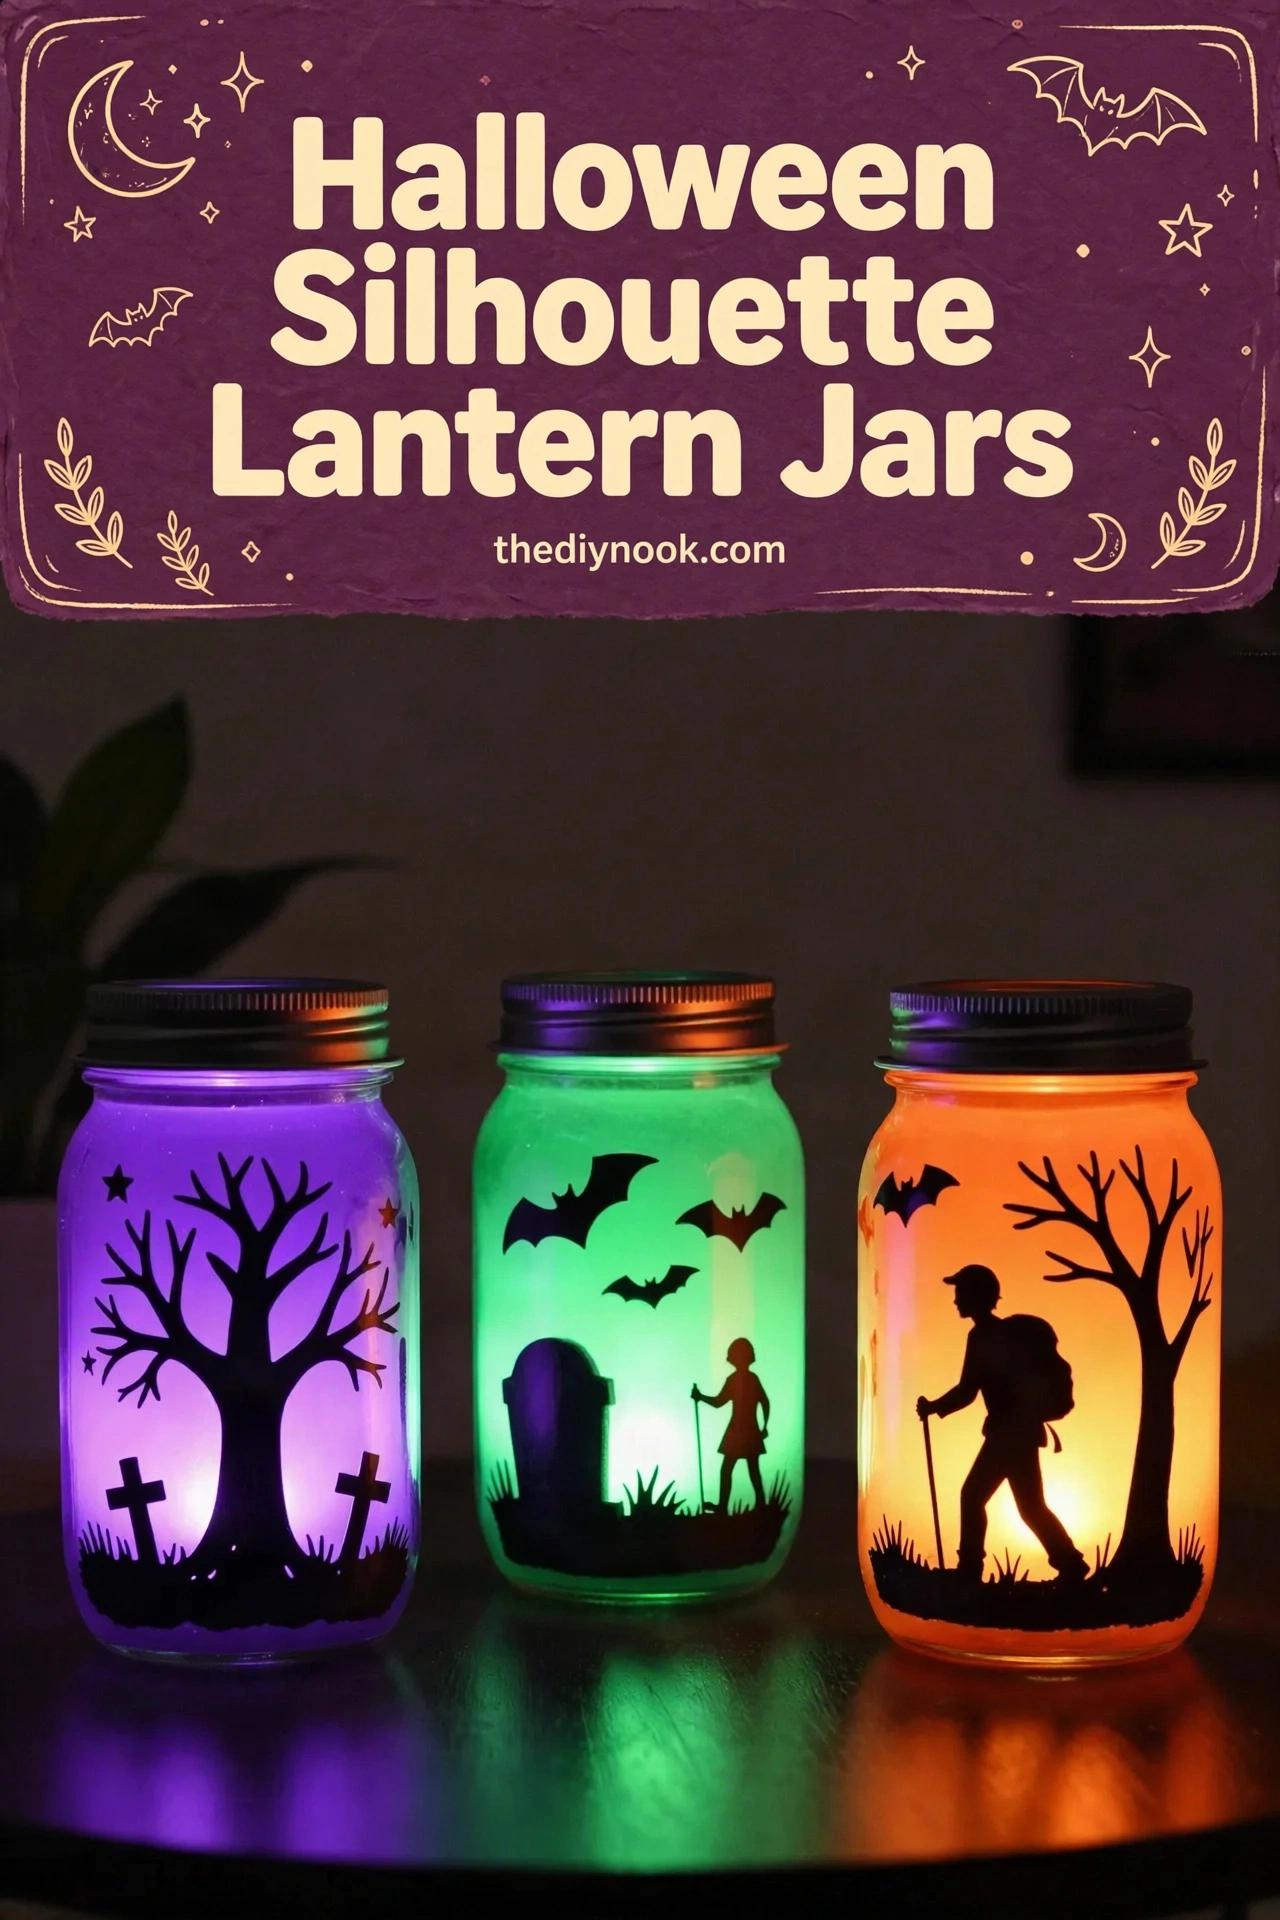
<img src="https://thediynook.com/wp-content/uploads/2026/09/pin-v1-16.webp" alt="Halloween Silhouette Lantern Jars That Make Evenings Feel Magical" />
Step-by-Step Directions
- Wash and dry your mason jars. Paint sticks best to squeaky-clean glass.
- Paint the outside of each jar in your chosen color. Two thin coats look better than one thick one — let the first coat dry before adding the second.
- While the paint dries, draw or trace your silhouette shapes on the black paper: bare trees, bats, gravestones, witches on broomsticks, spooky cats. Keep the shapes simple and bold.
- Cut out the silhouettes carefully. This is the fiddliest step — grown-ups or older kids should handle the detailed cuts.
- Brush a thin layer of Mod Podge on the back of each silhouette and press it onto the painted jar. Smooth out any bubbles with your finger.
- Let everything dry completely — at least an hour.
- Drop a battery-operated tealight into each jar.
- Wait for dusk, turn off the overhead lights, switch on the tealights, and watch your kitchen turn into the coziest haunted house on the street.
The Learning Behind This Craft
Cutting silhouettes is fantastic scissor practice — the kids have to slow down, plan their cuts, and control the scissors around curves and points. Choosing the color palette is a real design exercise; my daughter spent a solid ten minutes debating purple vs. green for her jar, which is more critical thinking than she applies to most homework. And the whole concept — light shining through translucent paint, dark shapes blocking the light — is a beautiful little introduction to how light and shadow work.
Tips If Things Go Sideways
Paint looks streaky? Foam brushes help a lot, and a second coat fixes almost everything. Or lean into it — slightly streaky paint looks like spooky fog.
Silhouette edges lifting? Add a thin topcoat of Mod Podge over the whole silhouette to seal the edges down. It dries clear and protects the paper too.
Paint won't stick to the glass? Make sure the jar is completely clean and dry — even a little grease from fingers can cause problems. A quick wipe with rubbing alcohol before painting works wonders.
Tealight too dim? Put a small ball of aluminum foil under the tealight to reflect more light upward. Instant brightness boost.
Fun Variations to Try
- Winter version: white and icy blue paint with snowflake and tree silhouettes.
- Thanksgiving: warm amber paint with leaf and pumpkin silhouettes.
- Let the kids draw their own silhouette designs — a self-portrait silhouette jar is hilarious and adorable.
- Add a twine bow around the jar rim for a rustic farmhouse look.
FAQs
Can I use real candles?
Battery tealights only, please — especially since these have paper silhouettes on them. The flickering LED ones look incredibly realistic anyway.
Will the paint wash off?
Acrylic paint on glass is fairly durable for decor, but these aren't dishwasher-safe. Wipe with a damp cloth if they get dusty.
My silhouettes look blobby — help?
Simpler shapes read better. A basic bat, a triangle tree, a rectangle gravestone — bold and simple beats detailed and messy every time. Print templates from the internet if freehand isn't your thing (it's not mine).
Can toddlers help?
They can paint the jars (smocks on!) and place pre-cut silhouettes. Save the cutting for bigger kids.
How do I store them?
Wrap each jar in tissue paper or an old sock (yes, really — socks are perfect jar protectors) and box them up. They'll last for years.

 Sunflower Chocolate Mother’s Day Card
 Easter Footprint Keepsakes: Easy Toddler Craft
 DIY Ghost Costume for Kids: Easy No-Sew Halloween Costume
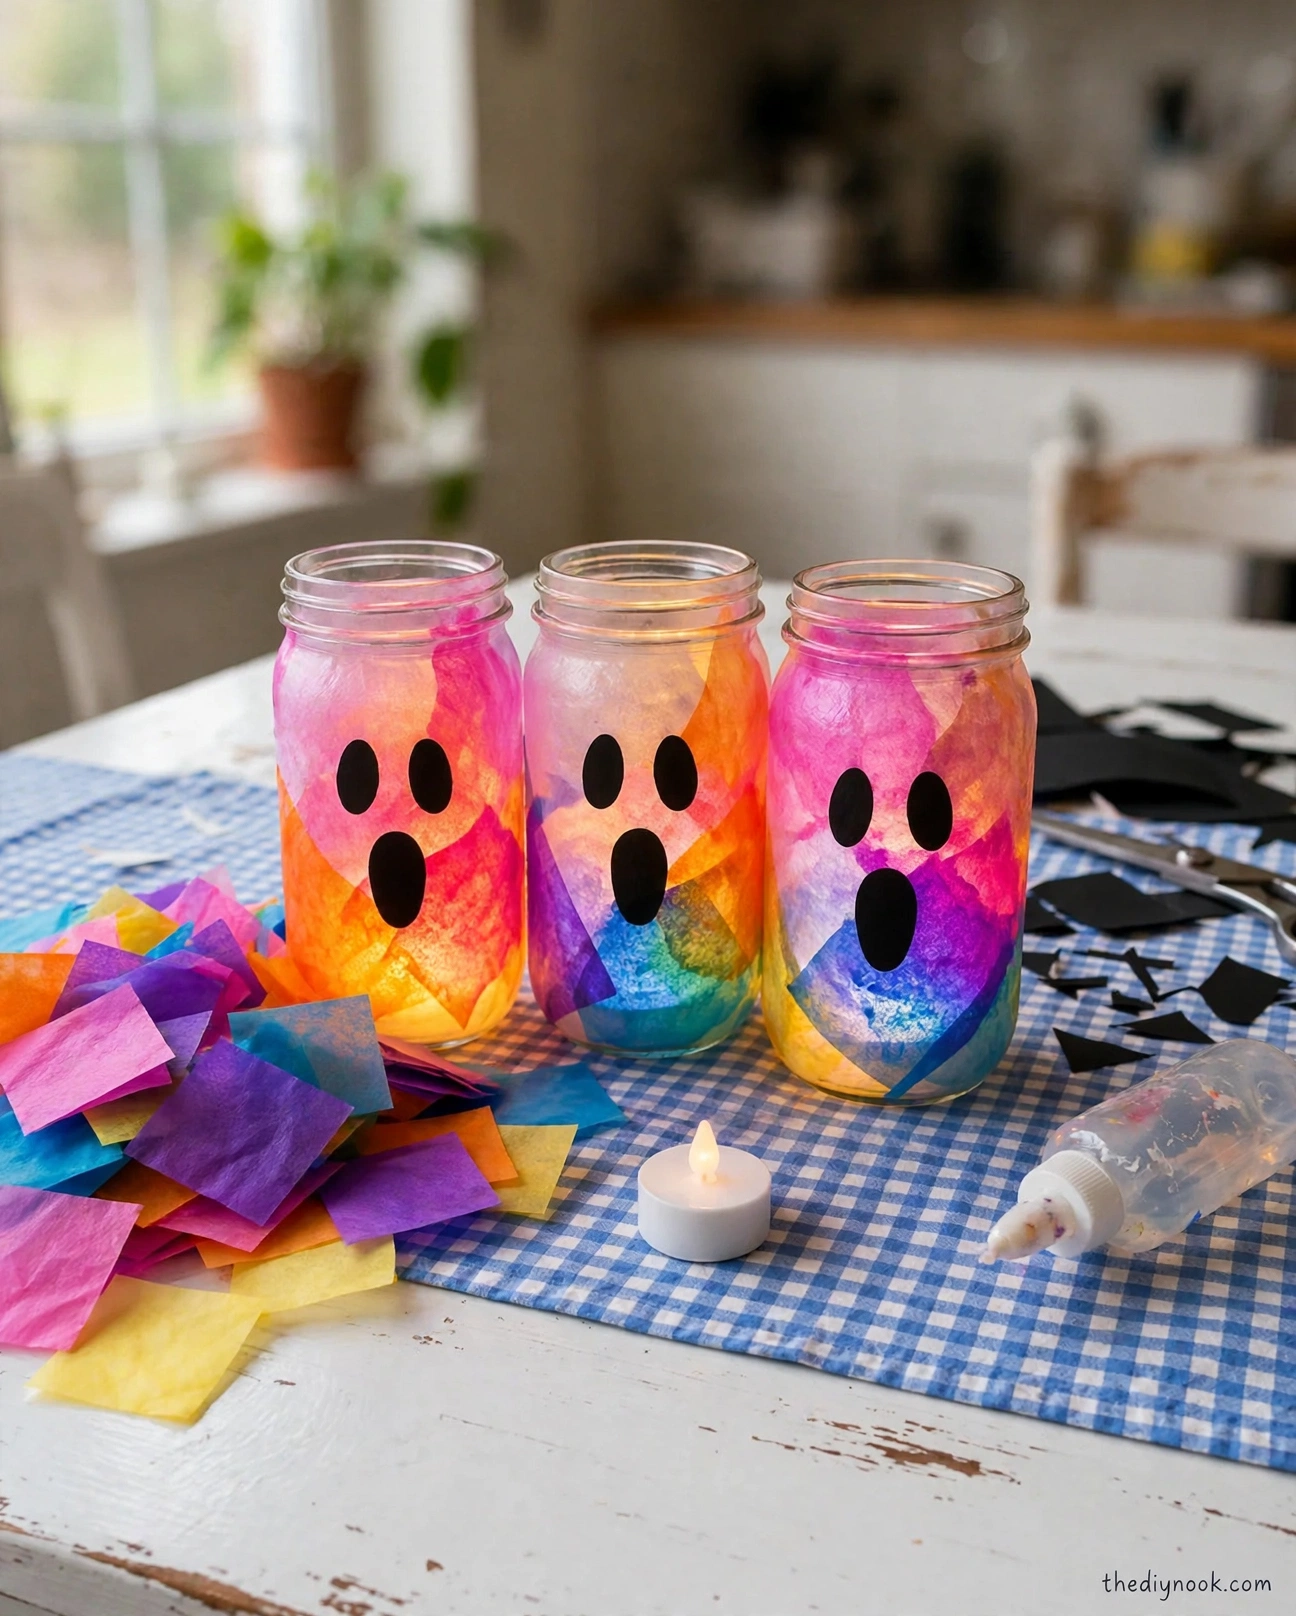 Easy Rainbow Glow Ghost Mason Jar Lanterns for Kids
Leave a Reply