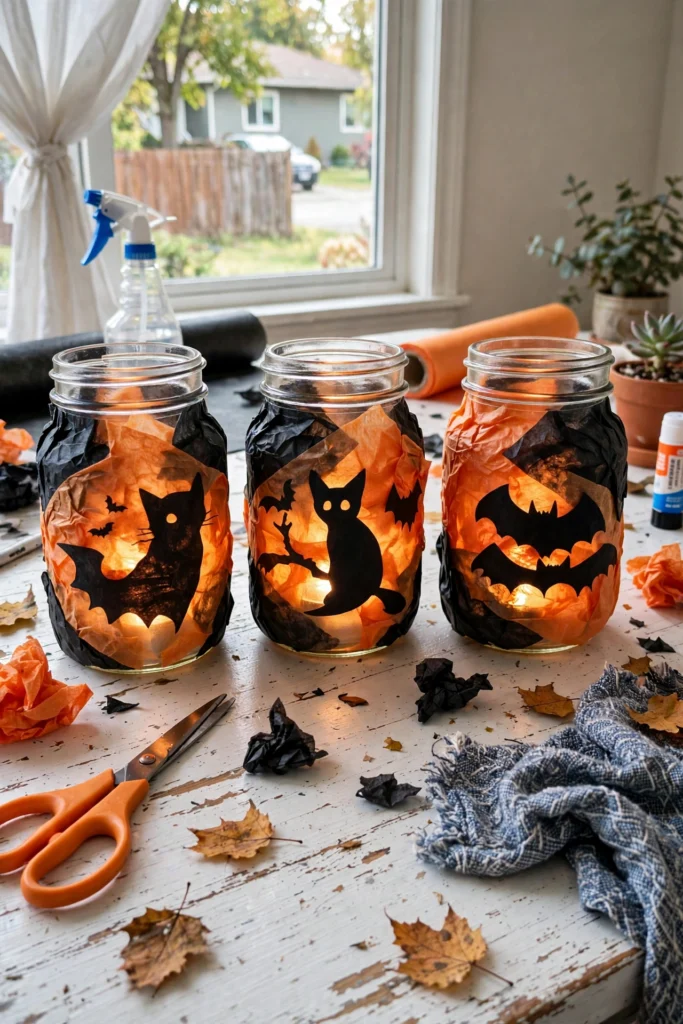
There is a special shelf in my kitchen cabinet where empty jars go to wait for their second life. Pasta sauce jars, jam jars, that one fancy pickle jar — they all end up there, and every October they become Halloween decorations. These Spooky Tissue Paper Jars are my favorite use for them yet: black and orange tissue paper, a little glue, and suddenly you've got glowing spooky lanterns that look like they took actual effort.
My oldest made three of these last year and lined them up on the porch railing. Our neighbor asked where I bought them. I said "the pasta aisle," and she laughed, but I was serious.
Why You'll Love Making These
This is a true stash-buster craft. Empty jars: free. Tissue paper: pennies. Glue: already in the drawer. The whole project costs basically nothing and takes about 30 minutes of actual work (plus drying time, which is a great excuse to sit down).
It's also wonderfully forgiving. Tissue paper tears? Layer another piece over it — it just adds texture. Wrinkles? They catch the light beautifully when the tealight's on. There is no wrong way to stick paper on a jar, which makes this perfect for kids, beginners, and anyone who's ever looked at a Pinterest craft and thought "yeah, mine won't look like that." Yours will look great. Promise.
Materials You'll Need
- Glass jars: mason jars, pasta sauce jars, jam jars — any clear jar works
- Black and orange tissue paper: cut into strips, squares, or spooky shapes
- Mod Podge or white glue: for sticking and sealing
- Paintbrush: for spreading the glue
- Scissors: for cutting the tissue paper
- Battery-operated tea lights (optional): for the glowing effect — highly recommended
- Ribbon or twine (optional): for tying around the jar necks
- Newspaper or table covering: glue happens
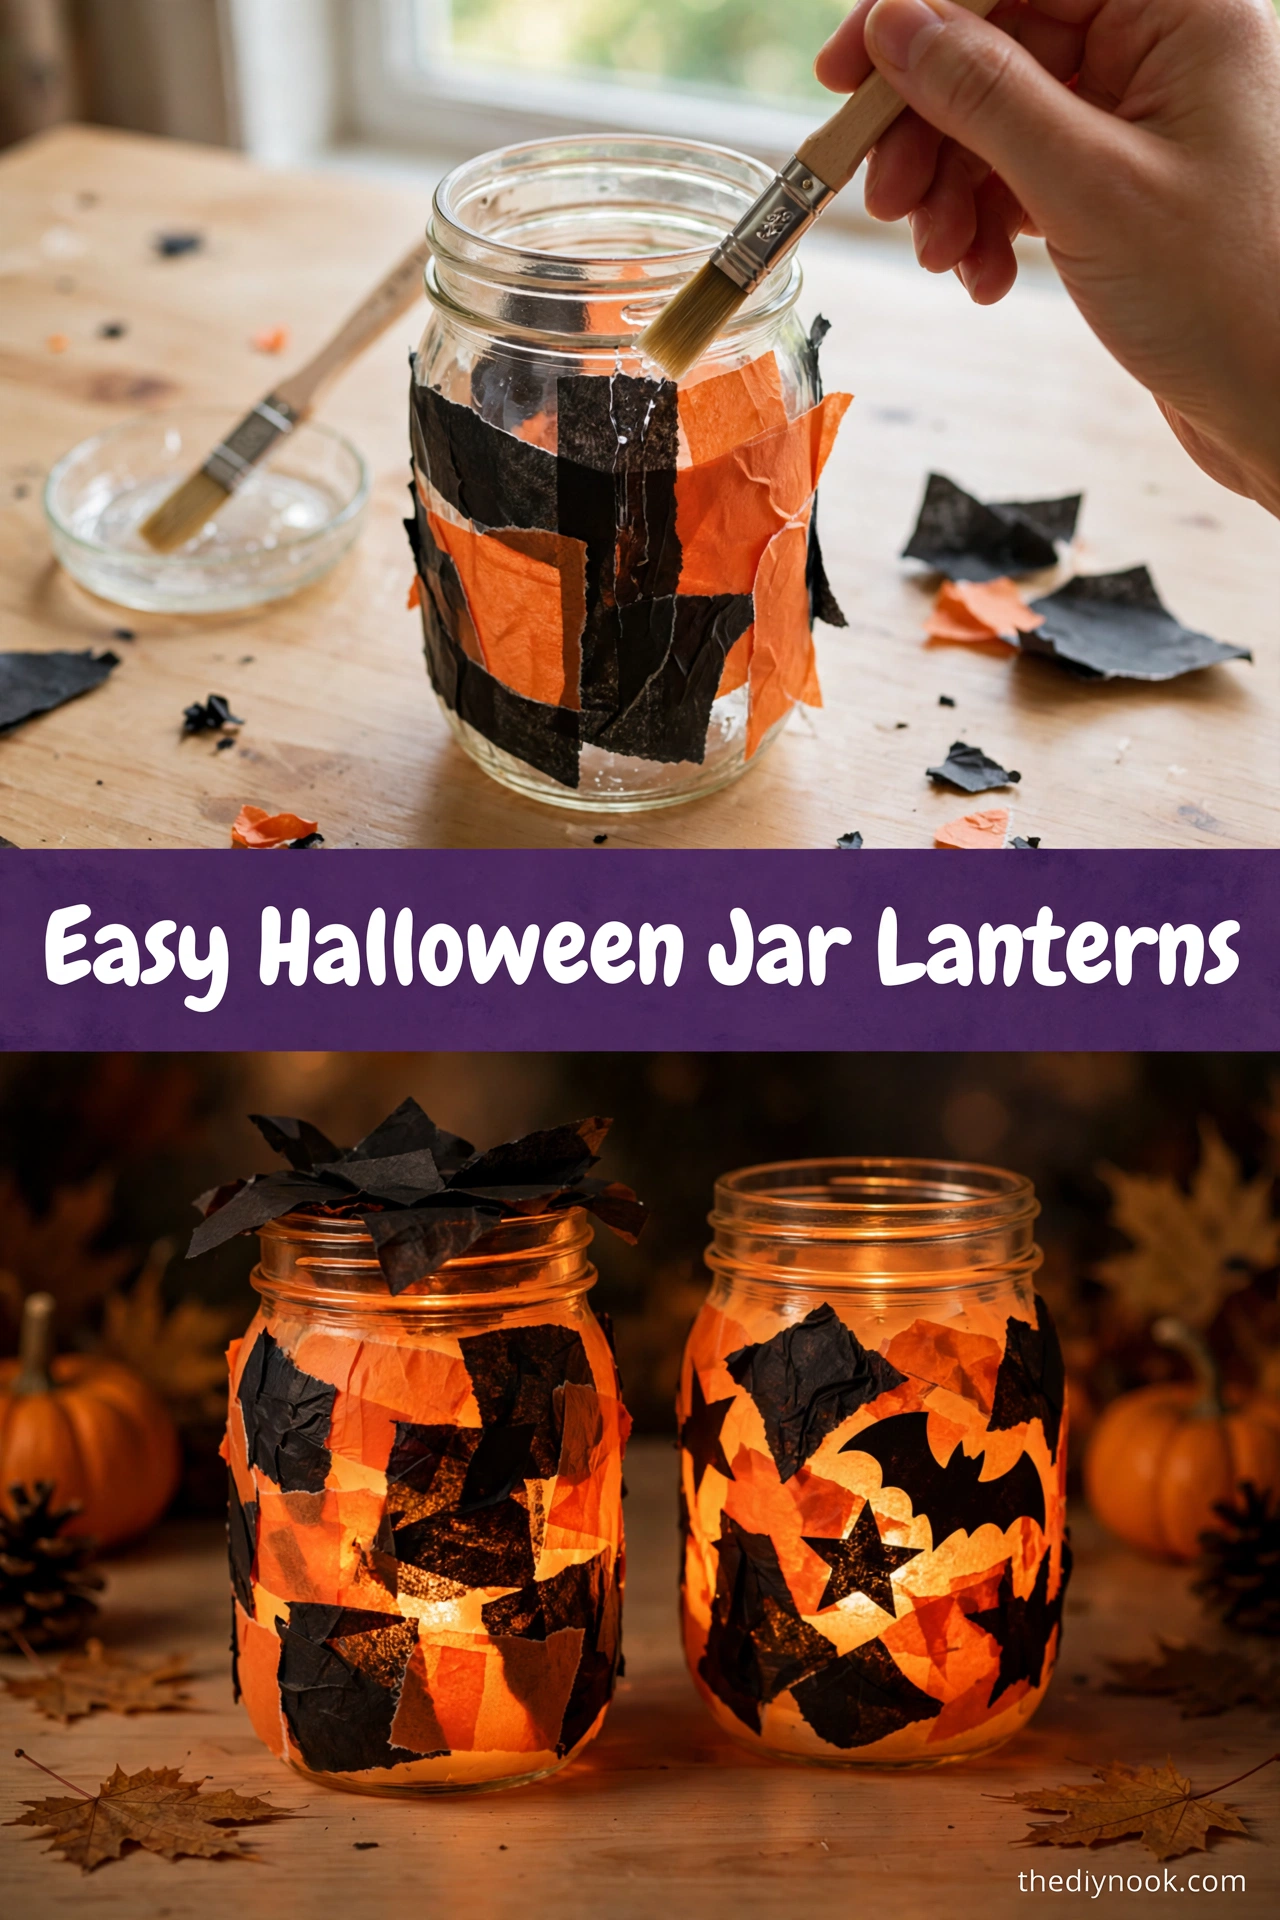
<img src="https://thediynook.com/wp-content/uploads/2026/09/pin-v1-15.webp" alt="Spooky Tissue Paper Jars" />
Step-by-Step Directions
- Lay down a protective covering on your table and gather everything within reach.
- Cut the black and orange tissue paper into strips, squares, or little spooky shapes like bats and ghosts.
- Brush a thin layer of Mod Podge or glue onto one section of the jar — work in small sections so it doesn't dry out.
- Press the tissue paper pieces onto the glued area, overlapping slightly for a layered look. Alternate black and orange however you like.
- Keep going until the whole jar is covered. Let the kids design their own patterns — stripes, patches, random chaos, all good.
- Brush another thin layer of glue over the entire surface to seal everything down.
- Let the jars dry completely, about 30 minutes. Resist the urge to poke them. (I failed at this.)
- Tie ribbon or twine around the jar neck for a finished look, drop in a battery tealight, and turn off the lights.
The Learning Behind This Craft
Cutting tissue into shapes builds scissor skills, and tissue paper is delightfully tricky to handle — it takes real finger control to smooth it onto a curved jar without crumpling. Choosing and arranging the black-and-orange pattern is early design thinking: kids plan, try, adjust. And the glowing finale is a mini physics lesson in how light passes through translucent materials — the tissue glows from within like stained glass.
Tips If Things Go Sideways
Tissue paper tearing as you place it? Totally normal. Just smooth it down and layer another piece over the tear — it disappears into the texture.
Glue drying too fast? Work in smaller sections. You only need to cover a few inches at a time before placing paper.
Jar looking patchy in daylight? Don't judge it until the tealight's on. These are designed to be seen glowing in the dark, and they transform completely.
Kids gluing their fingers together? Warm water fixes everything. This is washable glue, not a life sentence.
Fun Variations to Try
- Go all-black for a sleek, moody look, or all-orange for a pumpkin-glow effect.
- Cut the tissue into ghost or bat silhouettes instead of random pieces.
- Sprinkle a little black or silver glitter onto the wet glue for sparkle.
- Use white tissue with black silhouettes for a ghostly, elegant version.
- Try purple and green tissue for a witchy twist.
FAQs
Can I use regular white glue instead of Mod Podge?
Yes! White glue works fine — it just takes a bit longer to dry and won't have quite the same glossy finish. Thin it with a tiny bit of water for easier brushing.
What if I don't have tissue paper?
Crepe paper streamers work, and so does thin wrapping paper. Even coffee filters can be dyed orange and black for a similar effect.
How long will these last?
Seasons, easily — just keep them out of direct sun and moisture. Ours live in a box in the garage eleven months a year and still look great.
Are these safe for kids?
Very. Washable glue, tissue paper, battery tealights — no heat, no sharp tools beyond kid-safe scissors.
Can I put real candles in them?
Please don't — tissue paper is flammable. Battery tealights give the same cozy glow with none of the worry.

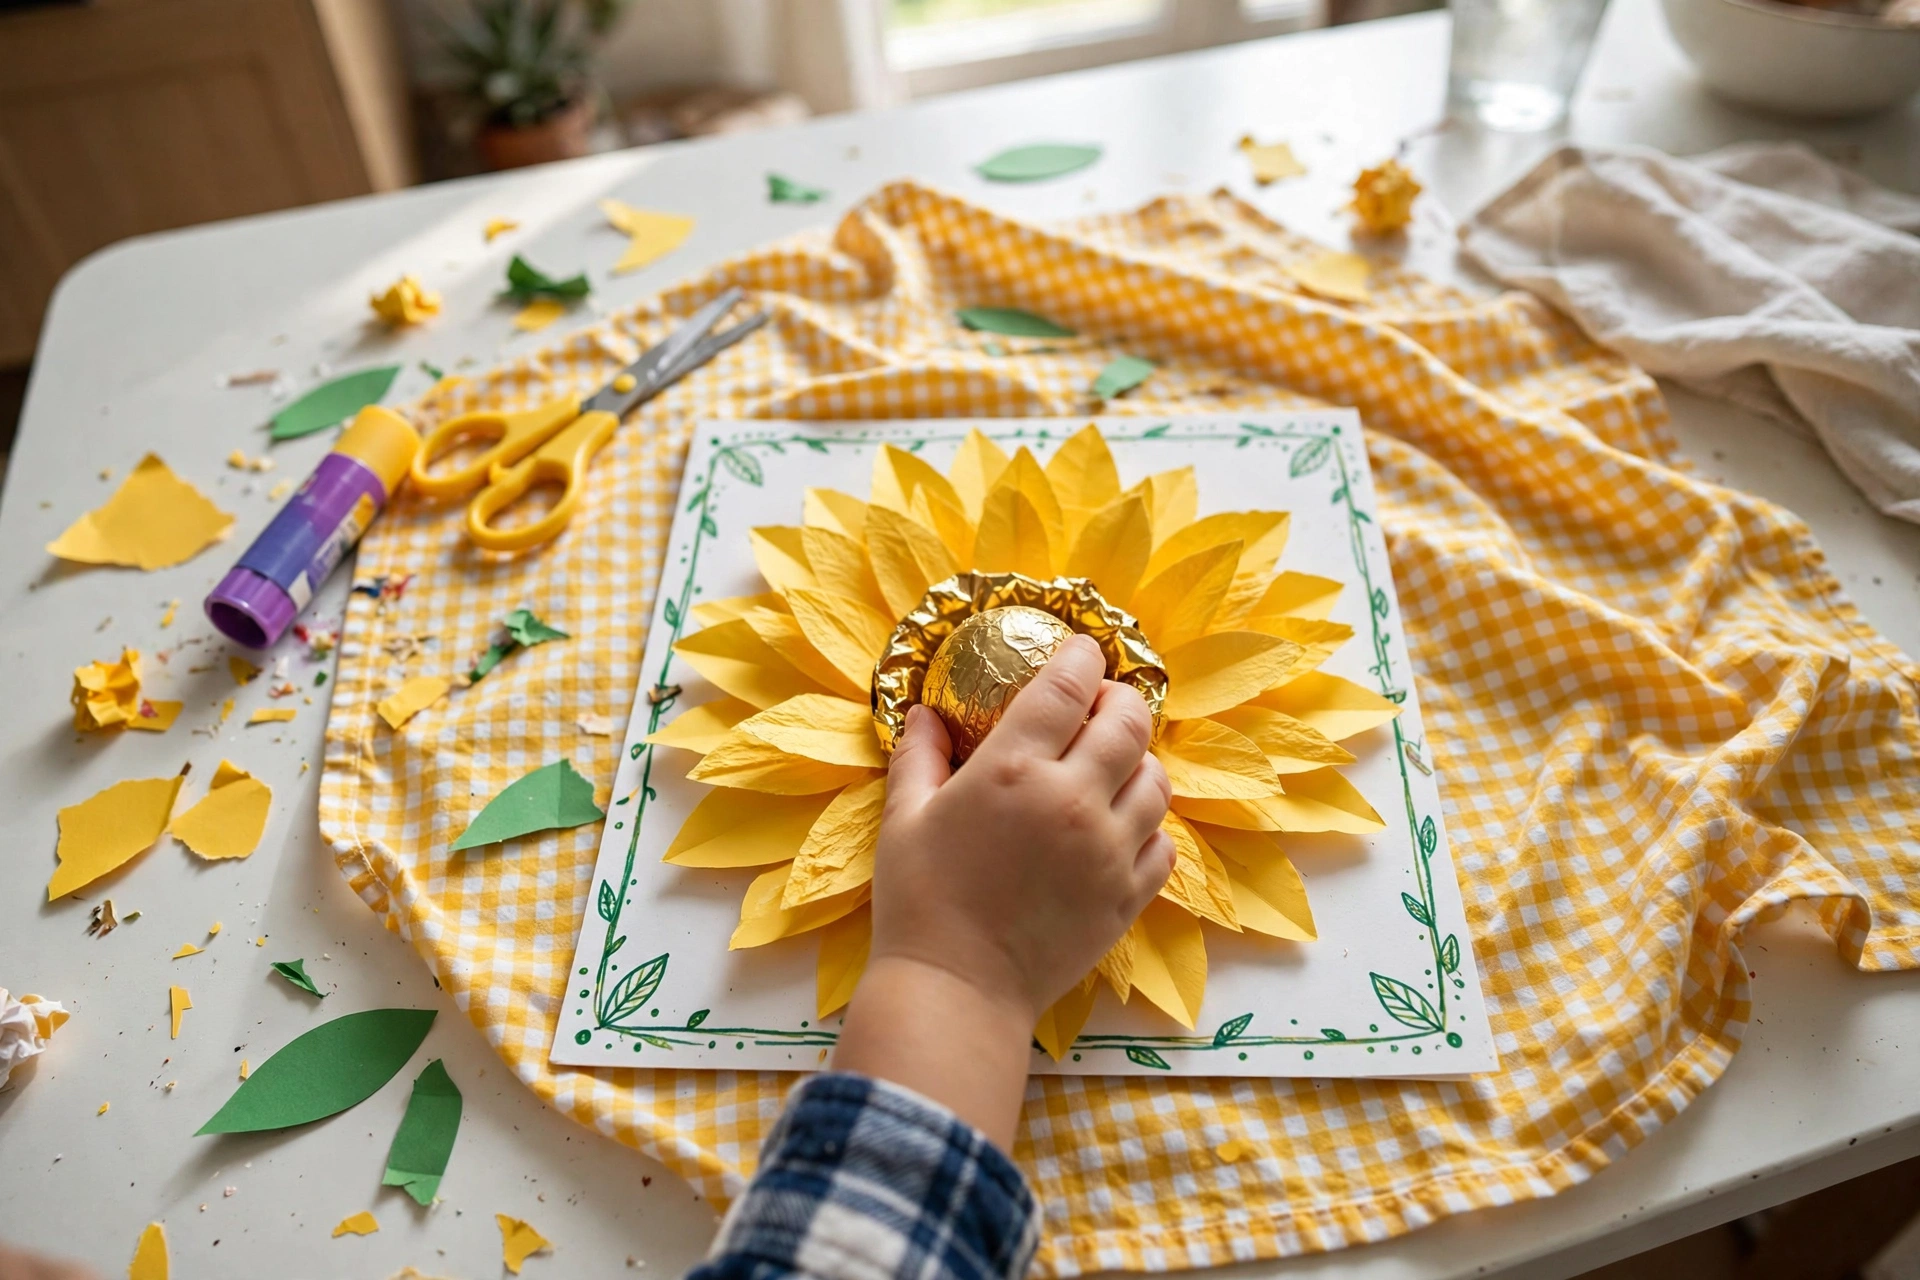 Sunflower Chocolate Mother’s Day Card
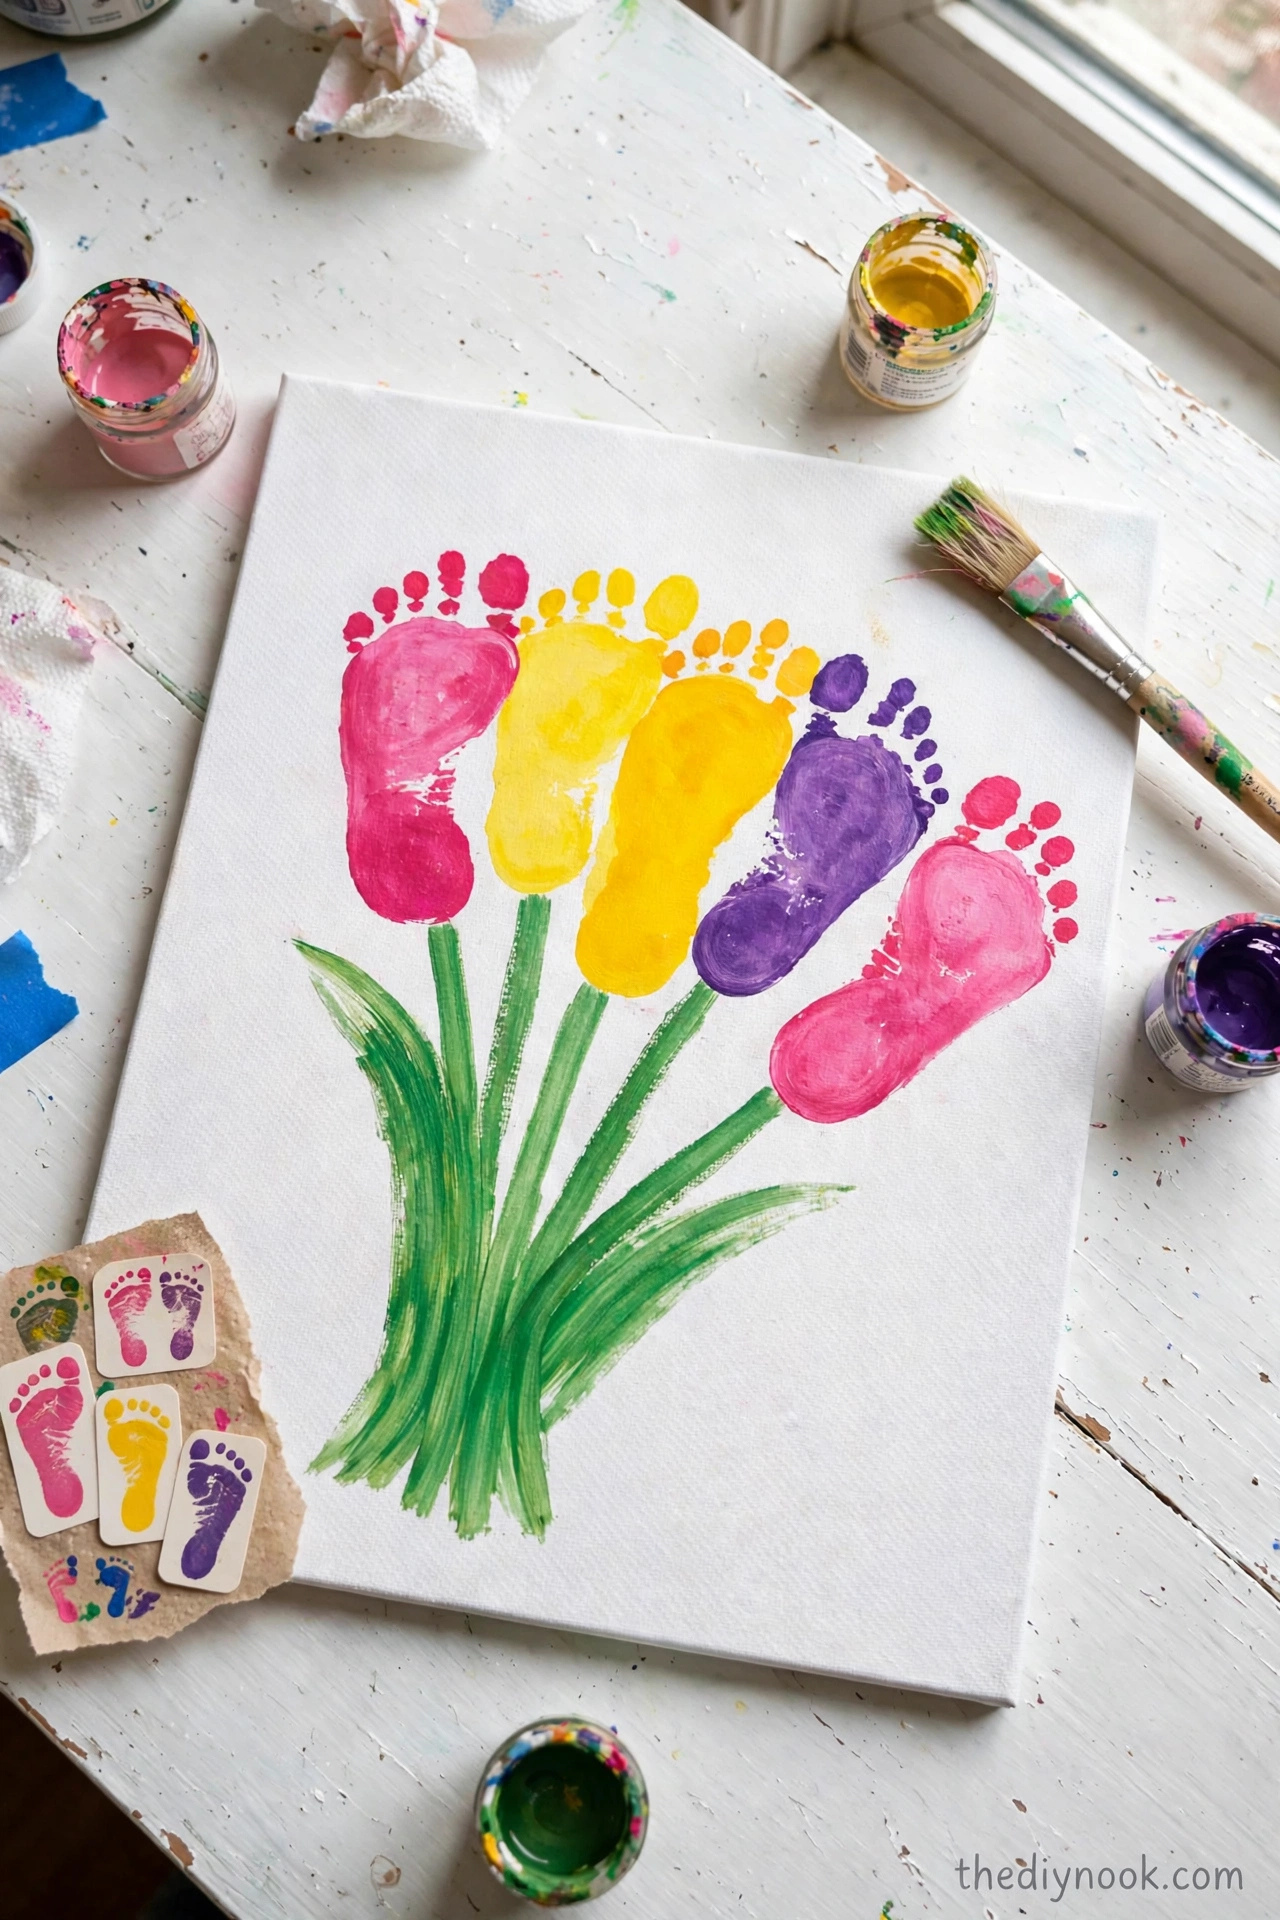 Easter Footprint Keepsakes: Easy Toddler Craft
 DIY Ghost Costume for Kids: Easy No-Sew Halloween Costume
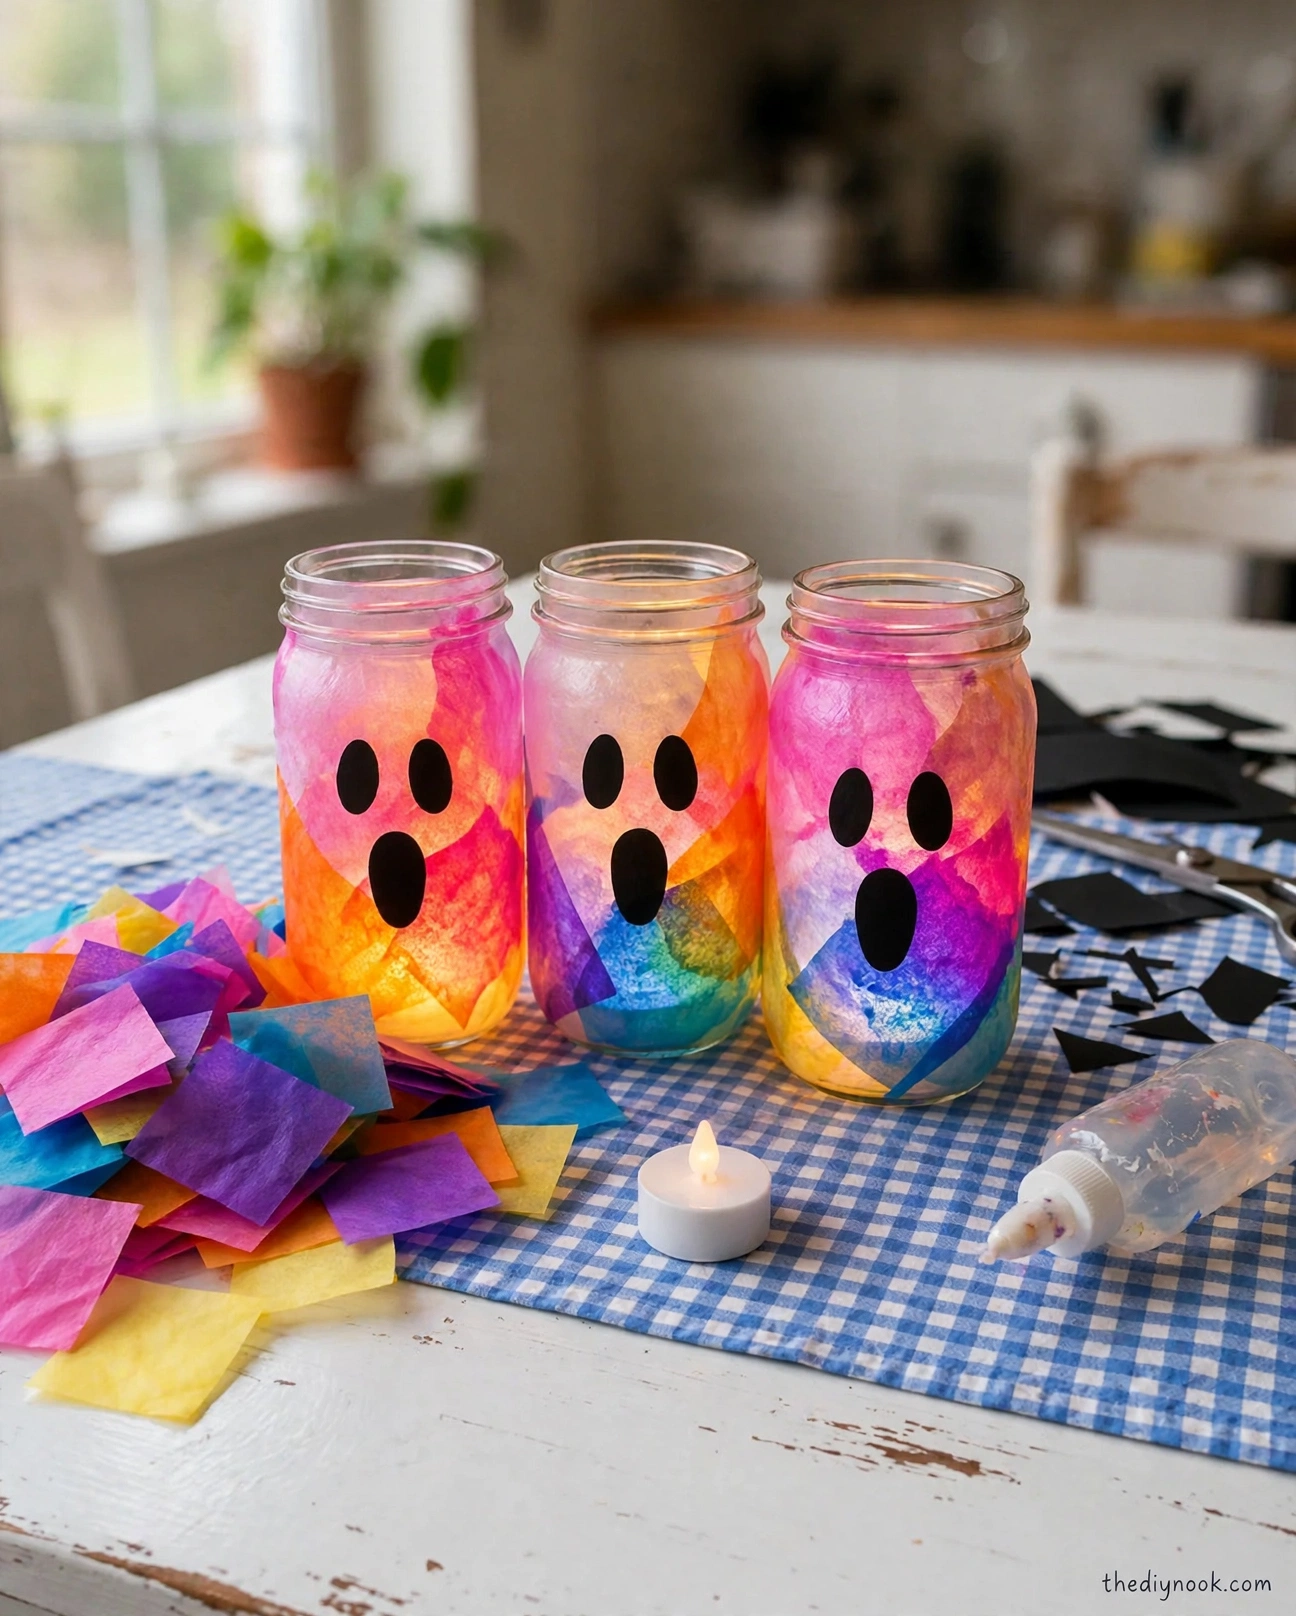 Easy Rainbow Glow Ghost Mason Jar Lanterns for Kids
Leave a Reply